When searching for the ultimate chicken breast dinner ideas, most home cooks are chasing one elusive goal: a piece of poultry that is actually juicy. We have all suffered through dry, rubbery chicken that requires a gallon of water to swallow, but that ends today.
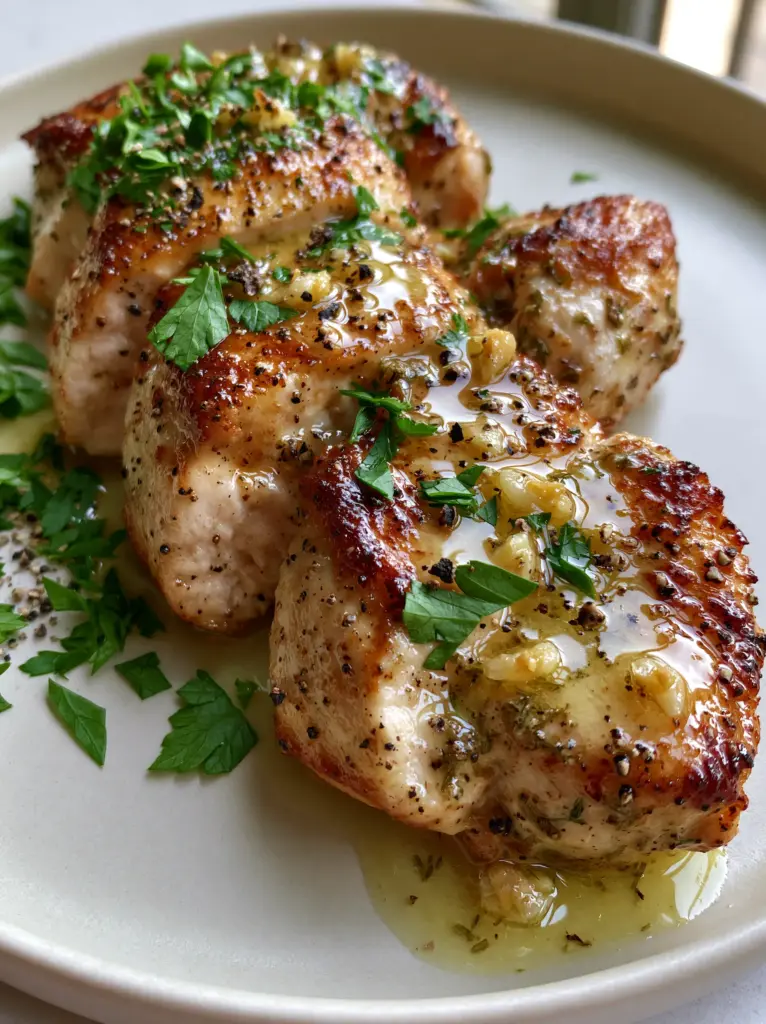
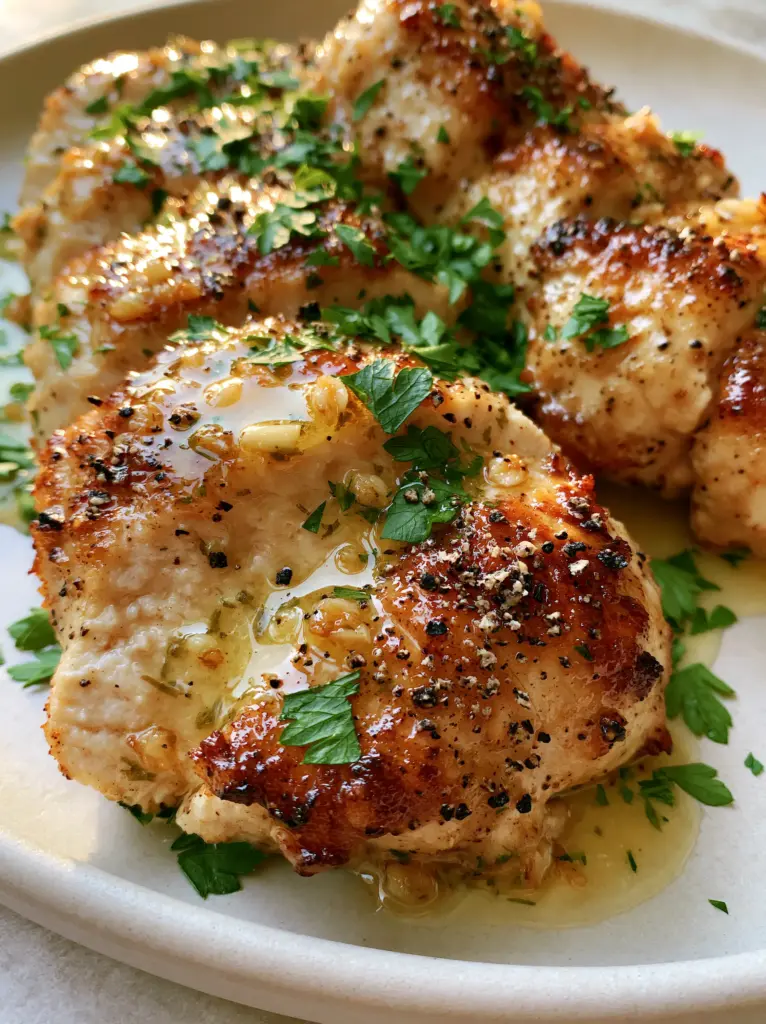
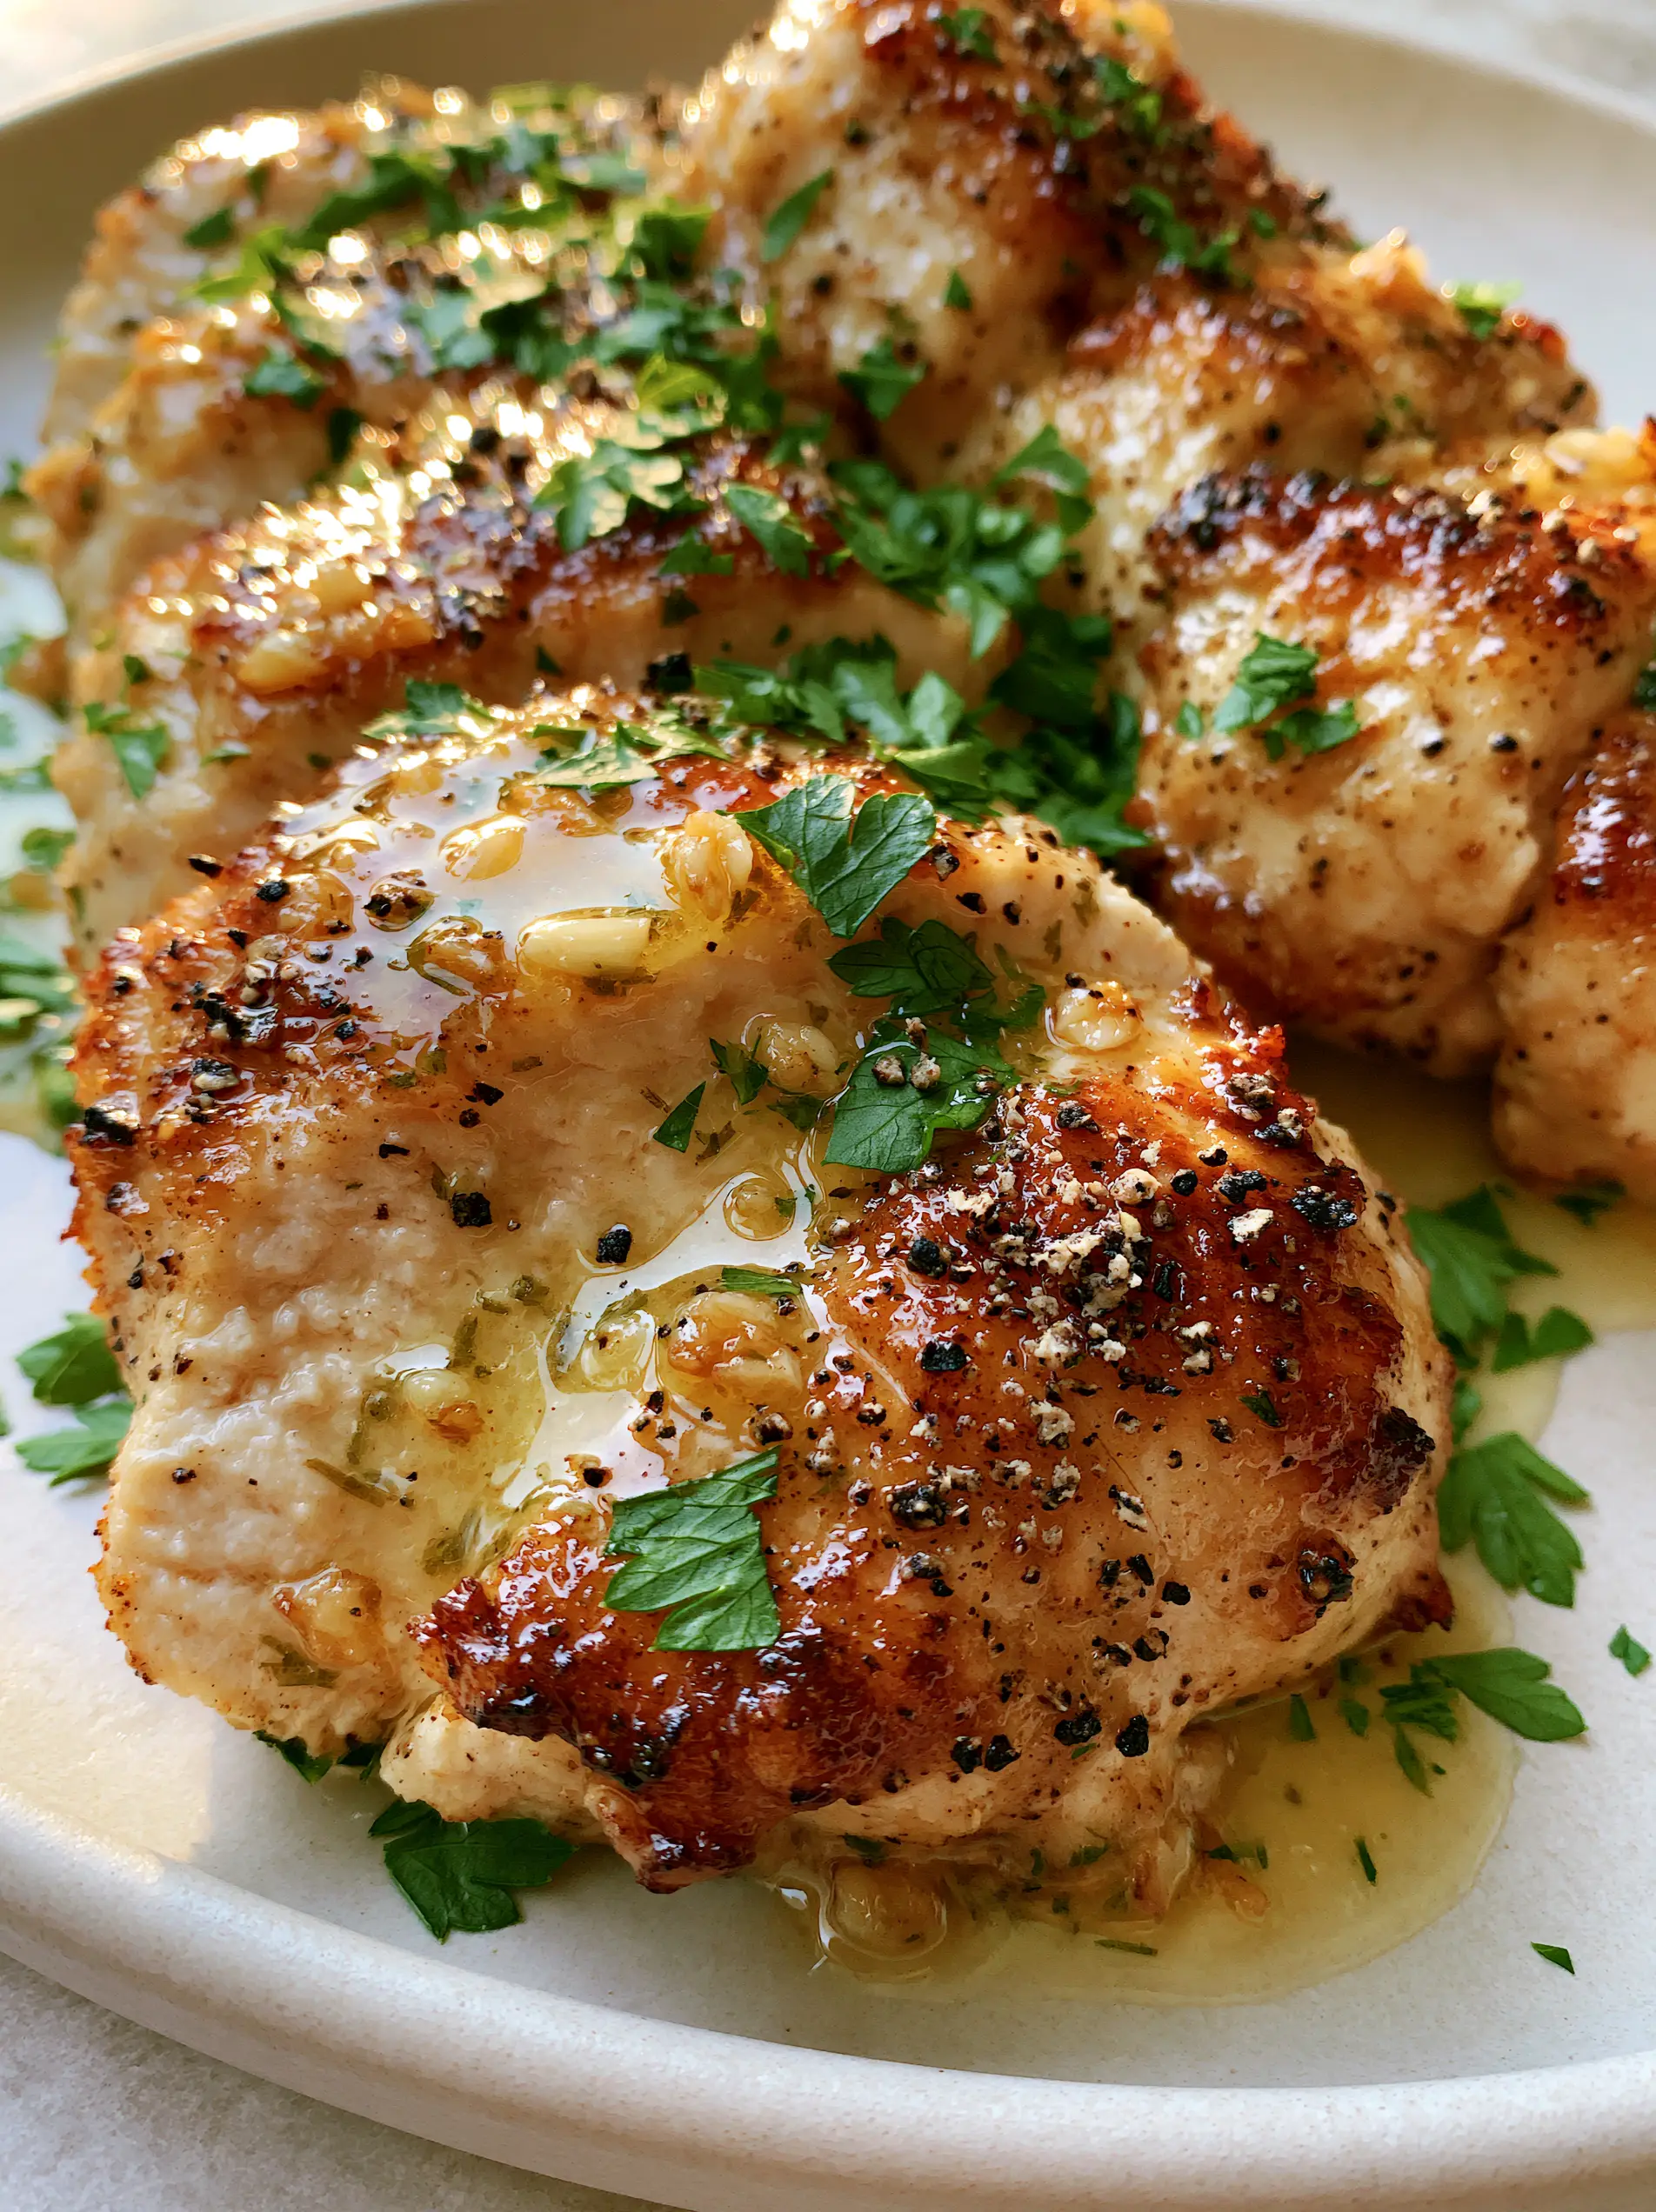
This recipe transforms a humble protein into a five-star experience, featuring a deeply caramelized, golden-brown crust and an interior so glistening it looks like it belongs in a professional food shoot. By mastering the art of the pan-sear and the silkiness of a garlic-herb butter baste, you will redefine what a weeknight meal can be.
Drawing inspiration from high-end bistros, this method focuses on temperature control and aromatic infusion. The result is a thick, succulent breast sliced into tender medallions, draped in a translucent golden sauce that celebrates every cracked peppercorn and flake of sea salt.
The Visual & Sensory Promise: Why This Recipe Works
This isn’t just another addition to your list of chicken breast dinner ideas; it is a masterclass in texture and flavor contrast. Here is what you can expect from every single bite of this dish:
- A Structural Crunch: A rich, golden-brown caramelized crust achieved through the Maillard reaction, providing a savory counterpoint to the tender meat.
- Unrivaled Moisture: A glistening, ultra-moist interior that releases natural juices when sliced into thick medallions.
- Aromatic Depth: A light, translucent garlic-butter sauce that carries the brightness of lemon zest and the earthiness of flat-leaf parsley.
- Gourmet Finishing: The distinct crunch of Maldon sea salt flakes and the sharp, floral heat of coarse cracked black pepper.
The Essential Components for Restaurant-Quality Chicken
To achieve the visual result of a thick, pan-seared breast, we need specific foundational ingredients that work behind the scenes. Choosing high-quality components is the first step in elevating your chicken breast dinner ideas repertoire.
2 large (approx. 8oz / 225g each) Boneless Skinless Chicken Breasts: Look for “air-chilled” chicken if possible. This ensures the meat hasn’t absorbed excess water, allowing for a much better sear and a more concentrated flavor profile.
2 tbsp (30ml) High-Smoke Point Oil: Avocado oil or grapeseed oil is essential here. You need an oil that can withstand high heat without burning to create that signature golden-brown caramelized crust seen in the blueprint.
3 tbsp (45g) Unsalted Butter: Butter is the vehicle for flavor. We use unsalted to maintain complete control over the seasoning, allowing the Maldon salt to provide the final briny pop.
4 cloves Garlic, minced: These tiny bits of garlic will become golden and nutty in the butter sauce. They provide the visual “bits” described in our blueprint and a deep, savory aroma.
1 tsp (2g) Lemon Zest: The zest provides high-frequency acidity that cuts through the richness of the butter. It adds a vibrant yellow speckle to the final presentation.
1 tbsp (4g) Fresh Flat-Leaf Parsley, finely chopped: This brings a “vibrant scatter” of green. Parsley isn’t just a garnish; its fresh, slightly peppery taste balances the heavy black pepper.
1/2 tsp (1g) Coarse Cracked Black Pepper: Forget the fine powder; you want large, visible shards of pepper. This provides a specific textural “bite” and a bold visual contrast against the golden meat.
1 tsp (1g) Maldon Sea Salt Flakes: These pyramid-shaped crystals catch the light and provide a clean, sharp saltiness that doesn’t dissolve instantly, adding a crucial crunch.
The Culinary Toolkit: What You Will Need
To replicate the “handheld smartphone photo” quality of a perfect dinner, you need the right conductivity. A heavy-bottomed skillet is non-negotiable for consistent heat distribution.
A 12-inch (30cm) Cast Iron Skillet or heavy Stainless Steel pan is ideal. These materials hold heat better than non-stick, which is the secret to getting that glistening, professional sear. You will also need a sharp chef’s knife to slice the chicken into clean medallions without tearing the fibers.
Finally, a digital meat thermometer is your best friend. To ensure that “ultra-moist and juicy interior,” we must pull the chicken at exactly 160°F (71°C) and let residual heat carry it to the food-safe 165°F (74°C).
Mastering the Perfect Pan-Sear: A Step-by-Step Masterclass
1. Preparation and Tempering
Remove your chicken from the refrigerator 20 minutes before cooking. This “tempering” process ensures the meat cooks evenly and doesn’t seize up when it hits the hot pan. Pat the chicken extremely dry with paper towels; moisture is the enemy of a golden-brown crust.
2. The Initial High-Heat Sear
Place your skillet over medium-high heat and add the oil. Wait until the oil is shimmering and just starting to show a faint wisp of smoke. Lay the chicken breasts in the pan, laying them away from you to avoid splashes.
Listen for a vigorous sizzle. This is the sound of moisture evaporating and the crust forming. Leave them undisturbed for 5-6 minutes. You are looking for a deep, rich golden color that matches our visual blueprint before you even think about flipping.
3. The Flip and Butter Baste
Flip the chicken. Immediately reduce the heat to medium and add the 3 tbsp (45g) of butter and the minced garlic to the side of the pan. As the butter foams and turns golden, tilt the pan slightly and use a large spoon to continuously pour the hot garlic butter over the chicken.
This “basting” technique is a classic French method. It cooks the top of the chicken with aromatic fat, creating that glistening, translucent golden herb-butter sauce. Continue this for 4-5 minutes until the internal temperature reaches 160°F (71°C).
4. The Essential Rest
Transfer the chicken to a clean plate. Do not skip this! Resting for 5-10 minutes allows the muscle fibers to relax and reabsorb the juices. If you slice it immediately, all that “ultra-moist” goodness will end up on the cutting board instead of in your mouth.
5. Slicing and Garnishing
Slice the thick breasts into medallions roughly 1/2 inch (1.25cm) thick. Arrange them on an off-white ceramic plate. Drizzle the remaining garlic butter from the pan over the meat. Finish with a scatter of fresh parsley, the lemon zest, coarse cracked black pepper, and those beautiful Maldon sea salt flakes.
Expert Tips for Success with Chicken Breast Dinner Ideas
- Dry the Surface: If the chicken is wet, it will steam rather than sear. Use multiple paper towels until the surface is matte.
- Don’t Crowd the Pan: If you are doubling this recipe, cook in batches. Overcrowding drops the pan temperature and prevents caramelization.
- Watch the Garlic: Add the garlic only in the last few minutes of cooking. Garlic burns easily and can turn bitter if it sits in a high-heat pan for too long.
- Use Residual Heat: The sauce should be “translucent.” If it gets too dark, add a teaspoon of water or lemon juice to emulsify it back into a golden sauce.
Storage, Reheating, and Freezing
While this dish is best served immediately to appreciate the “glistening” interior, leftovers can be stored in an airtight container for up to 3 days. To reheat, avoid the microwave, which turns chicken into rubber. Instead, place it in a skillet with a splash of water or broth over low heat, covered, until just warmed through.
Freezing is possible for up to 2 months, though the texture of the garlic butter sauce may change slightly. Defrost in the fridge overnight before gently reheating.
What to Serve With This Pan-Seared Chicken
Because this recipe is so versatile, it fits perfectly within many different meal plans. For a light evening, pair it with some refreshing summer dinner ideas like a crisp arugula salad or grilled asparagus.
If you are looking for more creative recipe ideas to fill out your weekly menu, this chicken is the perfect companion to a creamy risotto or even some garlic bread with alfredo dipping sauce. For those busy lazy dinner nights, serving this over a bed of simple buttered noodles is a guaranteed win.
If you enjoy the rich flavors of this dish, you might also love our juicy pork tenderloin dinner which uses a similar searing and resting technique to ensure maximum moisture.
Frequently Asked Questions
Yes, but it must be completely thawed and patted extremely dry. Any excess moisture on the surface of the chicken will create steam, preventing the golden caramelized crust from forming.
For this specific visual result of ‘thick medallions,’ you do not need to pound them. However, if your breasts are uneven, you can gently level the thickest part to ensure even cooking.
The key is temperature control and resting. Pull the chicken from the heat when it reaches 160°F (71°C) and let it rest for at least 5-10 minutes. This allows juices to redistribute rather than spilling out when sliced.
Use an oil with a high smoke point like avocado, grapeseed, or light olive oil. Avoid extra virgin olive oil or butter for the initial sear, as they will burn at the temperatures required for a good crust.
Garlic burns very quickly. Ensure you reduce the heat to medium before adding the butter and garlic, and only baste for the final 4-5 minutes of the cooking process.
The Ultimate Pan-Seared Garlic Butter Chicken Recipe
Chicken Breast Dinner Ideas: The Golden Garlic Butter Pan-Seared Masterpiece
Ingredients
Equipment
Method
- Remove chicken from fridge 20 minutes early. Pat extremely dry with paper towels to ensure a crisp crust.
- Heat oil in skillet over medium-high until shimmering. Add chicken and sear for 5-6 minutes until a deep golden-brown caramelized crust forms.
- Flip chicken and reduce heat to medium. Add butter and garlic. Tilt pan and spoon the foaming garlic butter over the chicken for 4-5 minutes.
- Remove chicken when it reaches 160°F (71°C) internal temp. Let rest on a plate for 5-10 minutes to allow juices to redistribute.
- Slice into thick medallions. Drizzle with pan sauce and top with lemon zest, parsley, cracked pepper, and Maldon salt.
Notes
Use a cast iron skillet for the most consistent golden crust.
Closing & Call to Action
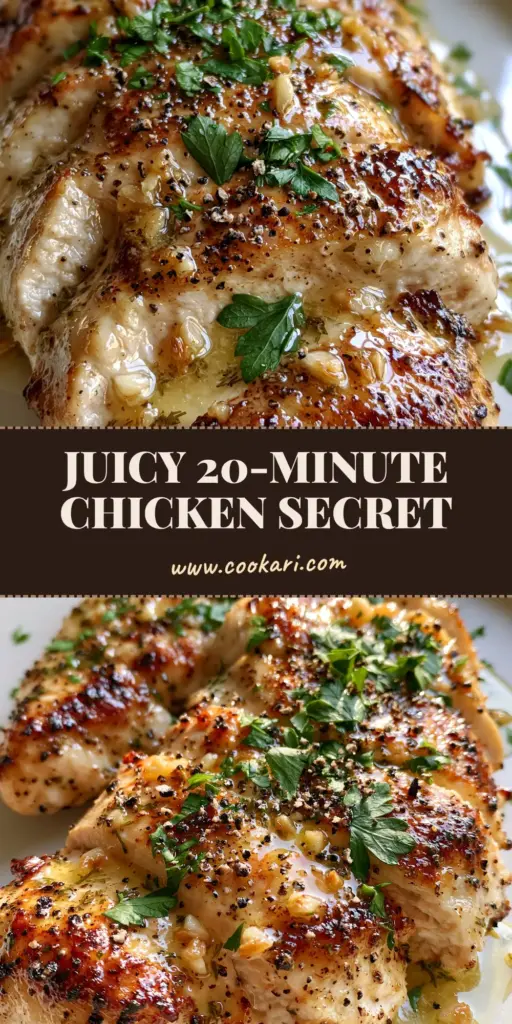
This masterclass in chicken breast dinner ideas proves that you don’t need a pantry full of exotic ingredients to create a world-class meal. It’s all about technique—the sear, the baste, and the rest. Once you see those glistening medallions on your own plate, you’ll never go back to basic baked chicken again.
If you found this guide helpful, please leave a comment below and let us know how your crust turned out! Don’t forget to follow us on Pinterest and share this recipe with your fellow home cooks.