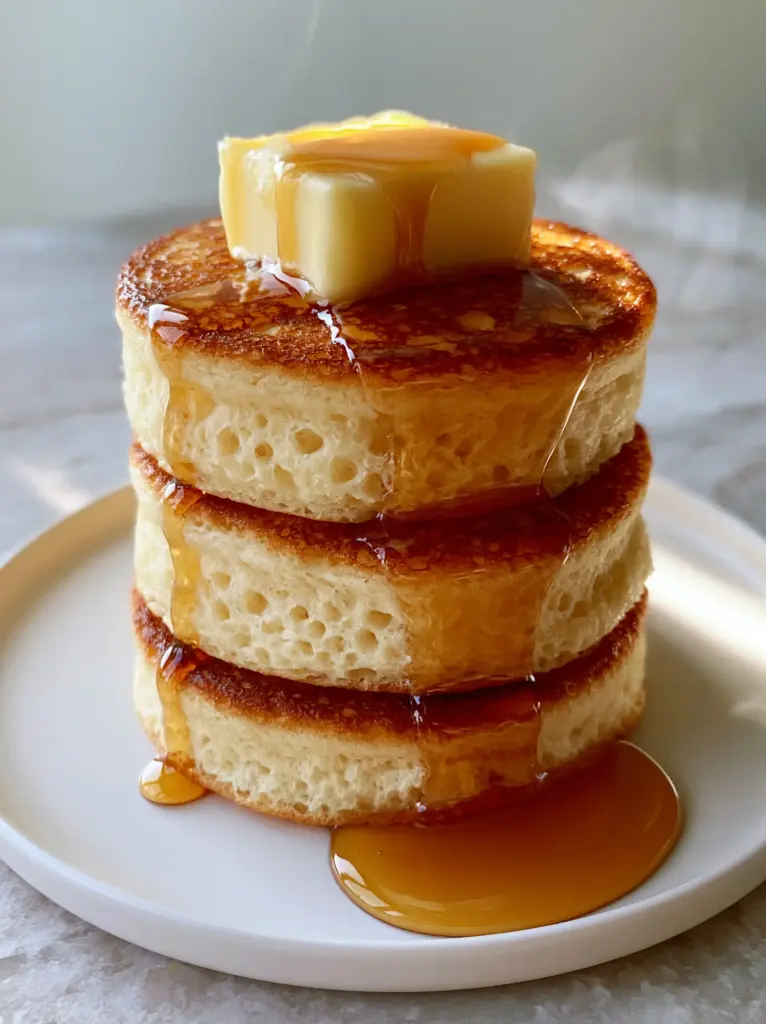
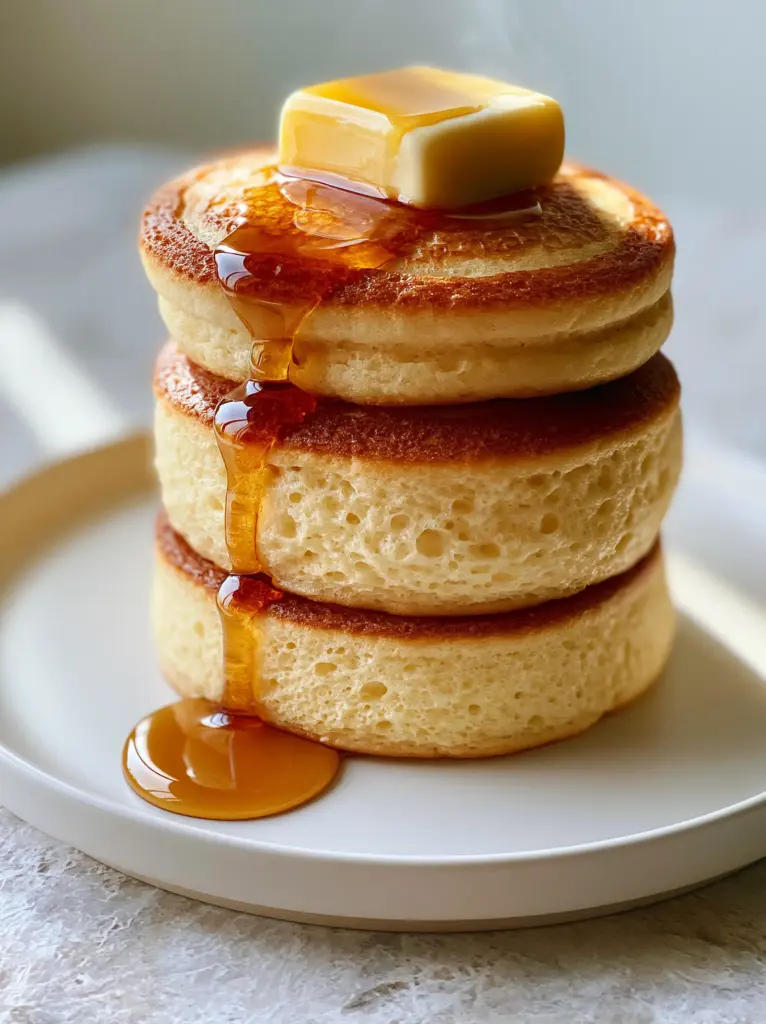
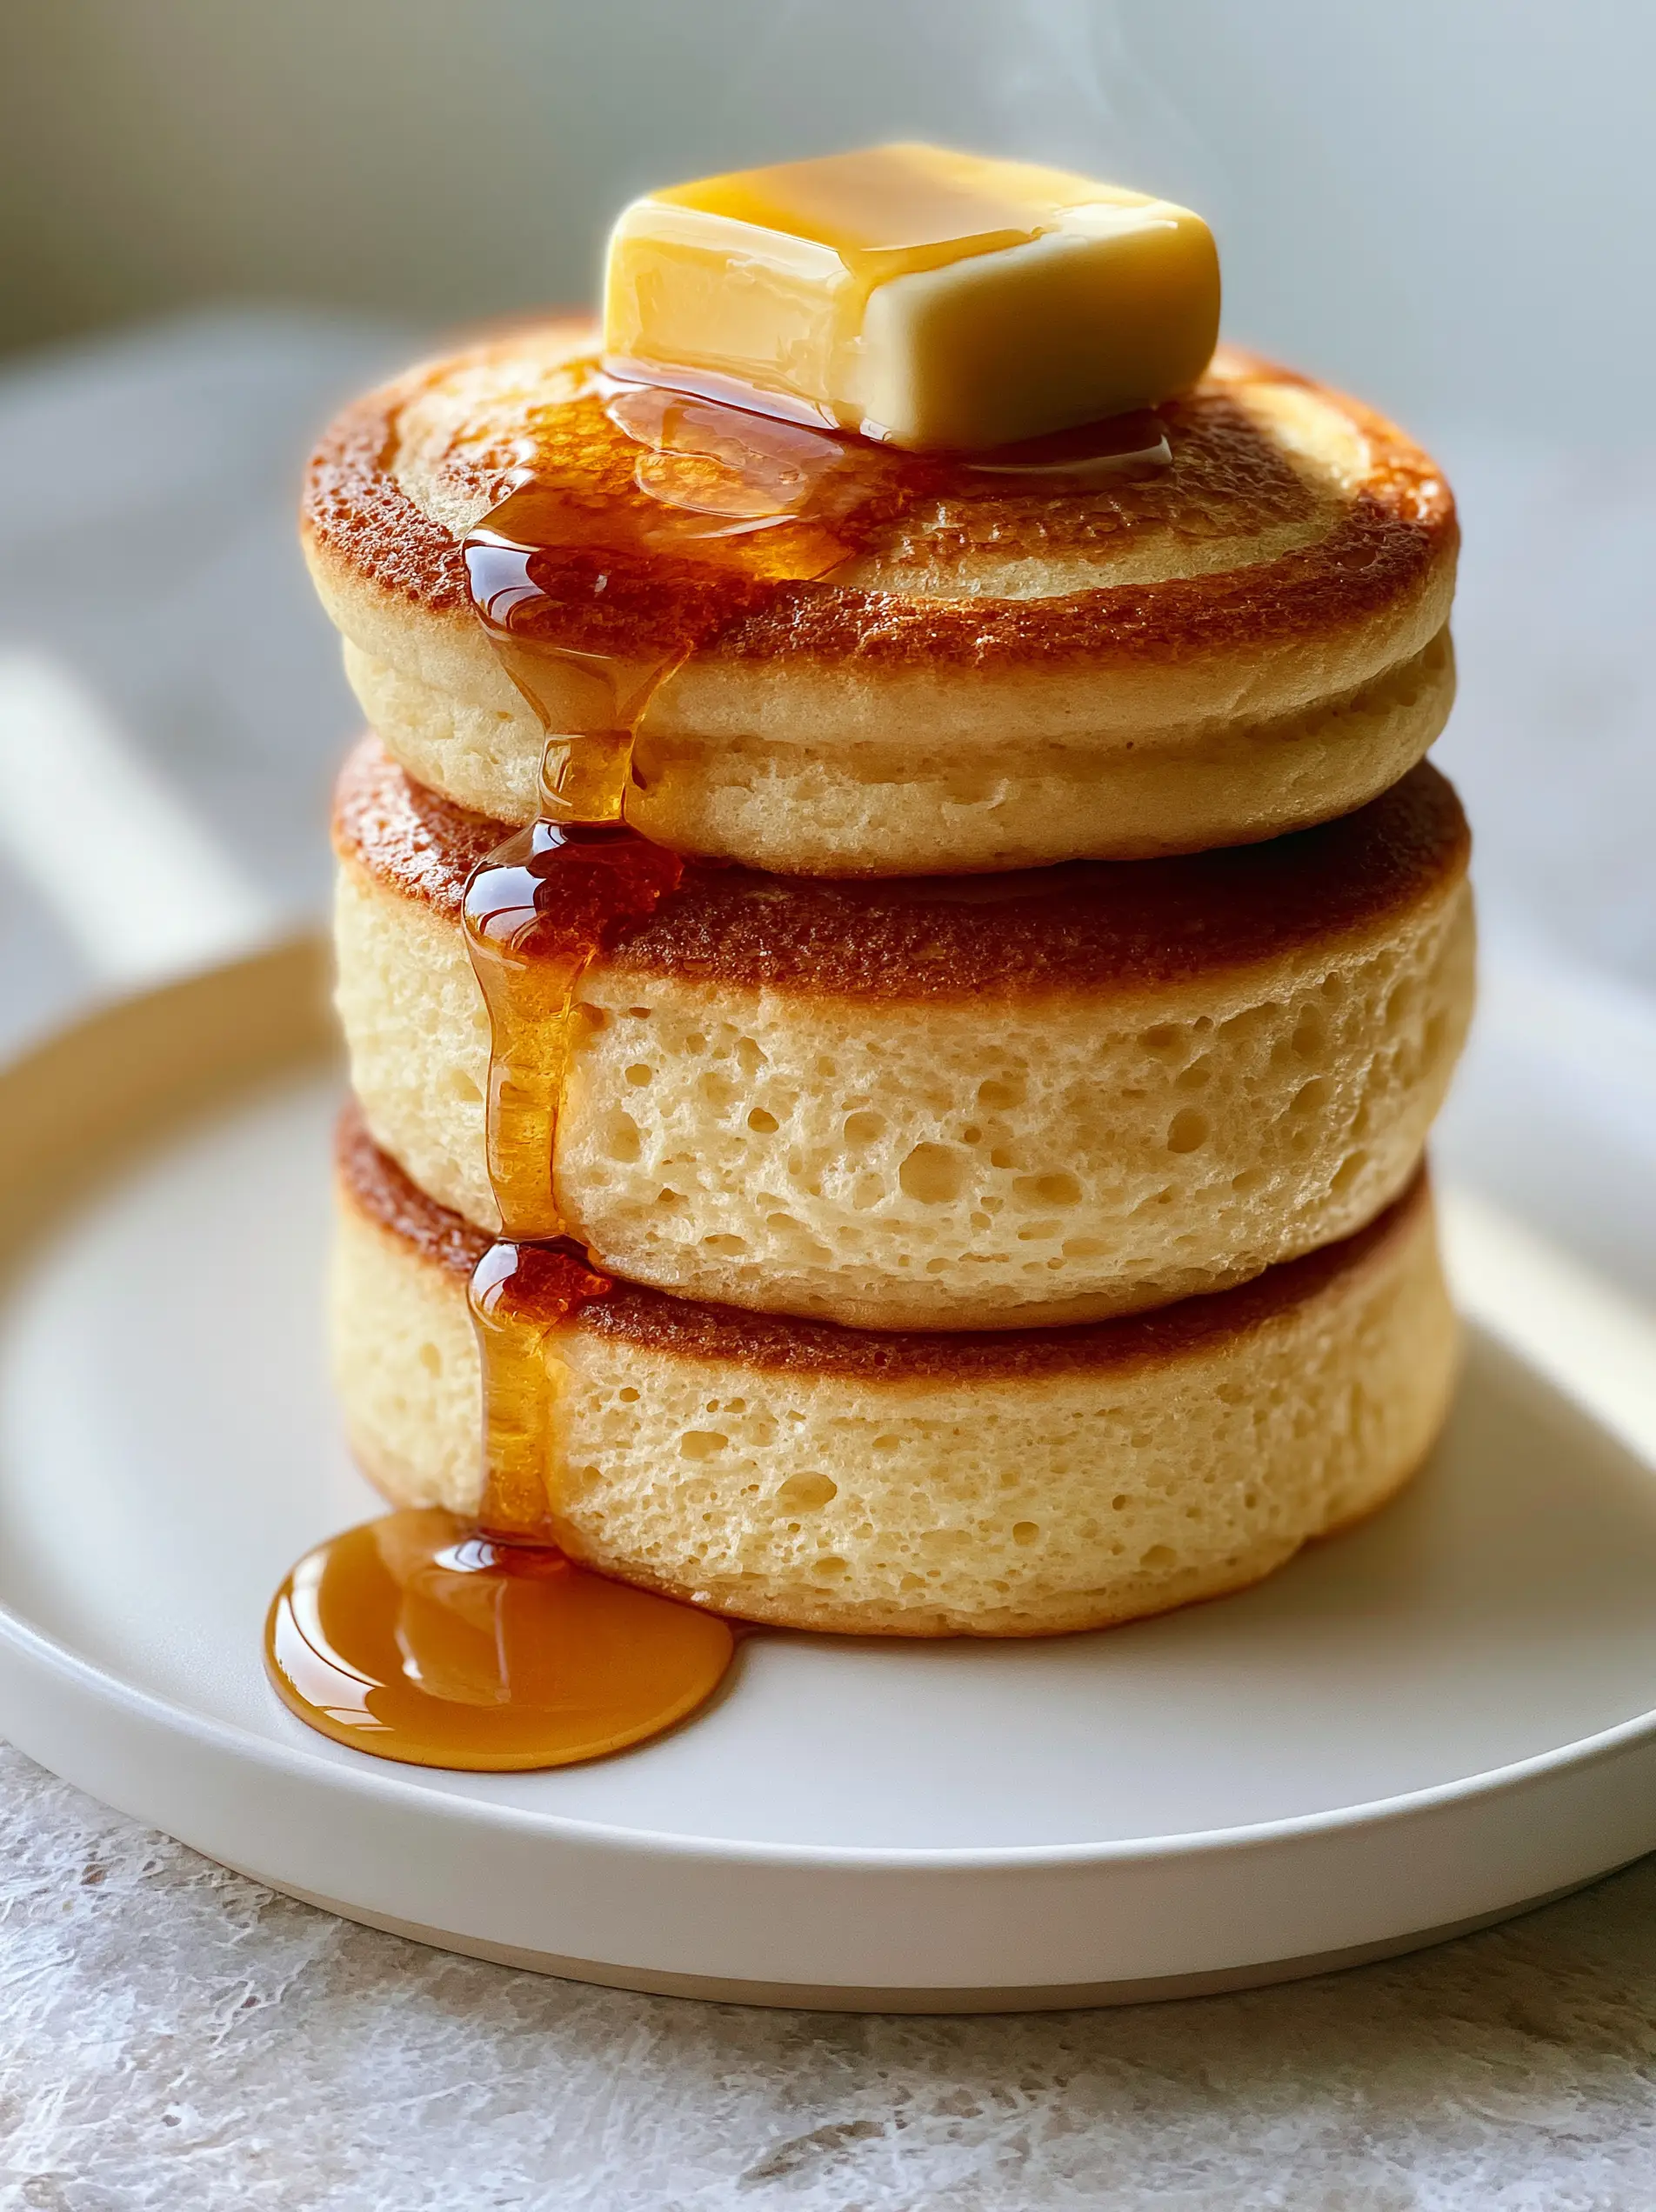
The ultimate pancakes recipe is the holy grail of home cooking, a dish that transforms simple pantry staples into a towering architectural marvel of breakfast engineering. Imagine waking up to a stack so lofty it defies gravity, featuring a massive 2-inch rise that showcases a visible honeycomb-like airy interior texture along the sides.
This isn’t your standard flat flapjack; this is a gourmet experience designed for those who crave a golden-brown griddle-seared surface and delicate, crispy lacy edges. When you slice into these, you will see a porous interior that perfectly captures every drop of viscous, glossy amber maple syrup.
Using professional culinary science, we have engineered this pancakes recipe to produce the exact results seen in high-end food photography. We are talking about soft, natural daylight reflecting off a melting square of salted butter, with gentle wisps of steam rising from a minimalist matte white ceramic plate.
Why This Extra-Thick Pancakes Recipe Works
- Unprecedented Height: We utilize a dual-leavening system and a whipped egg white technique to achieve a staggering 2-inch (5cm) thickness per pancake.
- Textural Contrast: You get a satisfyingly crisp, seared exterior paired with a light-as-air, aerated crumb that melts in your mouth.
- Syrup Absorption: The “honeycomb” sidewalls are specifically designed to act as a sponge for high-quality maple syrup.
- Visual Perfection: Every step is calibrated to produce the uniform golden-brown hue and lacy edges found in professional kitchens.
The Science of the Two-Inch Rise: Foundational Ingredients
To achieve the massive rise required for this pancakes recipe, we must understand the chemistry of leavening. We aren’t just using flour; we are creating a structural matrix capable of holding massive amounts of air without collapsing under its own weight.
All-Purpose Flour (2 cups / 250g): This provides the protein structure (gluten) necessary to trap the gases produced during cooking. While you can find many recipe ideas online, using a medium-protein flour is non-negotiable for this specific height.
Baking Powder (2 tbsp / 24g): This is a high-volume measurement, but it is necessary for the 2-inch lift. It reacts twice: once when mixed with liquid and again when it hits the heat of the griddle.
Baking Soda (1/2 tsp / 3g): When combined with acidic buttermilk, the soda creates an immediate burst of carbon dioxide. This helps create those airy, porous interiors that define a world-class breakfast.
Buttermilk (1 ½ cups / 360ml): The acidity in buttermilk tenderizes the gluten, ensuring the pancakes remain soft despite their massive size. If you prefer a thinner profile, you might look at a German pancake recipe, but for thickness, buttermilk is king.
Large Eggs (2 units, separated): The secret weapon for aeration. We will beat the whites to soft peaks, folding them in last to provide “invisible” mechanical leavening that survives the sear.
Salted Butter (4 tbsp / 56g, melted and cooled): Fat provides the mouthfeel and helps create the crispy lacy edges. We also need an extra square for the top of the stack to achieve that melting yellow glow.
Granulated Sugar (2 tbsp / 25g): Sugar isn’t just for sweetness; it aids in the Maillard reaction, giving us that perfect uniform golden-brown surface.
Essential Equipment for Towering Pancakes
To execute this pancakes recipe successfully, you need the right tools to manage the heat. A heavy-bottomed non-stick griddle or a well-seasoned cast-iron skillet is essential for even heat distribution across the 2-inch surface area.
A wide, thin silicone spatula is necessary to flip these giants without deflating the aerated structure. You will also benefit from using a large 2.5-inch (6cm) ice cream scoop to ensure each pancake has the same volume of batter, leading to a perfectly uniform stack.
Step-by-Step Instructions for the Perfect Stack
1. Prepare the Aerated Base
In a large bowl, whisk together the flour, sugar, baking powder, baking soda, and salt. In a separate medium bowl, whisk the buttermilk, egg yolks, and melted butter until fully emulsified.
Make a well in the center of the dry ingredients and pour in the liquid. Stir gently with a whisk just until combined—lumps are your friend here, as over-mixing will lead to a tough, rubbery texture instead of a honeycomb interior.
2. The Whipped Egg White Secret
In a clean glass bowl, beat the two egg whites until soft peaks form. Using a rubber spatula, gently fold the whites into the batter. This adds millions of tiny air bubbles that will expand on the griddle, ensuring the 2-inch thickness.
3. The Low-and-Slow Griddle Technique
Preheat your griddle over medium-low heat. Brush lightly with a small amount of neutral oil or butter. To achieve the golden-brown griddle-seared surface, the temperature must stay around 325°F (165°C).
Scoop about 1/2 cup (120ml) of batter onto the griddle. Because the batter is thick, it will not spread much. Use the back of the scoop to gently shape it into a circle, keeping the height at least 1.5 inches before the rise.
4. Monitoring the Visual Cues
Watch for bubbles to form on the surface and the edges to look set and “lacy.” Because these are so thick, this will take about 3-4 minutes per side. You are looking for a deep golden hue and the first signs of steam wisps escaping the sides.
Carefully flip the pancake. The second side will cook faster. You will see the pancake “jump” in height as the heat activates the baking powder, reaching that glorious 2-inch mark.
Expert Tips for Pancake Success
- Rest the Batter: Let the batter sit for 10 minutes before adding the egg whites. This allows the flour to hydrate and the leavening agents to begin their work.
- Control the Heat: If the exterior is browning too fast but the interior is still wet, lower your heat immediately. A thick pancake needs time for the heat to penetrate the center.
- The “Lid” Trick: If you struggle to get the center cooked, place a lid over the skillet for 60 seconds. The trapped steam will cook the interior while the bottom sears.
- Use Fresh Leavening: Ensure your baking powder is less than six months old, or you won’t get the “massive rise” promised in this pancakes recipe.
Creative Variations and Serving Suggestions
While this base pancakes recipe is iconic, you can easily adapt it for different flavors. If you want a fruity twist, simply fold in fresh berries for a blueberry pancakes recipe that maintains the same incredible height.
For a savory breakfast, serve these alongside a breakfast skillet recipe featuring potatoes and peppers. The contrast between the sweet maple syrup and salty skillet aromatics is unparalleled.
If you are planning a holiday brunch, these pancakes pair beautifully with recipe ideas like a fruit salad or even a side of crisp bacon. The visual of a towering stack on a matte white plate is always a crowd-pleaser.
Storage, Reheating, and Freezing
These pancakes are best enjoyed immediately while the steam is still rising. However, if you have leftovers, they store remarkably well. Place them in an airtight container in the refrigerator for up to 3 days.
To reheat, avoid the microwave as it can make them gummy. Instead, use a toaster oven or a dry skillet over low heat to revive the crispy lacy edges and the golden-brown surface.
To freeze, place a piece of parchment paper between each pancake and store in a freezer bag for up to 2 months. Reheat directly from frozen in a toaster for the best results.
Frequently Asked Questions
Buttermilk is preferred because its acidity reacts with the baking soda to create instant aeration. If using regular milk, add 1 tablespoon of lemon juice per cup of milk and let it sit for 5 minutes to mimic the acidic properties.
The secret is low-and-slow heat combined with a dual-leavening system. Cooking at 325°F (165°C) allows the heat to reach the center of the 2-inch stack while the exterior achieves a golden-brown sear without burning.
Lacy edges are created by the reaction of melted butter or oil on a preheated griddle. The fat fries the outer perimeter of the batter, creating a delicate, crispy texture that contrasts with the airy interior.
Folding in whipped egg whites provides mechanical leavening. These tiny air bubbles expand during cooking, creating the signature honeycomb-like airy interior texture and massive rise described in high-end food photography.
Overmixing develops gluten, which makes the pancakes tough and chewy. Leaving lumps in the batter ensures the structure remains tender and allows the leavening agents to produce a more significant rise.
The Ultimate 2-Inch Tall Pancakes Recipe
Pancakes Recipe: The Secret to 2-Inch Tall Honeycomb Fluffiness
Ingredients
Equipment
Method
- Whisk flour, baking powder, soda, sugar, and salt in a large bowl.
- Mix buttermilk, egg yolks, and 4 tbsp melted butter in a separate bowl.
- Fold wet ingredients into dry until just combined; do not overmix.
- Beat egg whites to soft peaks and gently fold into the main batter.
- Heat griddle to 325°F (165°C) and lightly grease with oil or butter.
- Scoop 1/2 cup batter per pancake. Cook 3-4 minutes per side until golden-brown with lacy edges.
- Stack three high, top with a butter square, and drizzle with maple syrup.
Notes
Ensure the griddle is not too hot to allow the 2-inch thickness to cook through.
A Masterpiece on Your Plate
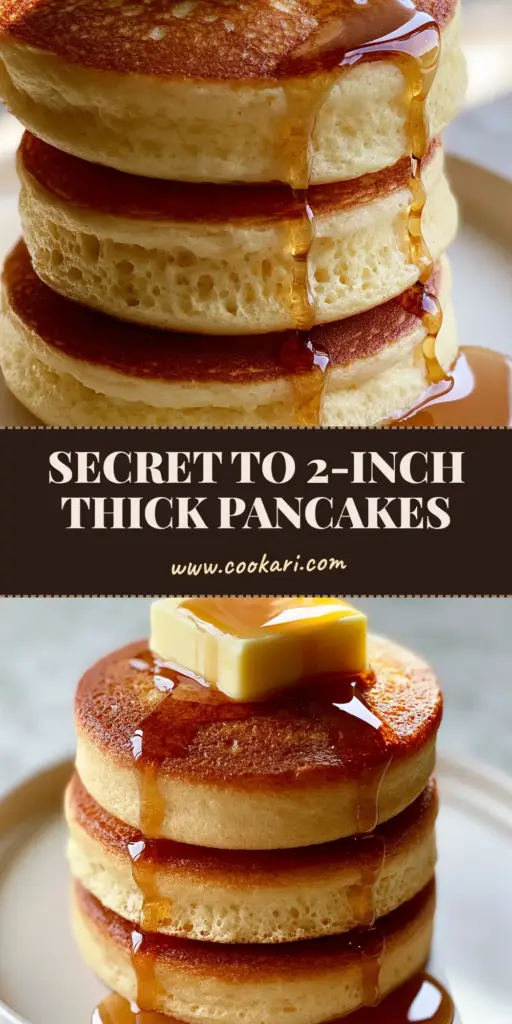
Creating the perfect stack of pancakes is a rewarding culinary journey that combines chemistry with art. By following this pancakes recipe, you ensure a breakfast that is as visually stunning as it is delicious—complete with honeycomb interiors and a glossy syrup finish.
We invite you to share your towering creations with us! Leave a comment below telling us how your rise turned out, and don’t forget to follow cookari_officail on Pinterest for more visual recipe inspiration and breakfast ideas.