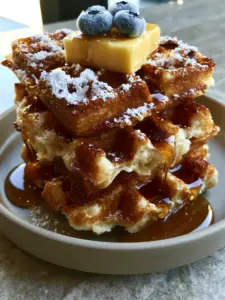
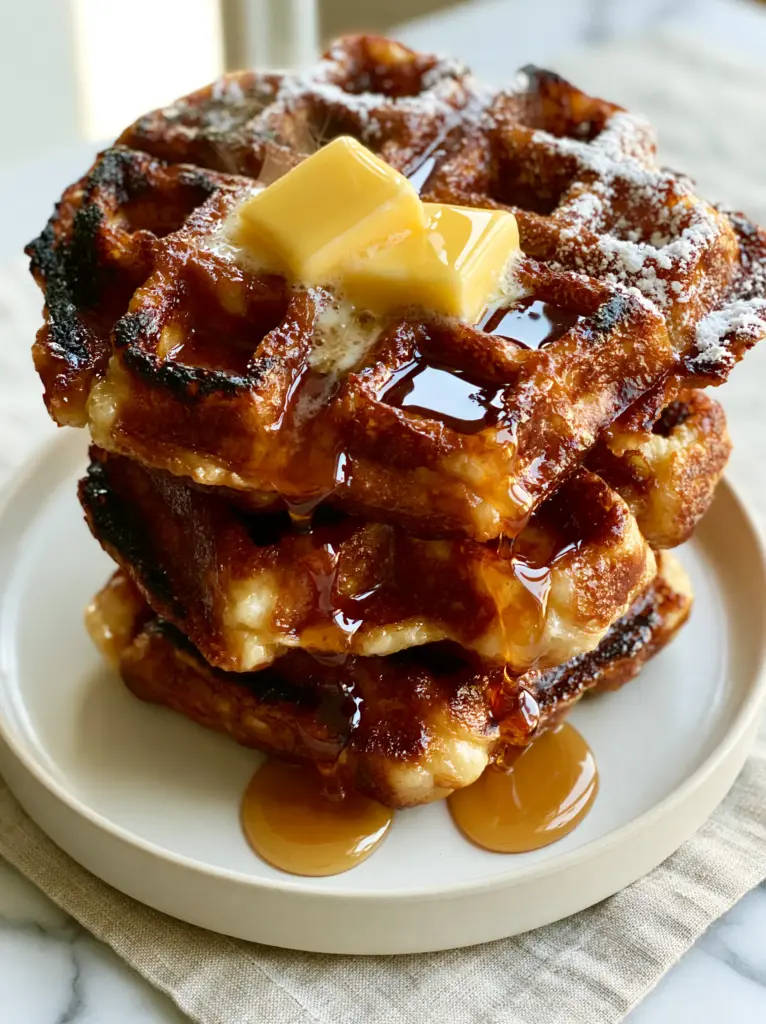
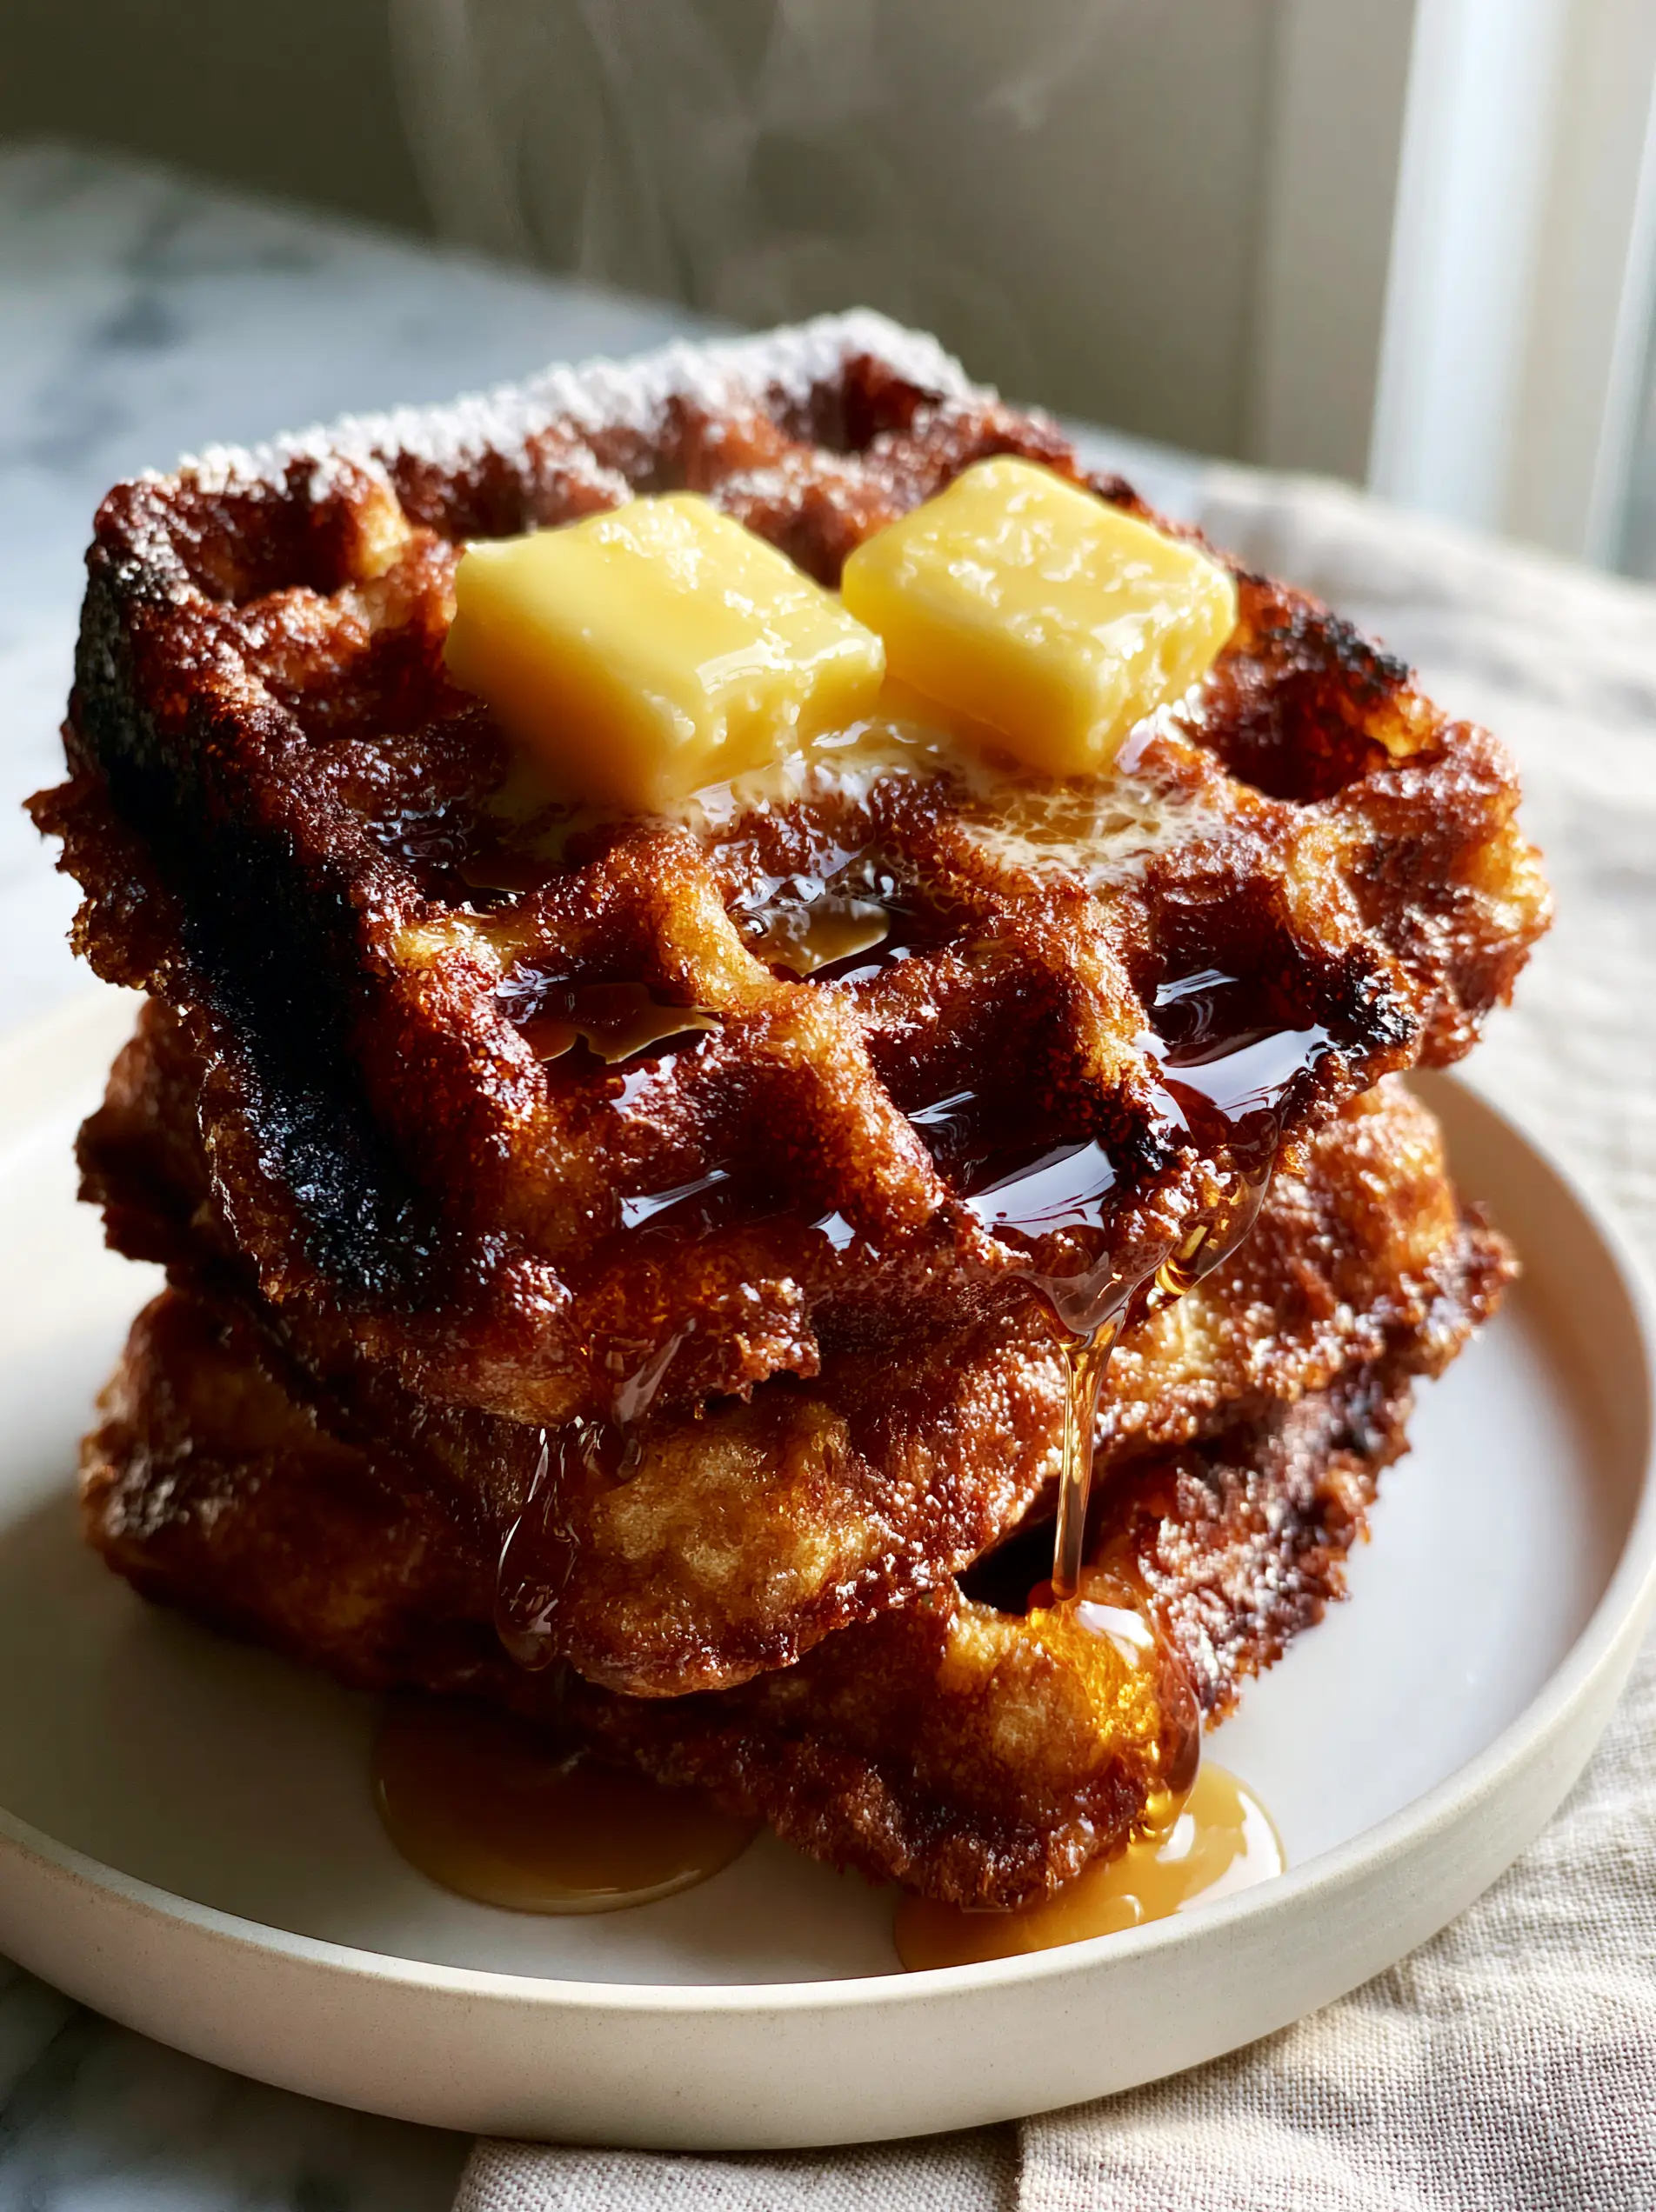
There is a specific, nostalgic magic that happens when a homemade waffles recipe produces a stack that looks like it belongs on a professional film set. Imagine three thick, Belgian-style waffles stacked high, their surfaces a deep golden-brown with those coveted charred, crispy edges that shatter upon the first bite.
This isn’t just about breakfast; it is about the architecture of the perfect morning. We are talking about deep, well-defined square pockets designed specifically to act as reservoirs for thick, glossy amber maple syrup and melting cubes of salted butter.
In this guide, we will bridge the gap between “good” waffles and the “best” waffles you have ever tasted. By focusing on culinary science and visual precision, you will learn to recreate the exact masterpiece described in our culinary blueprint—right down to the light dusting of powdered sugar.
The Science of the Perfect Belgian Texture
- The Golden-Brown Equilibrium: Achieving that specific deep hue requires a precise balance of sugars and fats that caramelize quickly under the intense heat of a waffle iron.
- The Structural Pockets: We use a high-protein flour blend to ensure the square walls of the pockets remain upright and don’t collapse under the weight of heavy syrups.
- The Toasted Perimeter: By incorporating a specific ratio of cornstarch, we create a “glassy” exterior that results in those visually stunning charred, crispy edges.
- The Melt Factor: The recipe is designed to be served piping hot, ensuring your salted butter cubes begin to slump and melt into the deep square wells immediately upon contact.
The Essential Pantry Staples for Golden Belgian Waffles
To achieve the results seen in our professional photography, every ingredient serves a dual purpose: structural integrity and visual appeal. This homemade waffles recipe relies on precision measurements to ensure consistent results every Sunday morning.
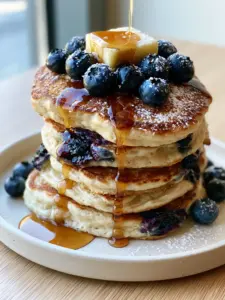
All-Purpose Flour: 2 cups (250g). This provides the necessary gluten structure to hold those deep square pockets without them becoming tough or bread-like. If you are looking for a different morning vibe, you might also enjoy our fluffy blueberry pancake recipe.
Cornstarch: 1/2 cup (60g). This is the “secret” ingredient for that forensic visual accuracy; it guarantees the crispy, toasted edges and prevents the waffles from becoming soggy under the syrup.
Baking Powder: 1 tbsp (15g) and Baking Soda: 1/2 tsp (3g). This dual-leavening approach ensures a massive rise, filling the Belgian iron completely to create those thick, tall stacks.
Granulated Sugar: 2 tbsp (25g). Beyond sweetness, sugar is the primary driver of the Maillard reaction, giving us that deep amber, golden-brown hue seen in our blueprint.
Buttermilk: 1 3/4 cups (420ml). The acidity in buttermilk reacts with the leavening agents to create a tender interior crumb that contrasts perfectly with the charred exterior. If you’ve run out of buttermilk, you can check out our easy waffle mix guide for quick alternatives.
Unsalted Butter, Melted: 1/2 cup (115g). Fat is essential for a rich mouthfeel and to ensure the batter releases cleanly from the iron, preserving those sharp, square edges.
Large Eggs: 2. We will separate these eggs to incorporate maximum air, a technique often used in our traditional German pancakes to achieve a light, airy lift.
Vanilla Extract: 1 tsp (5ml) and Salt: 1 tsp (5g). These are the flavor enhancers that elevate the batter from plain to professional-grade, highlighting the sweetness of the maple syrup.
Professional Equipment for Deep-Pocket Waffles
To match the Midjourney visual prompt exactly, you cannot use a standard thin waffle iron. You require a dedicated Belgian Waffle Maker with deep grids to create the “reservoirs” for the syrup cascade.
A high-quality whisk or a stand mixer is also necessary for beating the egg whites. This process introduces the micro-bubbles needed for the “steam and moisture” highlighted in our visual cues.
Finally, a minimalist off-white ceramic plate and a neutral linen napkin will help you recreate the aesthetic of the “unedited, authentic food photography style” we are aiming for.
The Step-by-Step Path to Waffle Perfection
Success with this homemade waffles recipe lies in the technique. Follow these steps carefully to ensure your waffles have the height and texture of a professional kitchen’s output.
Mixing the Dry Foundation
In a large mixing bowl, whisk together the flour, cornstarch, sugar, baking powder, baking soda, and salt. Whisking for at least 30 seconds ensures the leavening agents are perfectly distributed, preventing any uneven “lumps” in your waffle’s rise.
This dry base is very similar to what you would prepare for our classic homemade pancakes, though the ratio of cornstarch is higher here to prioritize that crispy exterior.
The “Fluff” Factor: Separating the Eggs
Separate your egg yolks from the whites. In a medium bowl, whisk the yolks with the buttermilk, melted butter, and vanilla until smooth and pale yellow.
In a separate, clean glass bowl, beat the egg whites until stiff peaks form. This step is the difference between a dense waffle and the light, airy Belgian waffles seen in our tall stack of three.
Marrying the Ingredients
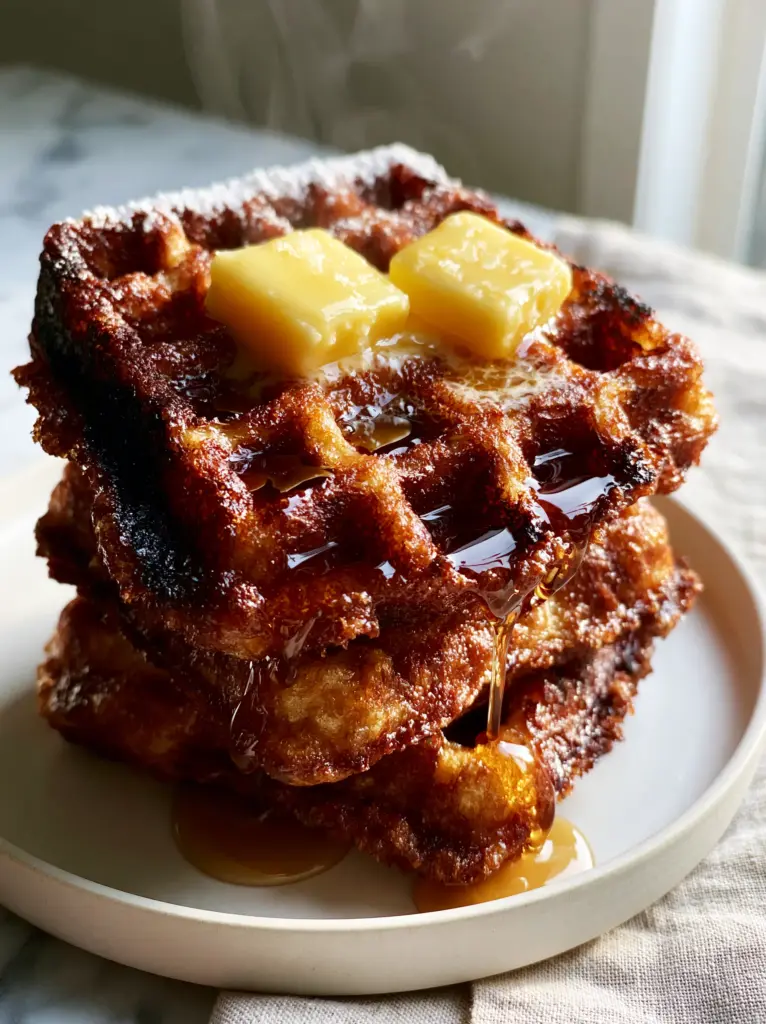
Create a well in the center of the dry ingredients and pour in the buttermilk mixture. Stir gently with a spatula until just combined; it is perfectly fine if there are a few small lumps remaining.
Gently fold in the beaten egg whites using a “cut and fold” motion. This preserves the air bubbles, ensuring your waffles have those well-defined square pockets and a light, cloud-like interior.
Achieving the Charred, Crispy Edges
Preheat your Belgian waffle iron to its highest setting. Once the indicator light signals it is ready, lightly grease the plates with a high-smoke point oil or butter spray.
Pour the batter into the center (usually about 1/2 to 3/4 cup (120ml to 180ml) depending on your iron size) and close the lid. Do not peek! Wait until the steam stops escaping the sides—this is the sensory cue that the exterior has formed its golden-brown crust.
Expert Tips for Success
- The No-Peeking Rule: Opening the iron too early will tear the pockets. Wait for the steam to subside entirely before checking for that deep golden hue.
- The Cooling Rack Trick: Never stack hot waffles directly on a plate if you aren’t eating them immediately. Place them on a wire rack to allow air circulation, or they will lose their charred, crispy edges.
- Temperature Matters: Ensure your buttermilk and eggs are at room temperature. Cold ingredients can cause the melted butter to solidify in the batter, leading to an uneven texture.
- The Syrup Warm-up: To achieve the “glossy amber maple syrup” look, warm your syrup slightly before pouring. This allows it to cascade more fluidly down the sides.
Preserving the Crunch: Storage and Reheating
If you have leftovers from this homemade waffles recipe, they freeze beautifully. Allow them to cool completely on a wire rack to prevent moisture buildup.
Store waffles in a freezer-safe zip-top bag with parchment paper between each layer. They will stay fresh for up to 3 months.
To reheat and restore the “crispy toasted edges,” skip the microwave. Place the frozen waffles directly into a toaster or a 350°F (175°C) oven for 5-8 minutes until the butter pockets sizzle once again.
What to Serve with Belgian Waffles
While a stack of three waffles is a meal in itself, you can round out your breakfast spread with variety. For a savory contrast, consider a potato and egg breakfast skillet.
If you are serving these for a brunch party, they pair excellently with seasonal fruit platters or even a side of crispy bacon. For those with a significant sweet tooth, these waffles also work as a dessert when topped with a scoop of vanilla bean ice cream.
Frequently Asked Questions
Yes, but buttermilk provides a more tender crumb and a better rise. If using regular milk, add 1 tablespoon of lemon juice or vinegar to it and let it sit for 5 minutes before using.
The secret is adding cornstarch to your dry ingredients and ensuring your waffle iron is preheated to its highest setting. Avoid stacking them directly on a plate; use a wire rack instead.
Use a toaster or a preheated oven at 350°F (175°C). This restores the crispy exterior that a microwave would turn soggy.
This usually happens if the iron wasn’t hot enough or if there wasn’t enough fat in the batter. Make sure your iron is fully preheated and lightly greased before adding the batter.
Whipping the egg whites separately and folding them in at the end introduces tiny air bubbles that create a light, airy texture and help achieve that massive Belgian rise.
The Ultimate Homemade Belgian Waffles
Homemade Waffles Recipe: How to Achieve Crispy Golden Perfection
Ingredients
Equipment
Method
- In a large bowl, whisk flour, cornstarch, sugar, baking powder, baking soda, and salt.
- In a medium bowl, combine buttermilk, melted butter, egg yolks, and vanilla.
- In a separate clean bowl, beat egg whites until stiff peaks form.
- Fold the wet mixture into the dry, then gently fold in the egg whites until just combined.
- Preheat Belgian waffle iron to high. Lightly grease.
- Pour batter into center and cook until steam stops and edges are charred and golden-brown.
Notes
Use cornstarch for a crunchier exterior.

Closing & Call to Action
Mastering this homemade waffles recipe is a rite of passage for any home cook. The combination of the shattering crisp exterior and the soft, syrup-soaked interior is a culinary experience that no boxed mix can ever replicate. We hope this forensic guide helps you create the breakfast of your dreams!
If you enjoyed this recipe, please leave a comment below and let us know how your crispy edges turned out. Don’t forget to share your creations and follow us on Pinterest for more visual recipe inspirations!