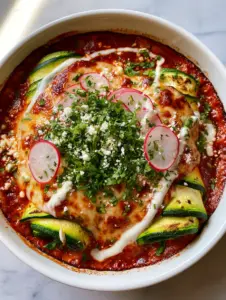
This Zucchini Rollatini is a masterpiece of Italian-inspired comfort, reimagined for the modern, health-conscious kitchen. If you are looking for a dish that balances the vibrancy of fresh garden produce with the indulgent pull of melted cheese, you have found it. Unlike traditional pasta-based dishes, this version uses thinly sliced green zucchini ribbons to create elegant, low-carb spirals that are as beautiful to look at as they are delicious to eat.
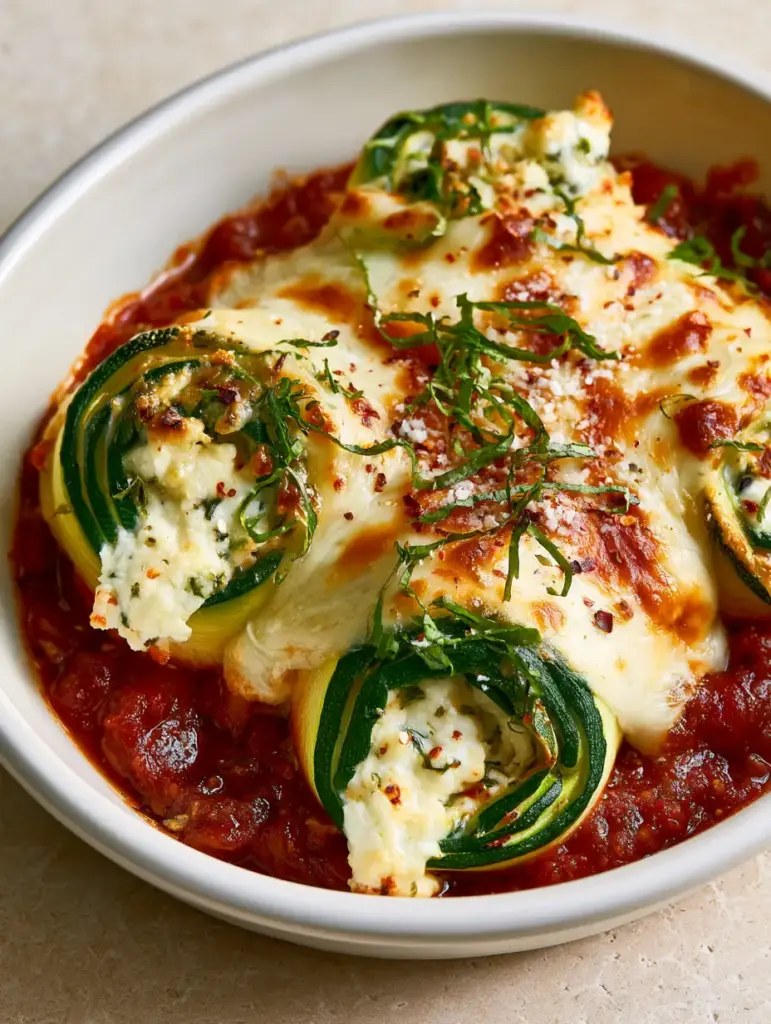
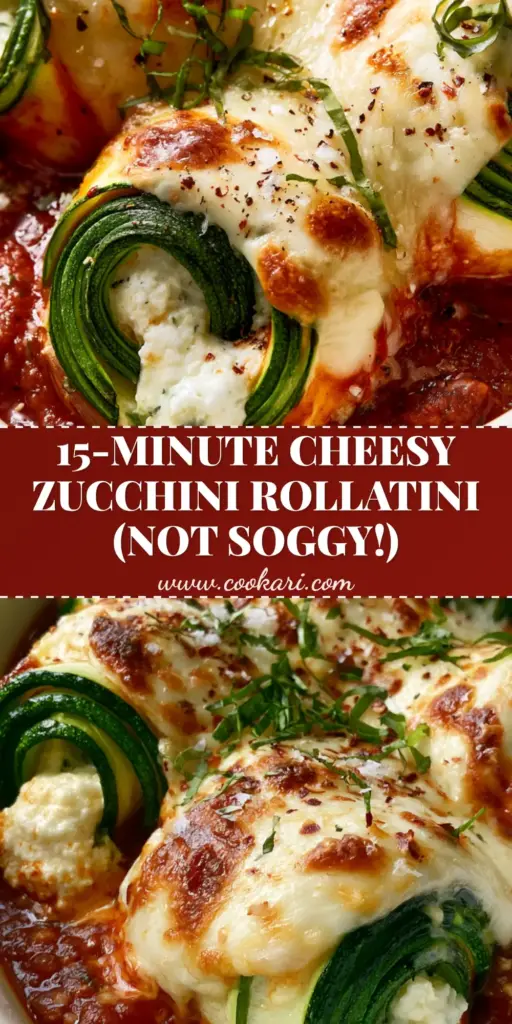
Every bite of this Zucchini Rollatini offers a symphony of textures. Imagine vibrant green, perfectly al dente zucchini wrapped around a thick, creamy white ricotta and herb filling that is just beginning to ooze. The top is finished with a bubbling layer of mozzarella and parmesan, toasted to a perfect golden-brown, all resting in a pool of rich, chunky deep-red marinara sauce. It’s the ultimate centerpiece for a family dinner or a weekend gathering.
Whether you are a seasoned pro at fresh zucchini recipes or a newcomer to the world of vegetable noodles, this guide will walk you through the culinary science of achieving the perfect “roll” without the dreaded sogginess. Let’s dive into how to transform humble squash into a gourmet Italian feast.
The Signature Appeal of Gourmet Zucchini Spirals
- Structural Integrity: Using precise salt-sweating techniques, our zucchini ribbons remain vibrant green and “al dente” rather than mushy.
- Visual Contrast: The deep red of the chunky marinara provides a stunning backdrop for the bright white ricotta and golden-brown blistered cheese.
- Flavor Density: Fresh julienned basil, dried red chili flakes, and cracked black pepper add layers of aromatic heat and freshness.
- Wholesome Indulgence: It delivers the soul-satisfying flavor of a classic lasagna but feels significantly lighter and more refreshing.
Essential Components for the Perfect Zucchini Rollatini
Large Green Zucchini: You’ll need 3 to 4 straight, firm zucchinis to get those long, wide ribbons. These act as your “pasta” and provide the structural base for the rollatini.
Whole Milk Ricotta: This provides the creamy white interior. For the best mouthfeel, look for a high-quality ricotta that isn’t too watery, ensuring it holds its shape inside the spiral.
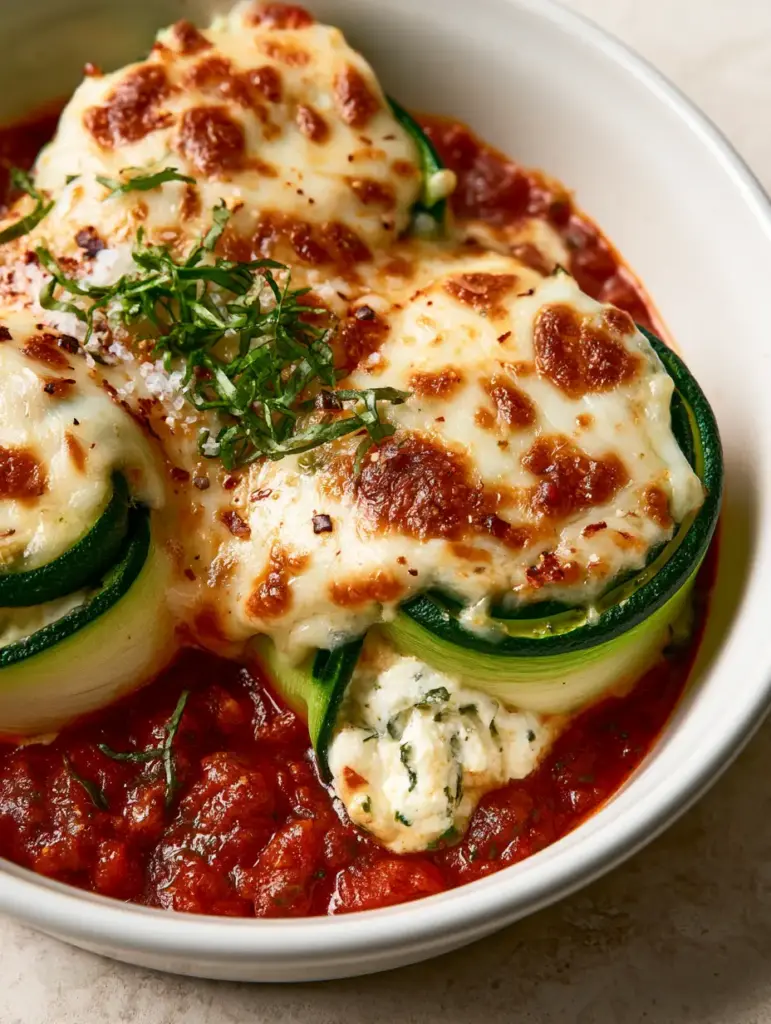
Fresh Grated Parmesan & Mozzarella: We use a blend of these two for the topping. The mozzarella provides the classic “cheese pull,” while the parmesan contributes to those distinct golden-brown toasted spots seen in the visual blueprint.
Chunky Marinara Sauce: A thick, deep-red sauce is vital. It shouldn’t be thin or watery; look for a “rustico” style sauce that features visible pieces of tomato to provide a textural contrast to the smooth filling.
Fresh Herbs (Basil and Parsley): Green herb specks in the ricotta filling come from fresh flat-leaf parsley. We finish the dish with julienned (chiffonade) basil for a hit of aromatic freshness right before serving.
Invisible Essentials: Don’t forget the Kosher salt for sweating the zucchini, extra virgin olive oil for a light sear, and a large egg to bind the ricotta filling so it doesn’t run during baking.
Professional Tools for Culinary Precision
To achieve the uniform, thin ribbons required for this recipe, a mandoline slicer is your best friend. It ensures every slice is exactly 1/8th of an inch (3mm) thick, which is the “sweet spot” for flexibility and bite. You will also need a shallow white ceramic baking dish; the white ceramic reflects heat evenly and provides that high-end aesthetic described in our visual guide.
A fine-mesh strainer is also useful for draining the ricotta, and a cast-iron skillet or heavy non-stick pan is necessary for a quick pre-bake sear to lock in the green color and remove excess moisture.
Mastering the Zucchini Ribbon: A Step-by-Step Guide
Preparing the Zucchini “Pasta”
Start by trimming the ends of your zucchini. Using a mandoline or a very sharp vegetable peeler, slice the zucchini into long, wide ribbons. Stop once you reach the seedy center, then flip and repeat on the other side. Save the centers for zucchini breadsticks later!
Lay the ribbons on a paper-towel-lined baking sheet. Sprinkle lightly with sea salt. Let them sit for 15 minutes; you will see beads of water forming on the surface. This “sweating” process is the secret to a Zucchini Rollatini that isn’t watery.
Crafting the Creamy Herb Filling
In a medium mixing bowl, combine 2 cups (480g) of ricotta, 1/2 cup (50g) of grated parmesan, one large egg, and 2 tablespoons of finely chopped parsley. Season with a pinch of cracked black pepper and a hint of garlic powder.
Fold the ingredients together gently. The egg acts as a stabilizer, ensuring the filling remains thick and creamy inside the zucchini spirals as they bake, rather than melting into a puddle.
The Flash-Sear Technique
Heat a drizzle of olive oil in a large skillet over medium-high heat. Quickly sear the zucchini ribbons for about 30 seconds per side. You aren’t looking to fully cook them, just to make them pliable and intensify that vibrant green color. Pat them dry one last time after searing.
Assembly: Rolling the Rollatini
Spread about 1.5 cups (350ml) of your chunky marinara at the bottom of your ceramic dish. Lay a zucchini ribbon flat and place a generous tablespoon of filling at one end. Roll it up snugly and place it seam-side down in the sauce.
Repeat until the dish is filled with beautiful green spirals. The spirals should be nestled closely together, which helps them support each other and keeps the filling from escaping.
Baking for the “Blistered” Finish
Preheat your oven to 400°F (200°C). Top the rolls with a generous layer of shredded mozzarella and the remaining parmesan. Sprinkle with dried red chili flakes for a subtle heat.
Bake for 20-25 minutes. During the last 3 minutes, switch to the broiler setting. Watch closely! You want the cheese to transition from melted to “bubbling and blistered” with those characteristic golden-brown spots. The sauce should be simmering around the edges of the rolls.
Expert Success Tips for the Home Chef
- Dry is Best: If your ricotta looks wet, strain it through cheesecloth for an hour before mixing. This ensures the filling stays “thick and creamy” as described in the Midjourney prompt.
- Slicing Consistency: If your ribbons are too thick, they will crack when rolling. If too thin, they will dissolve into the sauce. Stick to that 1/8-inch thickness.
- The Broiler Rule: Every oven broiler is different. To get that “perfectly toasted” look without burning, keep the oven door slightly ajar and rotate the dish once.
- Flavor Layering: Don’t skip the sea salt and red pepper flakes at the end. They provide a final pop of flavor that cuts through the richness of the cheese.
Effective Storage and Reheating Methods
Leftover Zucchini Rollatini can be stored in an airtight container in the refrigerator for up to 3 days. Because zucchini has a high water content, it is not recommended to freeze this dish after baking, as the texture will become overly soft upon thawing.
To reheat, place the rolls in an oven-safe dish and cover with foil. Warm at 350°F (175°C) until the cheese is bubbling again. This helps maintain the al dente texture of the zucchini better than a microwave would.
Perfect Pairings for a Full Italian Spread
While this dish is a star on its own, it pairs beautifully with other Italian-inspired sides. For a crunchy contrast, try serving it alongside oven-roasted parmesan zucchini or a crusty loaf of garlic bread. If you’re looking for more appetizers, zucchini balls or a light zucchini dip make for a wonderful themed dinner party menu.
For those who love the texture of baked zucchini, you might also enjoy exploring an Italian zucchini scarpaccia, which offers a different take on the crispy-cheesy flavor profile.
Answering Your Top Rollatini Questions
Yes, you can assemble the rolls in the sauce and store them covered in the fridge for up to 24 hours before baking. Wait to add the cheese and bake just before serving.
While you can, whole milk ricotta is recommended for that ‘thick and creamy’ texture. If using low-fat, ensure you drain it well and use an egg to maintain structure.
Finish the dish under the broiler for 2-3 minutes at the end of the baking cycle. Keep a close eye on it to achieve the perfect blister without burning.
The key is a two-step moisture removal process: salt-sweating the raw ribbons for 15 minutes followed by a quick flash-sear in a skillet to evaporate residual liquid.
A mandoline slicer set to 1/8th of an inch is the most efficient way to get uniform, pliable ribbons that won’t crack or break when rolled.
The Ultimate Zucchini Rollatini Recipe
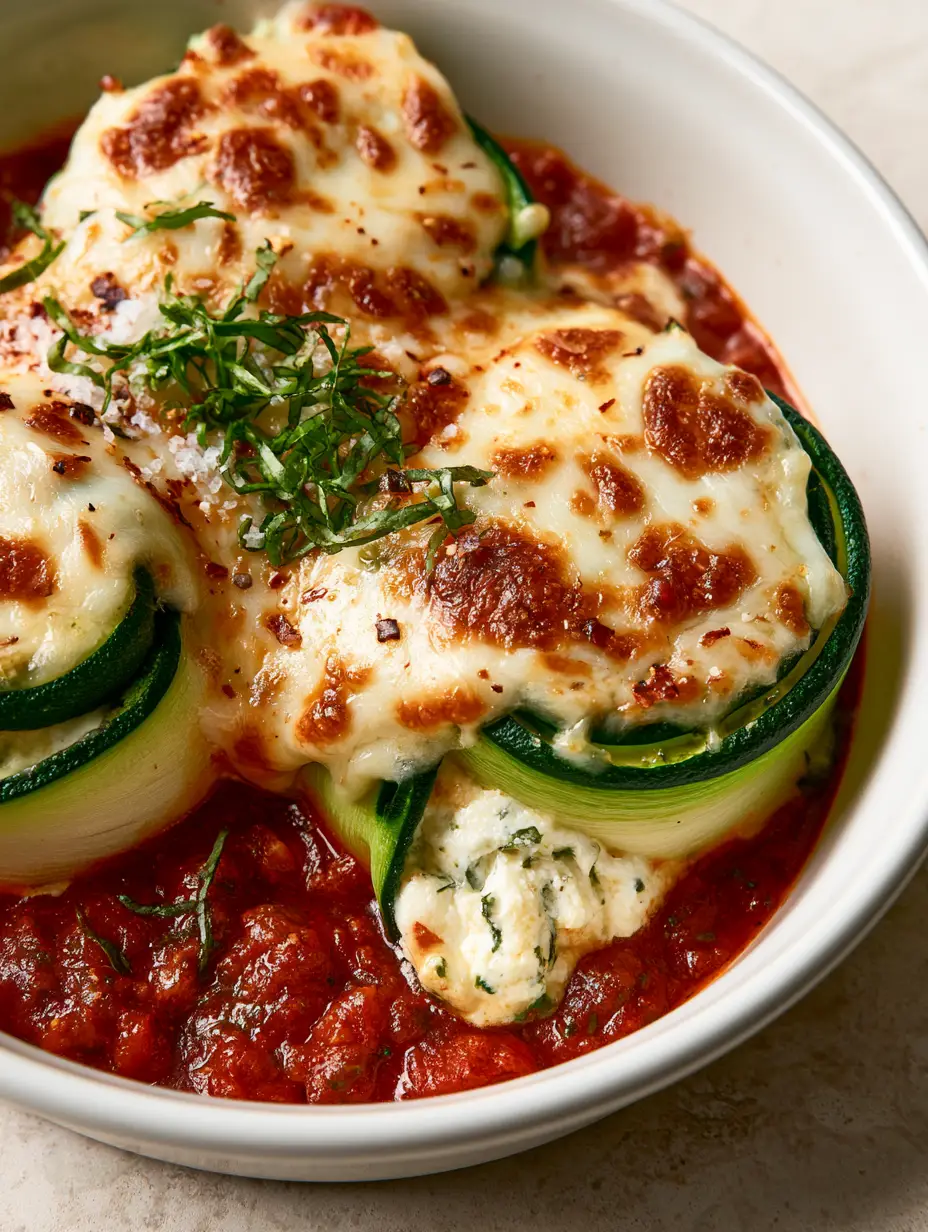
Zucchini Rollatini with Creamy Ricotta and Blistered Mozzarella
Ingredients
Equipment
Method
- Slice zucchini into 1/8-inch ribbons. Salt and let sweat for 15 mins, then pat dry with paper towels.
- In a bowl, combine ricotta, egg, parmesan, parsley, and pepper. Stir until creamy with green specks visible.
- Flash-sear zucchini ribbons in a hot skillet for 30 seconds per side until pliable and vibrant green.
- Spread marinara in the baking dish. Place filling on zucchini ribbons, roll tightly, and place in dish.
- Top with mozzarella and bake at 400°F (200°C) for 20 mins. Broil for 2-3 mins until cheese is blistered with golden-brown spots.
Notes
Use a high-quality chunky marinara for the best visual and textural results.
Closing Thoughts and Joining the Community
Mastering the Zucchini Rollatini is a rewarding experience that brings a touch of elegance to your weeknight routine. The combination of fresh greens, rich cheese, and robust tomato sauce is a timeless trio that never fails to impress. We hope this guide helps you achieve that perfect, blistered-cheese finish every time!
If you enjoyed this recipe, please leave a comment below and let us know how your rolls turned out! Don’t forget to share your creations and pin this recipe to your favorite boards on Pinterest so you can find it whenever the craving for healthy Italian comfort hits.
For more inspiration, check out our latest cheesy baked zucchini recipe or learn the secrets to garlic butter zucchini. Happy cooking!