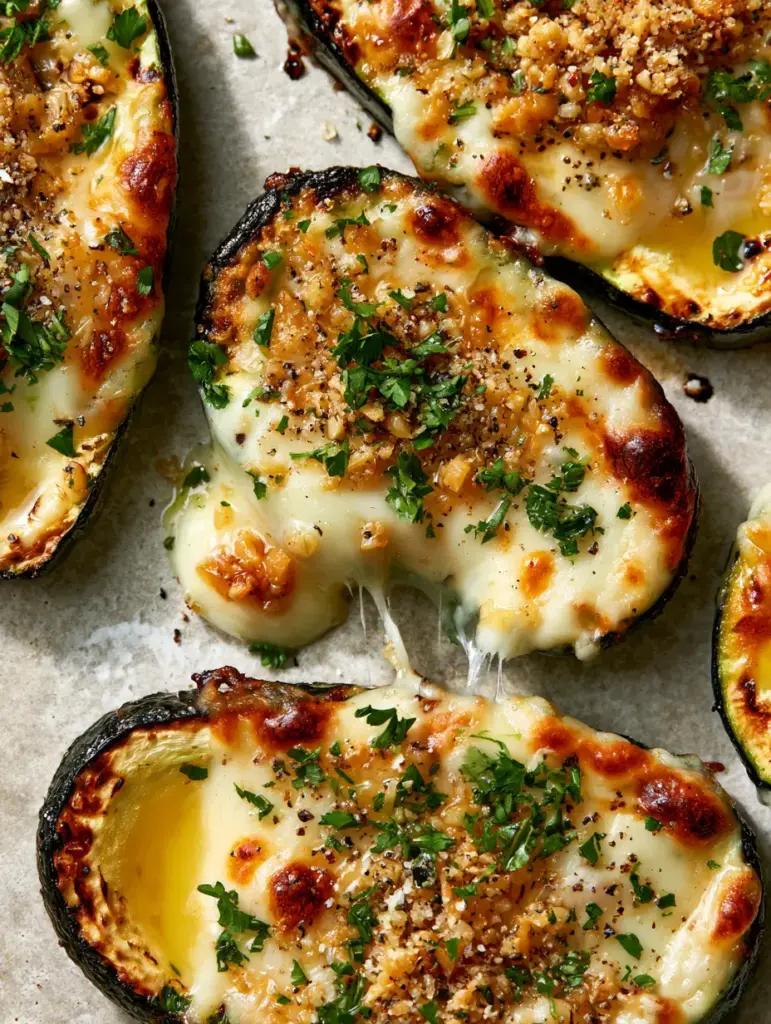
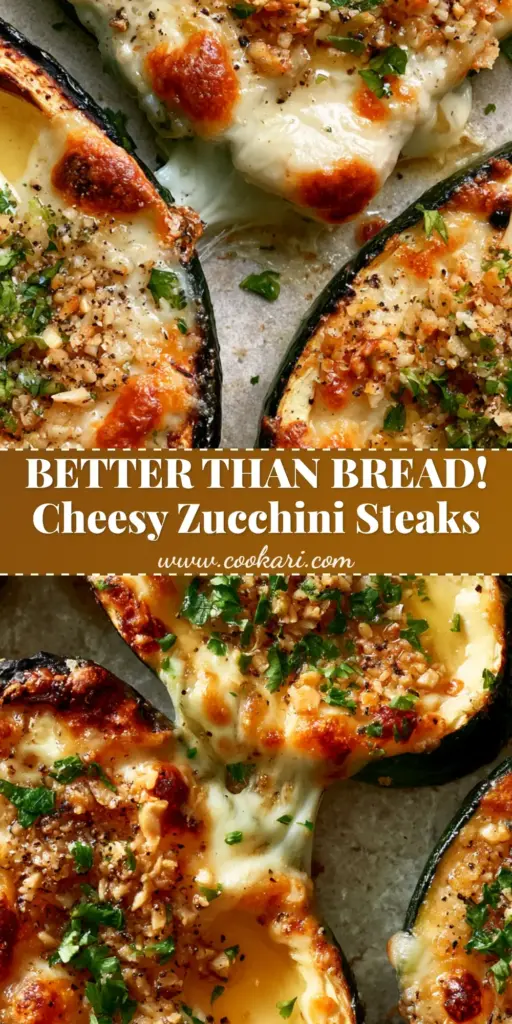
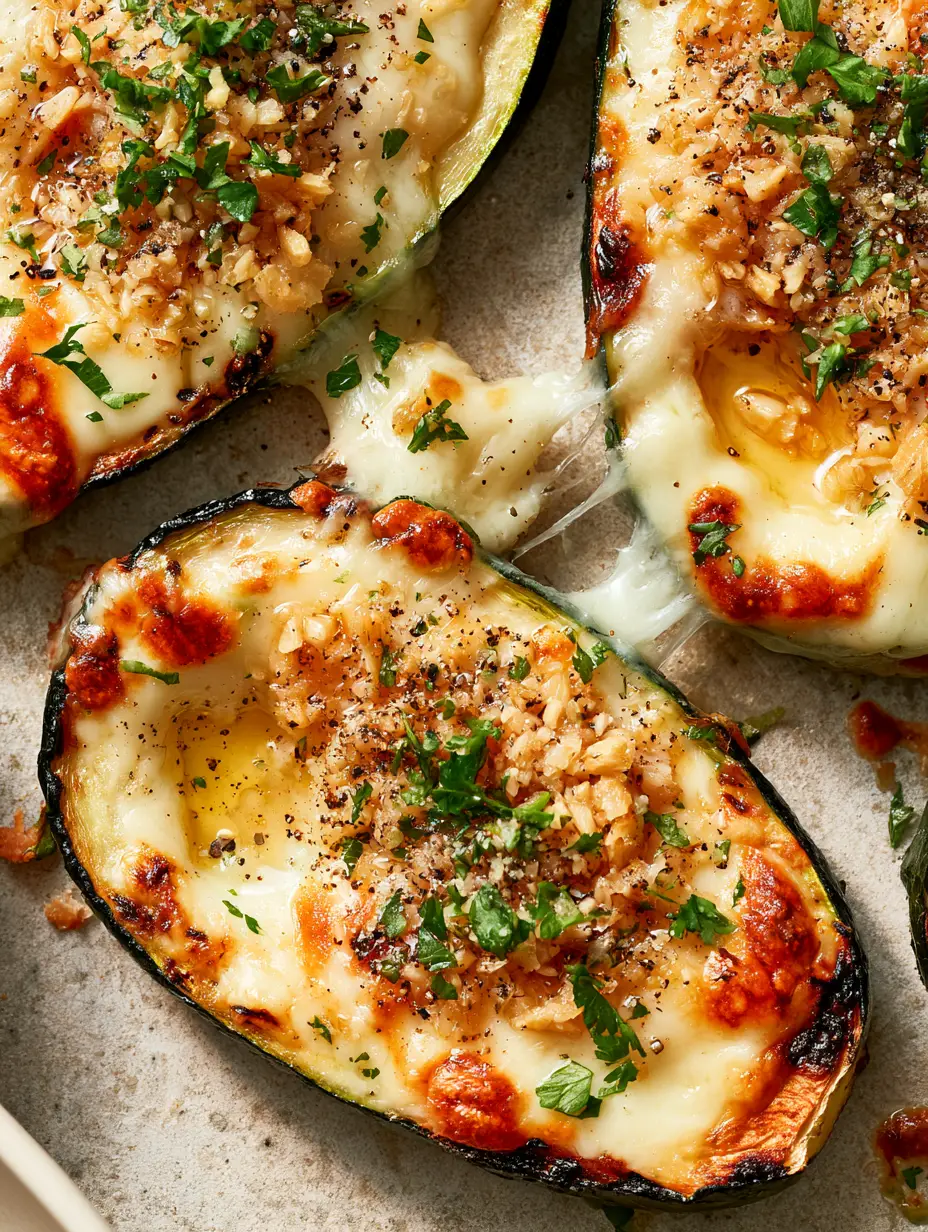
Cheesy Garlic Zucchini Steaks are the ultimate revelation for anyone seeking a low-carb side dish that doesn’t compromise on decadent, savory flavor. Imagine thick, tender planks of summer squash, roasted until their edges are caramelized and sweet, then buried under a bubbling mantle of molten mozzarella and a shatteringly crisp parmesan crust.
This recipe transforms the humble zucchini into a centerpiece-worthy dish that captures the essence of garlic bread without the heavy flour. Every bite delivers a hit of glossy garlic butter and the punch of freshly cracked black pepper, finished with a vibrant dusting of parsley for a restaurant-quality presentation.
Whether you are following a ketogenic lifestyle or simply trying to make the most of your garden harvest, these Cheesy Garlic Zucchini Steaks bridge the gap between “healthy” and “crave-able.” The visual appeal alone—with its golden-brown cheese crevices and stretchy pulls—is enough to convert even the most skeptical vegetable eaters at your table.
Why You Will Crave These Roasted Zucchini Planks
- The Perfect Texture Contrast: By roasting at high heat, we achieve tender centers and charred, caramelized edges that provide a sweet, smoky depth.
- Double Cheese Dominance: We use a combination of low-moisture mozzarella for that iconic cheese pull and aged parmesan for a salty, toasted umami punch.
- Infused Garlic Intensity: Instead of just raw garlic, we utilize a melted garlic butter glaze and finely minced roasted garlic bits for layers of aromatic flavor.
- Low-Carb Luxury: This dish feels incredibly indulgent while remaining naturally gluten-free and keto-friendly, making it a versatile addition to any meal plan.
Essential Elements For The Perfect Zucchini Plank
To achieve the visual and textural perfection seen in professional food photography, we must select ingredients that behave correctly under high heat. Quality matters when there are so few components involved in the dish.
Large, Firm Zucchini: You will need 2-3 large zucchini (about 1.5 lbs / 680g). Look for specimens that are heavy for their size and free of soft spots, as these will hold their “steak” shape best during the roasting process.
Extra Virgin Olive Oil: 2 tbsp (30ml) of high-quality oil is necessary to coat the planks. This acts as the heat conductor, ensuring the vegetable edges caramelize rather than just steaming in the oven.
Unsalted Butter: 3 tbsp (45g) of butter forms the base of our glossy glaze. Using unsalted butter allows you to control the sodium levels, especially since we are adding salty parmesan later.
Fresh Garlic: 4-5 cloves (about 20g) of garlic, finely minced. We avoid the jarred variety here because the fresh oils in the cloves are what create that signature aromatic “bloom” when hitting the hot butter.
Low-Moisture Mozzarella: 1.5 cups (170g) of shredded mozzarella. It is vital to use low-moisture cheese to prevent the zucchini from becoming soggy; this variety melts into thick, bubbling pools.
Aged Parmesan Cheese: 1/2 cup (50g) of finely grated parmesan. This creates the “toasted golden crust” mentioned in the visual blueprint, providing a sharp contrast to the mild mozzarella.
Fresh Parsley & Black Pepper: 2 tbsp (8g) of chopped flat-leaf parsley and 1 tsp (2g) of coarse cracked black pepper. These provide the final visual “pop” and a spicy, herbaceous finish.
The Tools Of The Trade For Golden Results
Achieving the charred edges and bubbling cheese described in our visual prompt requires the right heat distribution. A heavy-duty rimmed baking sheet is the most critical tool in your arsenal.
I recommend using a parchment paper liner or a silicone baking mat to prevent the parmesan crust from sticking to the pan. A sharp chef’s knife is also essential for cutting consistent 1-inch (2.5cm) thick oval planks; uniform thickness ensures every steak cooks at the same rate.
A small saucepan or microwave-safe bowl is needed to emulsify the garlic butter glaze. Finally, a high-heat broiler setting on your oven is the “secret weapon” that creates the toasted brown spots on the cheese just before serving.
Step-By-Step Path To Golden Bubbling Perfection
Preparing The Zucchini Steaks
Preheat your oven to 400°F (200°C). Wash the zucchini thoroughly and pat them dry; moisture is the enemy of caramelization. Trim the ends and slice the zucchini on a slight bias to create elongated, thick oval planks about 1-inch (2.5cm) thick.
Lay the planks on your prepared baking sheet. Brush both sides generously with the olive oil and season lightly with sea salt. This salt helps draw out just enough moisture to concentrate the vegetable’s natural sugars.
The Initial Roast For Texture
Slide the tray into the center rack of the oven. Roast for 12-15 minutes, or until the zucchini is tender when pierced with a fork but still holds its shape. You are looking for the “caramelized vegetable edges” to just begin appearing.
While the zucchini roasts, combine the butter and minced garlic in a small bowl. Heat until the butter is melted and the garlic smells fragrant. Set this aside to let the flavors infuse.
The Double-Cheese Transformation
Remove the tray from the oven and switch the setting to “Broil” (High). Carefully brush the top of each zucchini steak with the garlic butter glaze, ensuring the minced garlic bits are evenly distributed.
Mound the shredded mozzarella onto each plank, followed by a heavy dusting of the grated parmesan. Return the tray to the oven, placing it on the top rack about 4-6 inches (10-15cm) from the heating element.
The Final Visual Cues
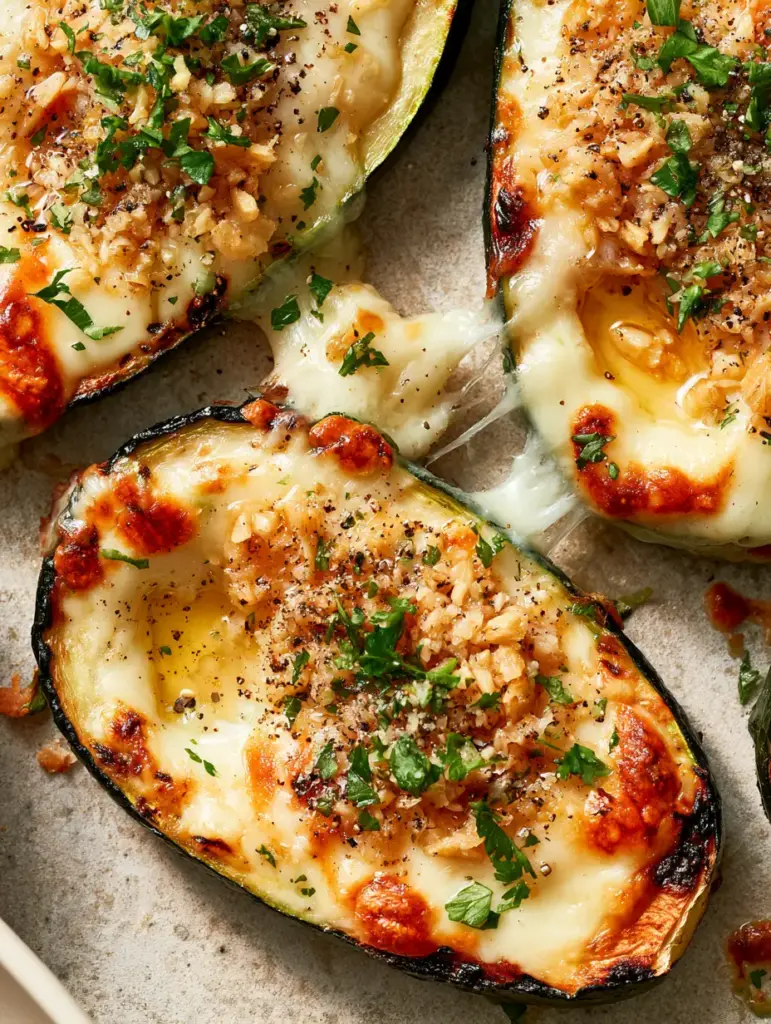
Watch the oven closely—this stage happens fast! Broil for 2-4 minutes until the mozzarella is a thick, bubbling layer and the parmesan has formed a toasted golden-brown crust. You should see glossy pools of garlic butter nestling in the cheese crevices.
Remove from the oven and immediately garnish with the coarse cracked black pepper and a dense sprinkle of fresh bright green parsley. The heat from the cheese will slightly wilt the parsley, releasing its aroma.
Expert Tips For The Ultimate Cheese Pull
- The “Sweat” Method: If your zucchini are particularly watery, sprinkle the raw planks with salt and let them sit for 10 minutes, then pat dry before oiling. This ensures a firmer “steak” texture.
- Hand-Shred Your Cheese: Pre-shredded cheese is coated in potato starch to prevent clumping, which inhibits the perfect melt. Shredding your own mozzarella yields a much better “cheese pull.”
- Bias Cutting: Cutting on the diagonal (the bias) creates more surface area for the cheese and garlic butter to cling to, resulting in a better flavor-to-vegetable ratio.
- Don’t Overcrowd: Leave at least an inch of space between each plank. This allows hot air to circulate, which is how you get those beautiful charred, golden-brown edges.
Preserving The Crunch: Storage And Reheating
Cheesy Garlic Zucchini Steaks are best enjoyed fresh from the oven when the cheese is at its stretchiest. However, if you have leftovers, they can be stored in an airtight container in the refrigerator for up to 3 days.
To reheat, avoid the microwave as it will make the zucchini mushy. Instead, place them back on a baking sheet and pop them under the broiler for 3-5 minutes. This will re-crisp the edges and restore the bubbling texture of the cheese.
Freezing is not recommended for this recipe. Zucchini has a high water content, and the cellular structure breaks down during freezing, resulting in a watery, soft texture upon thawing that won’t support the heavy cheese topping.
What To Serve With Cheesy Garlic Zucchini Steaks
These steaks are versatile enough to act as a side or a vegetarian main. For a complete Mediterranean-inspired feast, pair them with a fresh Greek chickpea salad or a light chicken orzo pasta.
If you’re leaning into a steakhouse vibe, they serve as a perfect low-carb alternative to potatoes alongside smoky grilled zucchini skewers. For those who enjoy variety in their vegetable “steaks,” try serving these alongside roasted cauliflower steaks for a beautiful vegetarian platter.
If you want to lean into more vibrant, acidic flavors to cut through the richness of the cheese, a side of Mexican street corn or a bright corn and bean salsa provides a wonderful textural contrast.
Frequently Asked Questions
Absolutely. Zucchini is low in carbs, and the toppings are high-fat, high-protein, making this a perfect ketogenic side dish or main.
Yes! Grill the planks over medium-high heat until tender, then add the cheese and garlic butter. Close the grill lid for 2 minutes to melt the cheese.
No, the skin provides structural integrity to the ‘steaks’ and contains many nutrients. It becomes perfectly tender during the roasting process.
The key is high-heat roasting and using low-moisture mozzarella. You can also salt the zucchini planks for 10 minutes and pat them dry before roasting to remove excess water.
A mix of mozzarella and parmesan is best. Mozzarella provides the melt and stretch, while parmesan creates that signature toasted, golden-brown crust.
The Ultimate Cheesy Garlic Zucchini Steaks Recipe
Cheesy Garlic Zucchini Steaks With Toasted Parmesan Crust
Ingredients
Equipment
Method
- Preheat oven to 400°F (200°C). Slice zucchini into 1-inch (2.5cm) thick oval steaks. Arrange on a lined baking sheet.
- Brush steaks with olive oil and salt. Roast for 12-15 minutes until tender with caramelized edges.
- Mix melted butter and minced garlic. Brush generously over the roasted zucchini planks.
- Top with mozzarella and parmesan. Broil on high for 2-4 minutes until the cheese is bubbling and golden-brown.
- Garnish with fresh parsley and cracked black pepper before serving hot.
Notes
Sweat the zucchini with salt for 10 minutes beforehand if you prefer a firmer texture.
A New Way To Love Your Veggies
These Cheesy Garlic Zucchini Steaks prove that simple ingredients, when treated with the right culinary techniques, can become something truly extraordinary. The combination of the toasted parmesan crust and the tender, roasted squash creates a symphony of textures that will have everyone asking for seconds.
If you enjoyed this recipe, please leave a comment below and tell me how it turned out! Don’t forget to share your photos and tag us, or save this recipe to your favorite boards on Pinterest so you never lose it.