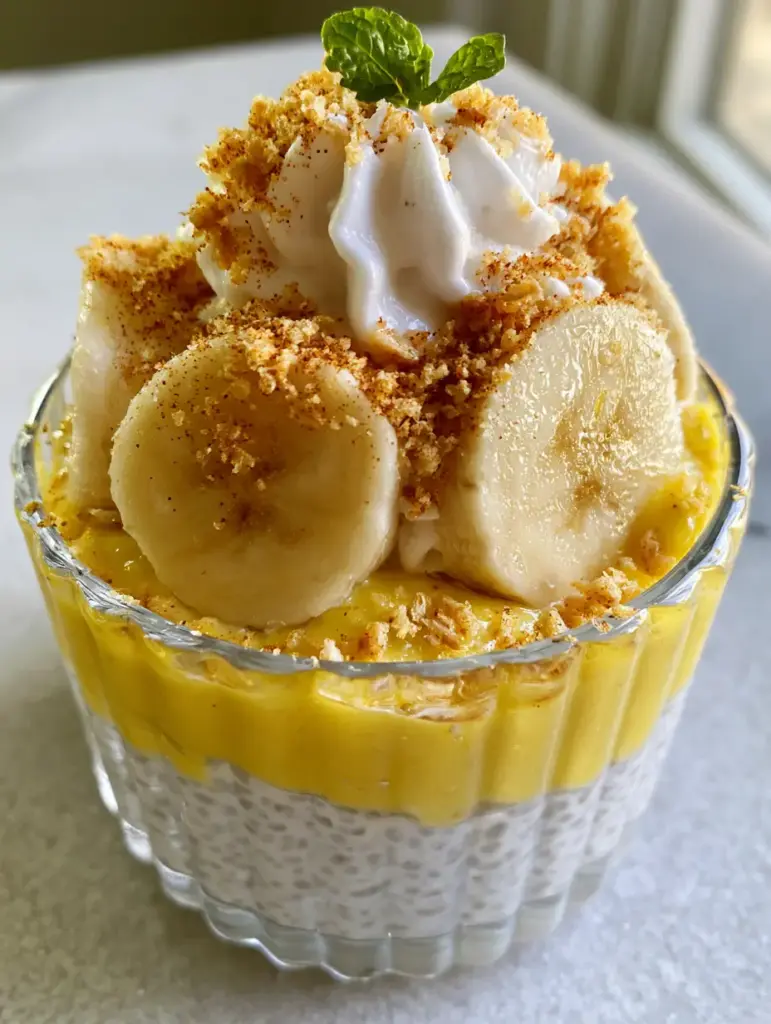
Banana cream pie chia pudding is the ultimate intersection of nostalgic comfort food and modern nutritional powerhouse. Imagine the velvety texture of a classic diner pie, reimagined into a sophisticated, layered jar that looks as incredible as it tastes. This isn’t just a breakfast; it’s a visual masterpiece designed to satisfy your deepest dessert cravings while keeping you fueled for the day.
By layering a thick chia seed pudding base with a rich, egg-yolk-infused velvety banana custard, we create a multi-dimensional mouthfeel that rivals any gourmet bakery. Whether you are meal prepping for a busy week or looking for a show-stopping brunch addition, this banana cream pie chia pudding delivers on every front, from its glossy banana slices to the satisfying crunch of toasted vanilla wafers.
Why You Will Crave This Layered Masterpiece
- Unmatched Textural Contrast: Experience the “pop” of hydrated chia seeds against the silky smooth velvety banana custard.
- Perfectly Stiff Peaks: A generous mountain of stiff-peaked whipped coconut cream provides a cloud-like finish that holds its shape.
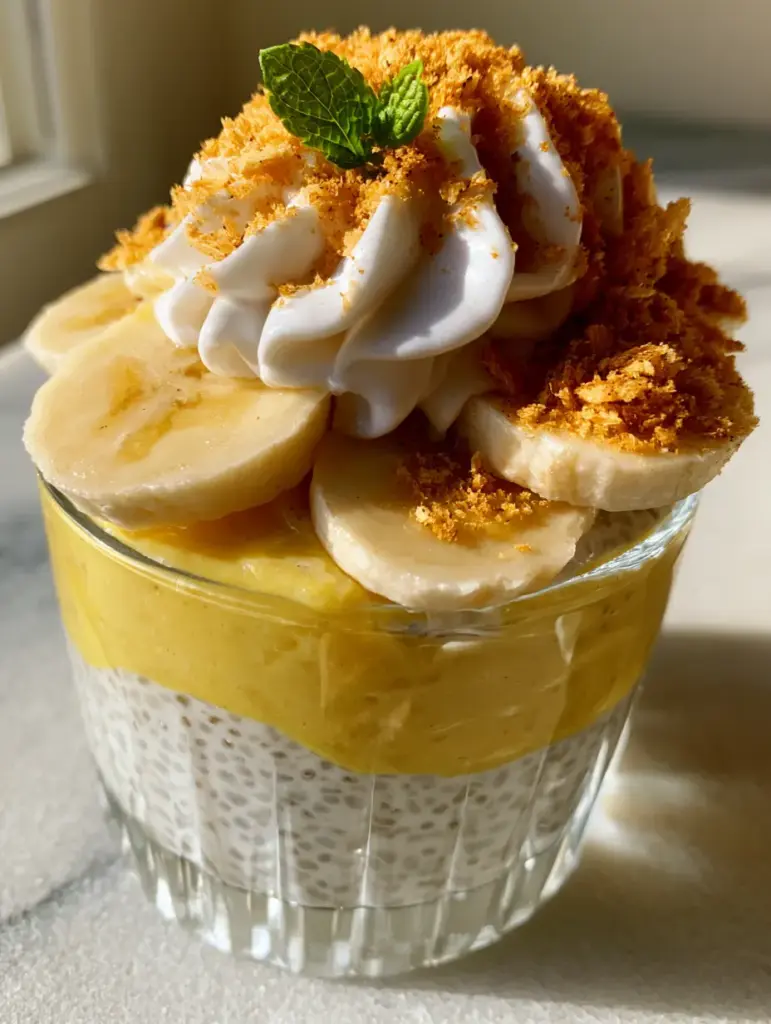
- Gourmet Visuals: The clear fluted glass jar showcases beautiful, distinct layers of white, yellow, and golden-brown.
- Flavor Harmony: The warmth of ground cinnamon and toasted vanilla wafer crumbles creates a balanced, comforting flavor profile.
If you enjoy this recipe, you might also love our lemon cream chia pudding for a citrusy twist or our classic base chia pudding for simple mornings.
Essential Ingredients for the Best Chia Pudding Base
To achieve that thick chia seed pudding base seen in the blueprint, you need the right ratio of hydration to fiber. We use a blend of full-fat coconut milk and almond milk to ensure creaminess without overwhelming the banana flavor.
White Chia Seeds: Using white seeds keeps the base bright and clean, allowing the yellow custard layer to pop visually. They provide the necessary structure to support the heavier layers above.
Full-Fat Coconut Milk: 1 cup (240ml) provides the essential fats that make this pudding feel like a true “cream pie.” It creates a luxurious mouthfeel that low-fat alternatives simply cannot replicate.
Pure Maple Syrup: 2 tablespoons (30ml) adds a touch of natural sweetness that complements the fresh glossy banana slices without a cloying sugar rush.
Vanilla Bean Paste: 1 teaspoon (5ml) adds those beautiful black specks and a deep, floral aroma that elevates the entire dish.
Creating the Velvety Banana Custard Layer
The heart of any banana cream pie chia pudding is the custard. Unlike instant puddings, this version uses real bananas and a light tempering process to achieve a professional finish.
Ripe Bananas: 2 large bananas, mashed until completely smooth. The riper the bananas, the more intense the natural sweetness and “yellow” hue of the custard will be.
Egg Yolks: 2 large yolks act as the primary thickening agent, creating that rich, velvety yellow banana custard texture described in the visual blueprint.
Cornstarch: 1 tablespoon (8g) provides extra stability, ensuring the custard is “dense and spoonable, not runny” once chilled.
Ground Cinnamon: A pinch (approx. 1/8 tsp) is folded into the custard to provide an aromatic bridge between the fruit and the wafer crumbles.
Step-by-Step Guide to Perfect Layers
Phase 1: Hydrating the Chia Base
In a medium mixing bowl, combine 1/4 cup (40g) white chia seeds with 1 cup (240ml) of your milk blend. Whisk vigorously for 2 minutes to prevent clumping. Let the mixture sit for 10 minutes, then whisk again. Cover and refrigerate for at least 4 hours, or ideally overnight, until it reaches a thick chia seed pudding base consistency.
Phase 2: Cooking the Velvety Custard
In a small saucepan over medium-low heat, whisk the mashed bananas, egg yolks, and cornstarch. Slowly drizzle in 1/2 cup (120ml) of milk while whisking constantly. Continue to cook, stirring frequently, until the mixture thickens and coats the back of a spoon—about 5-7 minutes. Remove from heat and stir in the ground cinnamon. Press a piece of plastic wrap directly onto the surface of the custard to prevent a skin from forming and chill completely.
Phase 3: The Whipped Coconut Topping
Using a chilled bowl, beat 1/2 cup (120ml) of chilled coconut cream (the hardened part from the top of the can) until it forms stiff-peaked whipped coconut cream. This layer provides the necessary vertical height for that iconic “pie” look.
Phase 4: Final Assembly and Garnish
Take your clear fluted glass jars. Spoon a generous layer of the chia base into the bottom. Follow with a thick layer of the rich, velvety yellow banana custard. Top with the whipped cream. Now, for the final touches: place three fresh glossy banana slices at an angle, sprinkle a heavy dusting of golden-brown crushed vanilla wafer crumbs, and add one small, bright green mint leaf on top for a pop of color.
For a different texture, try adding some air fried banana chips on the side for an extra crunch!
Expert Tips for Pinterest-Perfect Results
- Cold Is Key: Ensure both the chia base and the custard are thoroughly chilled before layering. If they are even slightly warm, the layers will bleed into each other, ruining the clean lines.
- Glossy Bananas: To get that glossy sheen on your banana slices, lightly brush them with a tiny amount of diluted lemon juice or simple syrup. This also prevents browning.
- Toast Your Crumbs: Before crushing your vanilla wafers, pop them in a 350°F (175°C) oven for 4-5 minutes. This creates that specific toasted vanilla wafer crumble flavor.
- Use a Piping Bag: For the stiff-peaked whipped coconut cream, use a piping bag with a large round tip to get a clean “mountain” shape rather than just spooning it on.
Storage and Meal Prep Instructions
This banana cream pie chia pudding is excellent for meal prep, but timing matters for the garnishes. The chia base and custard can be stored in the refrigerator for up to 4 days.
The “Soggy Factor”: Do not add the vanilla wafer crumbles or the fresh banana slices until you are ready to serve. The wafers will lose their crunch, and the bananas will lose their gloss after about 4 hours in the fridge.
Freezing: We do not recommend freezing this dish, as the coconut cream and custard will separate and lose their velvety texture upon thawing.
What to Serve With This Dessert Jar
If you are serving this as a brunch centerpiece, it pairs beautifully with savory options. Consider serving it alongside savory proteins or a light egg salad sandwich to balance the sweetness.
For a full “pie-themed” dessert spread, you could also offer apple pie cheesecake parfaits for guests who prefer different fruit profiles.
Frequently Asked Questions
Yes! To make the custard vegan, replace the egg yolks with an additional tablespoon of cornstarch and a pinch of turmeric for color. Ensure your vanilla wafers are vegan-friendly.
Brush the banana slices with a little bit of lemon juice or honey water. The acidic or sugary coating creates a barrier that keeps them glossy and yellow for hours.
Absolutely. It contains healthy fats from coconut, fiber from chia seeds, and potassium from real bananas, making it a balanced start to your day despite the dessert-inspired name.
Chia seeds need time to fully hydrate. If it’s runny, you may need to add another tablespoon of seeds or let it sit for at least 4 hours to reach that ‘spoonable’ density.
The Official Banana Cream Pie Chia Pudding Recipe
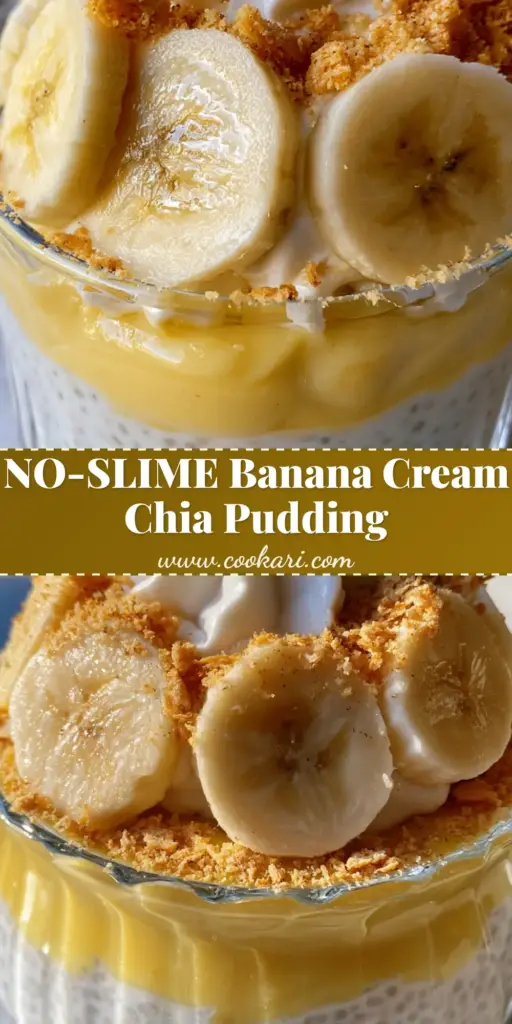
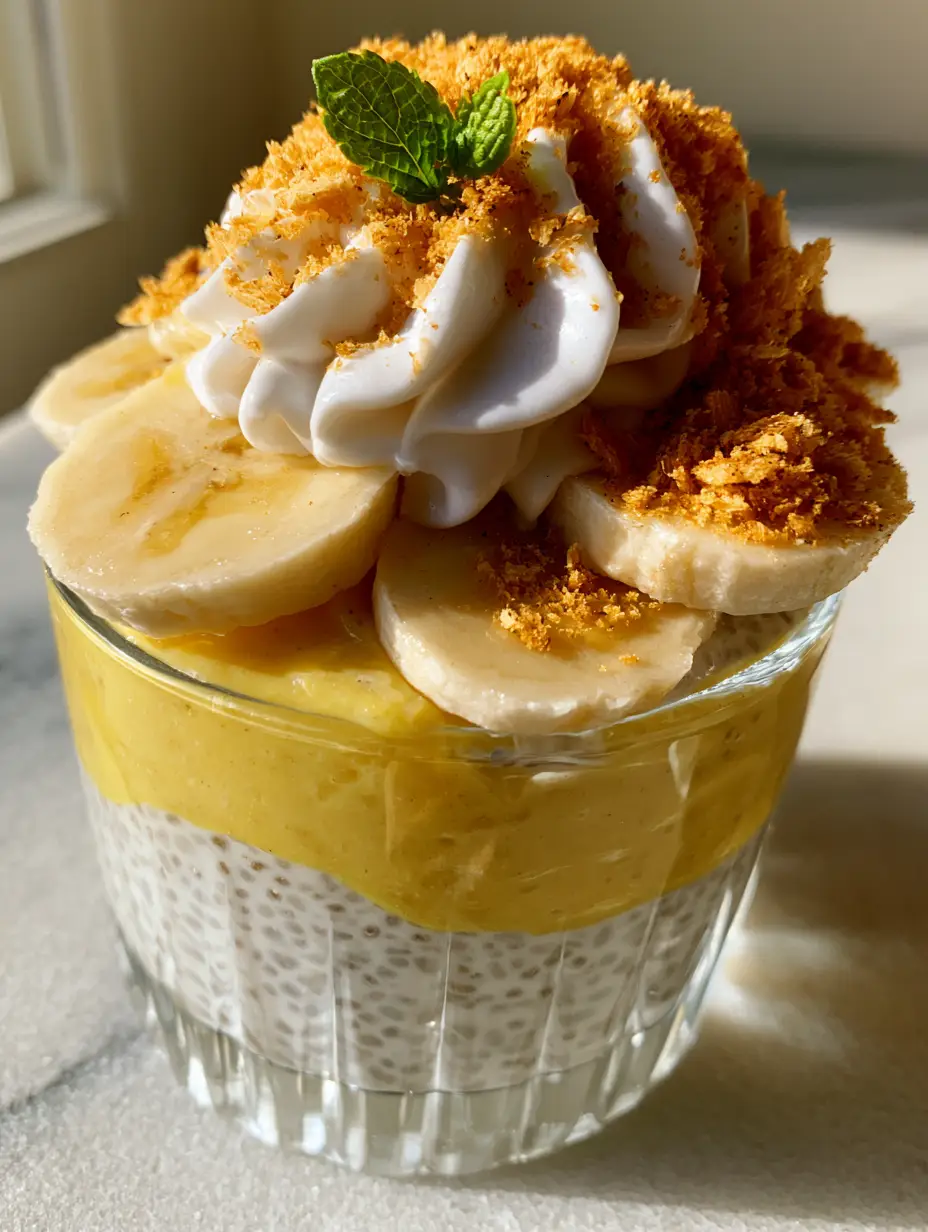
Banana Cream Pie Chia Pudding: The Ultimate Layered Dessert Jar
Ingredients
Equipment
Method
- Whisk white chia seeds and coconut milk. Let sit for 10 mins, whisk again, and refrigerate for 4 hours until thick.
- Whisk mashed bananas, egg yolks, and cornstarch in a saucepan. Cook until thick, then chill completely.
- Layer chia pudding, then banana custard, then whipped coconut cream in fluted jars.
- Top with glossy banana slices, toasted wafer crumbles, ground cinnamon, and a mint sprig.
Notes
Toast vanilla wafers for 5 minutes for maximum flavor.
Save This Recipe for Later!
Do you love this banana cream pie chia pudding? Make sure to save it to your “Healthy Desserts” or “Breakfast Ideas” board on Pinterest! Following @cookari_recipes ensures you never miss a new layered jar creation. If you make this, please snap a handheld photo and share it in the comments below—we love seeing your stiff-peaked whipped coconut cream mountains! Don’t forget to leave a 5-star rating if this satisfied your pie cravings!