This grilled veggie wrap is a masterclass in plant-based textures, combining smoky char with a creamy, protein-packed foundation. If you have been searching for a lunch that looks as vibrant as it tastes, this recipe delivers a stunning cross-section of colors and flavors that will stop your Pinterest scroll in its tracks.
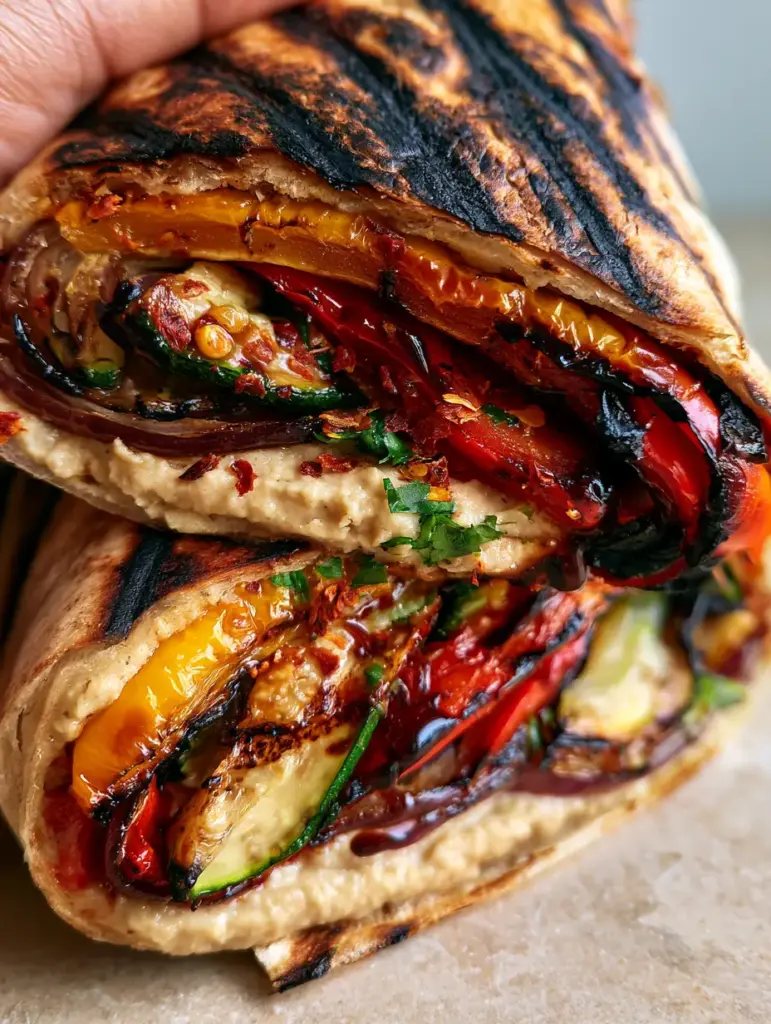
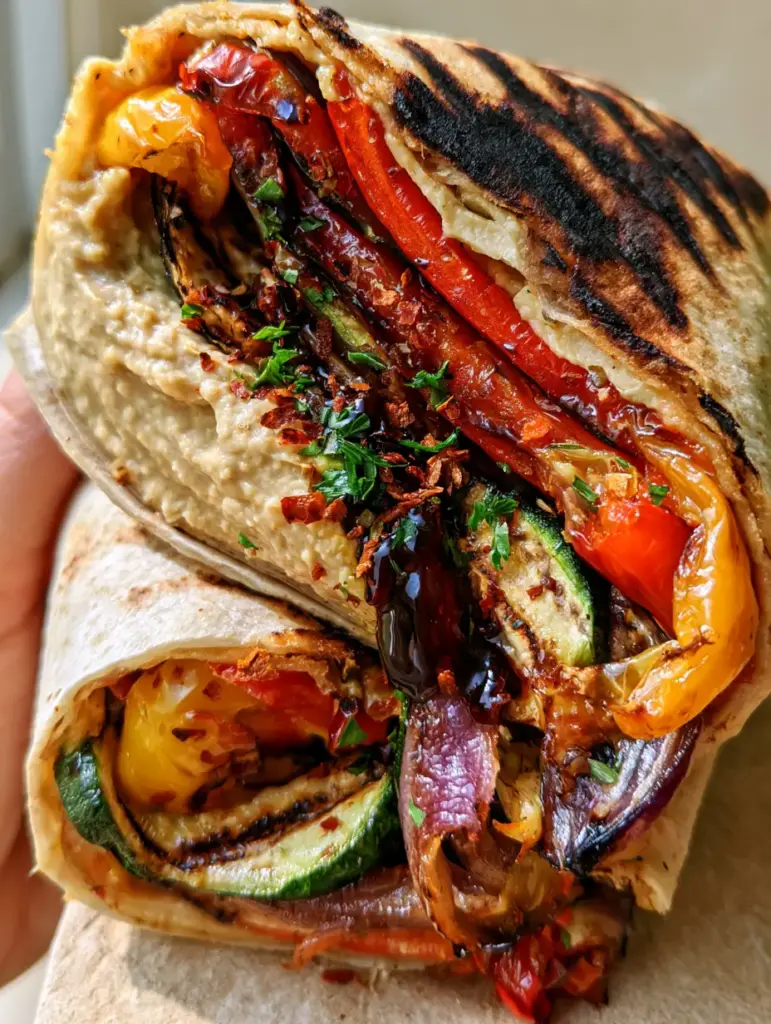
The secret to a world-class grilled veggie wrap lies in the contrast between the crispy, dark grill marks on a warm flour tortilla and the tender, caramelized vegetables nestled inside. We are moving beyond the basic wrap by layering thick chickpea hummus with blistered bell peppers and a glossy mahogany balsamic glaze that ties every bite together.
Why This Is The Ultimate Grilled Veggie Wrap
- Visual Texture Contrast: The smoky sear marks on the outside of the tortilla provide a satisfying crunch that gives way to a soft, hummus-lined interior.
- Flavor Depth: We aren’t just raw-packing these; the zucchini and peppers are charred to bring out their natural sugars, while the red onions are caramelized for a jammy finish.
- Moisture Barrier Technology: By using a thick layer of beige chickpea hummus, we create a barrier that keeps the tortilla crispy even after the balsamic glaze is drizzled.
- Nutrient Dense: Packed with vitamins from vibrant yellow and red peppers, this wrap is a powerhouse of plant-based nutrition.
If you love this smoky profile, you might also enjoy our Mediterranean Veggie Wrap or our hearty Summer Grilled Chicken Bowls for your weekly meal prep.
Essential Ingredients for the Perfect Charred Wrap
Large Flour Tortillas: You need a sturdy base that can handle high heat and heavy fillings without tearing. The flour provides the perfect canvas for those dark, distinct grill marks.
Chickpea Hummus: Opt for a smooth, beige variety. It acts as both a flavor enhancer and a moisture barrier, ensuring the balsamic glaze doesn’t make the wrap soggy.
Red and Yellow Bell Peppers: We slice these into thick strips to ensure they maintain their bite after being blistered over high heat.
Zucchini: Sliced into long ribbons or rounds, grilled zucchini adds a buttery texture and beautiful sear marks to the cross-section.
Red Onion: When caramelized, red onion loses its sharp bite and becomes a sweet, mahogany-colored accent that complements the balsamic.
Balsamic Glaze: This is the “secret sauce.” A thick, glossy, dark mahogany drizzle provides the necessary acidity to balance the earthy hummus.
Fresh Parsley and Red Pepper Flakes: These finishing touches add pops of green color and a subtle heat that lingers on the palate.
Extra Virgin Olive Oil and Sea Salt: Essential for the searing process, ensuring the vegetables don’t stick and their natural flavors are fully elevated.
How to Master the Char: Step-by-Step Instructions
Prepping the Vegetables for Maximum Surface Area
Start by slicing your zucchini into 1/4 inch (6mm) thick planks. Slicing them this way creates more surface area for the grill to interact with, resulting in those iconic dark sear marks. Slice your red and yellow bell peppers into uniform 1/2 inch (12mm) strips.
For the red onion, cut it into wedges rather than rings. This keeps the onion intact during the grilling process, allowing the outer edges to char while the inside stays juicy and sweet. Toss all the vegetables in 2 tablespoons (30ml) of olive oil and a generous pinch of sea salt.
Achieving the Perfect Blister and Sear
Heat a heavy-duty grill pan or a cast-iron skillet over medium-high heat. You want the pan to be slightly smoking before the vegetables touch it. Lay the zucchini and peppers in a single layer—do not crowd the pan! Overcrowding leads to steaming rather than searing.
Visual Cue: Look for the skin of the peppers to begin “blistering” and turning black in small spots. Flip the zucchini only once you see deep, dark mahogany grill marks. Remove the vegetables and set them aside once they are tender but still have a slight structural “snap.”
Caramelizing the Onions and Toasting the Tortilla
In the same pan, add the red onion wedges. Let them sit undisturbed for 2-3 minutes to develop a deep brown color, then toss them until they are soft and translucent. While the onions finish, place your flour tortillas directly onto the grill for 30 seconds per side until they feature dark, distinct char marks.
If you’re looking for a side dish to pair with this, our Grilled Corn Elote Pasta Salad is a fantastic companion that mirrors the smoky flavors of the grill.
The Assembly: Creating the Vibrant Cross-Section
Lay the charred tortilla flat. Spread 1/4 cup (60g) of thick hummus across the center, leaving a 1-inch (2.5cm) border. This layer is crucial for the “macro close-up” look—it should be thick and visible.
Stack the charred red and yellow peppers, the grilled zucchini, and the caramelized onions vertically in the center. Drizzle the glossy balsamic glaze directly over the vegetables. Finish with a scatter of chopped parsley and red pepper flakes before folding the sides in and rolling tightly.
Expert Tips for Success
- Dry the Veggies: Ensure your zucchini is patted dry before oiling. Excess moisture prevents the formation of those beautiful dark char marks.
- High Heat is Key: To get the “blistered” look on the peppers without turning them into mush, you must use high heat for a short duration.
- Rest the Wrap: Let the grilled veggie wrap sit for 1 minute after rolling. This allows the hummus to “set” slightly, making it easier to cut into that perfect, dense cross-section.
- Balsamic Consistency: If your balsamic glaze is too thin, simmer it in a small saucepan for 5 minutes until it coats the back of a spoon. It should look like dark mahogany liquid gold.
Storage, Reheating & Freezing
Storage: These wraps are best enjoyed immediately to appreciate the tortilla’s crispiness. However, you can store the grilled vegetable components in an airtight container for up to 4 days. Store the hummus and glaze separately.
Reheating: If you have a pre-assembled wrap, reheat it in a dry skillet over medium heat. This will re-crisp the tortilla. Avoid the microwave, as it will make the grilled veggie wrap soggy.
Freezing: We do not recommend freezing the assembled wrap due to the high water content of the zucchini. However, you can freeze the grilled peppers and onions for future use in recipes like our Teriyaki Chicken bowls.
What to Serve With This
To keep the meal light and refreshing, serve this wrap alongside a bowl of Chia Pudding for dessert or some Air Fried Banana Chips for a crunchy snack. If you want something more substantial, a side of Deviled Potatoes adds a creamy, savory element that pairs beautifully with the balsamic acidity.
Frequently Asked Questions
Absolutely! Grilled halloumi, chickpeas, or sliced grilled chicken breast work beautifully. If adding meat, ensure it is sliced thinly to maintain the wrap’s structural integrity.
It is best to grill the vegetables ahead of time and store them separately. Assemble and toast the tortilla right before serving to keep the wrap crispy and fresh.
The secret is creating a moisture barrier with a thick layer of hummus and ensuring your grilled vegetables are seared over high heat to lock in juices rather than steaming them.
Sturdy vegetables like bell peppers, zucchini, eggplant, and red onions are best because they hold their shape and develop deep char marks without falling apart.
The Ultimate Charred Grilled Veggie Wrap Recipe
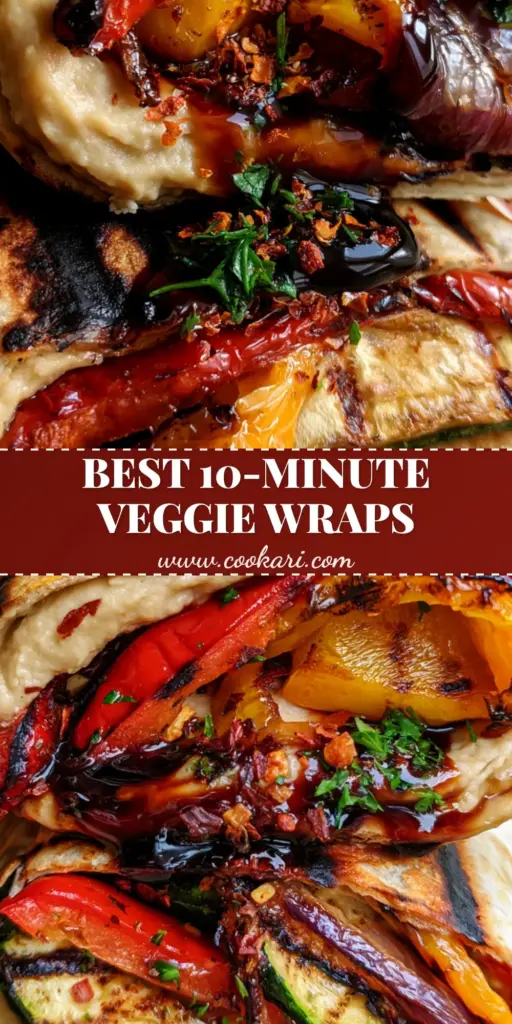
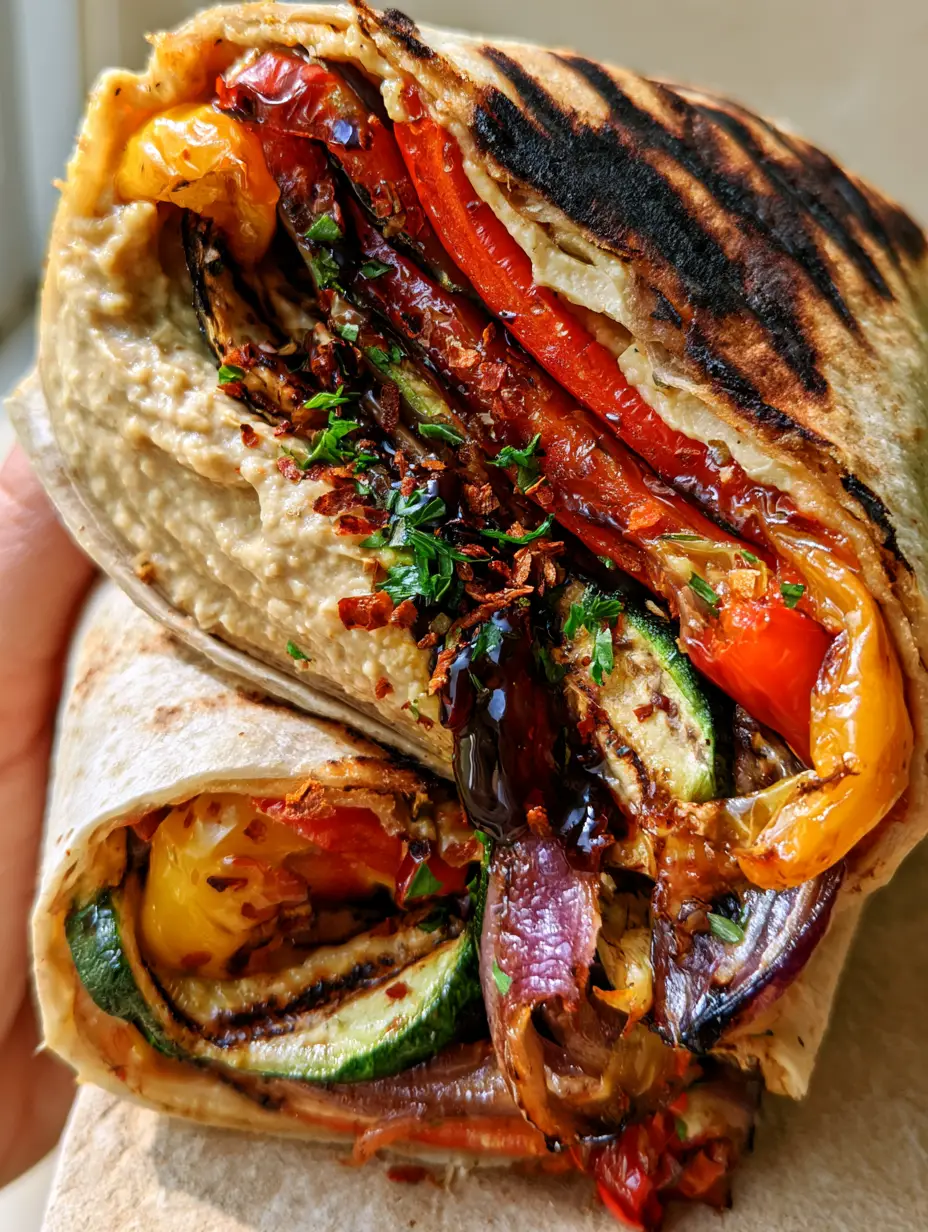
Grilled Veggie Wrap with Hummus and Blistered Balsamic Peppers
Ingredients
Equipment
Method
- Toss the sliced zucchini, peppers, and red onion wedges in olive oil and salt.
- Heat a grill pan to high. Sear vegetables until charred and peppers are blistered, about 3-4 minutes per side.
- Briefly grill the flour tortillas until dark char marks appear.
- Spread a thick layer of hummus. Stack the grilled vegetables, drizzle with balsamic glaze, and sprinkle with parsley and chili flakes.
- Roll tightly and slice in half to reveal the vibrant cross-section.
Notes
Pat the zucchini dry before oiling to ensure a crispy texture.
Save This Recipe to Pinterest!
Does this grilled veggie wrap look like your next favorite lunch? Don’t lose this recipe! Pin it to your Healthy Lunch or Grilling board so you can find it later. We love seeing your culinary creations—take a photo of your wrap’s cross-section and share it in the comments below! If you enjoyed the smoky, charred flavors, please leave us a 5-star rating. Follow @cookari_recipes for more Pinterest-viral meal inspiration.