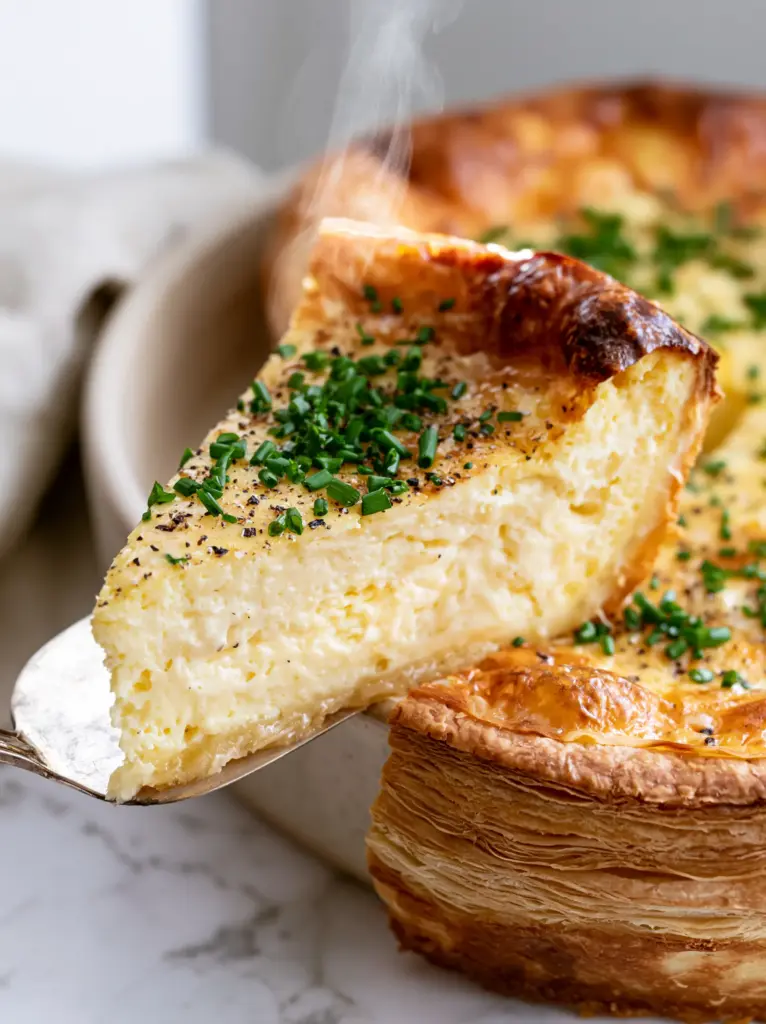
Mastering a basic quiche recipe is a rite of passage for every home cook who loves a sophisticated brunch. There is something truly magical about a slice of quiche that boasts an impossibly tall, aerated custard filling, nestled within a multi-layered, deep golden-brown crust. This isn’t just a simple egg pie; it is a masterclass in texture, combining the crunch of buttery pastry with the silkiness of Gruyère and the sharp bite of fresh chives.
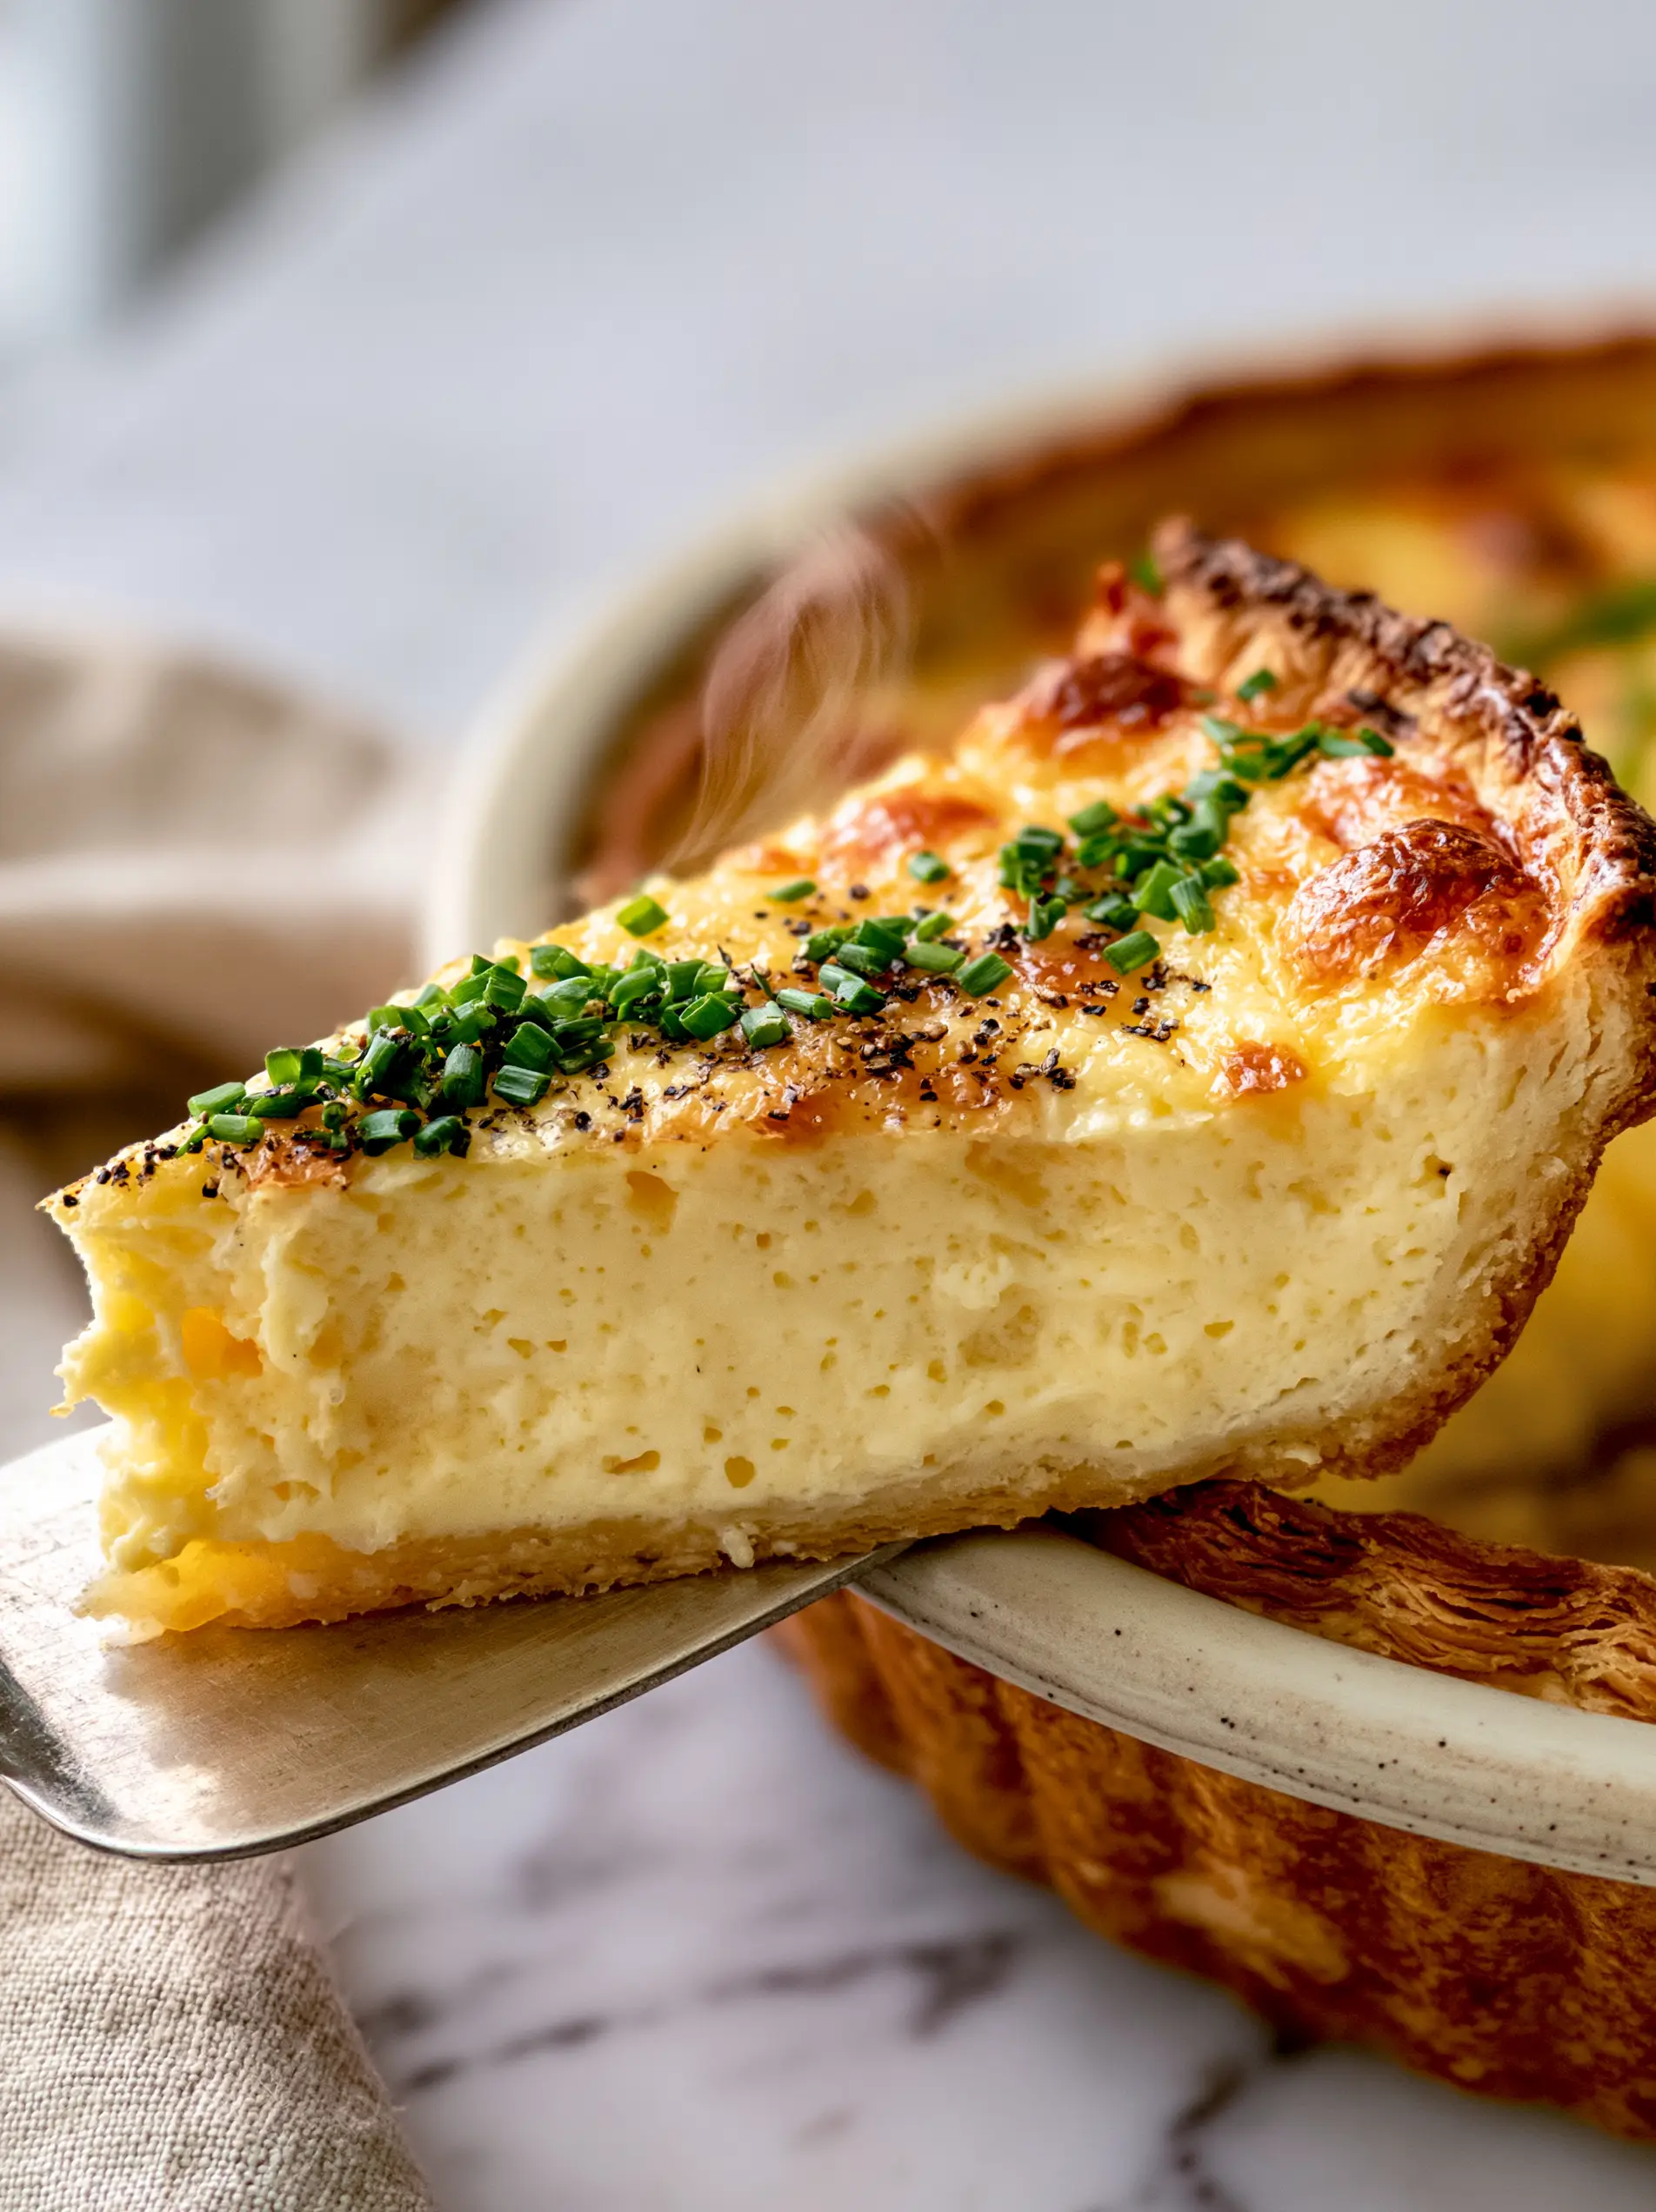
When you lift a slice from a ceramic dish, you should see a side profile showcasing tiny air bubbles trapped within a pale yellow center. The crust must look crisp and dry, never oily, providing a structural foundation that shatters upon the first bite. Whether you are hosting a holiday gathering or preparing a refined weekend meal, this recipe delivers professional-grade results every time.
Why This Is the Best Basic Quiche Recipe You’ll Ever Bake
- Impossibly Tall Aeration: Unlike dense, rubbery quiches, our method incorporates specific whisking techniques to ensure a light, cloud-like texture with visible air bubbles.
- Multi-Layered Flaky Crust: We utilize a “fraisage” technique to create distinct layers of butter and flour, resulting in a pastry that rivals the best French patisseries.
- Visual Precision: Every element, from the translucent sautéed shallots to the cracked black pepper and melted Gruyère bubbles, is designed for maximum visual and flavor impact.
- Structural Integrity: This quiche is engineered to be sturdy enough for a clean silver-server lift, yet delicate enough to melt in your mouth.
Foundational Ingredients for a Silky, Aerated Custard
All-Purpose Flour: 2.5 cups (315g) of high-quality flour provides the gluten structure needed for a crisp, multi-layered base. It ensures the crust can hold the weight of the heavy custard without collapsing.
Unsalted Butter: 1 cup (225g) of chilled, cubed butter is essential for that deep golden-brown finish. The water content in the butter evaporates during baking, creating the steam needed for flaky layers.
Large Eggs: 6 large eggs act as the primary binding agent and create the pale yellow hue of the filling. We use a specific egg-to-dairy ratio to achieve that signature aerated lift.
Heavy Cream & Whole Milk: 1.5 cups (360ml) of heavy cream and 1 cup (240ml) of whole milk create the rich, fatty base required for a stable custard. This combination prevents the “weeping” often seen in lower-fat versions.
Gruyère Cheese: 1.5 cups (150g) of freshly grated Gruyère adds a nutty, complex saltiness and creates those iconic melted bubbles on the surface. Its high melting point allows it to brown beautifully without burning.
Fresh Shallots: 3 medium shallots, finely diced, provide a subtle sweetness once sautéed until translucent. They offer a sophisticated aromatic depth that white onions simply cannot match.
Fresh Chives & Cracked Black Pepper: A generous sprinkle of 1/4 cup (10g) minced chives and 1 tsp (2g) of coarsely cracked pepper provides the vivid green contrast and heat required for the visual blueprint.
Essential Tools for Bakery-Style Quiche Results
To achieve the macro-shot perfection seen in professional food photography, you will need a 9-inch (23cm) deep-dish ceramic pie plate. A deep dish is non-negotiable for achieving that “impossibly tall” profile. You will also need a pastry blender or two forks for the crust, and a large balloon whisk to incorporate air into the custard.
Using a silver cake server for serving not only looks elegant but its sharp edge ensures a clean cut through the multi-layered crust. If you are planning a full spread, you might consider how this pairs with other classics, such as a breakfast skillet recipe for those who prefer savory potatoes alongside their eggs.
Crafting the Perfect Multi-Layered Flaky Pastry
Mixing the Dough for Maximum Flakiness
In a large bowl, whisk together your flour and a pinch of salt. Add the cold, cubed butter and use a pastry cutter to work the fat into the flour until you have pea-sized chunks. Avoid over-mixing; those visible bits of butter are what create the multi-layered texture during the bake.
The Hydration and Chilling Phase
Drizzle 1/2 cup (120ml) of ice-cold water over the mixture, one tablespoon at a time, tossing with a fork until the dough just holds together. Wrap the dough tightly in plastic and chill for at least one hour. This allows the gluten to relax and the butter to re-solidify, ensuring the crust looks crisp and dry rather than oily.
Blind Baking for a Golden Foundation
Roll the dough out to a 12-inch circle and drape it over your ceramic dish. Trim the edges and crimp them high above the rim. Line with parchment paper and fill with pie weights, then bake at 375°F (190°C) for 15 minutes. Remove the weights and bake for another 10 minutes until the base is a deep golden-brown.
Mastering the Sautéed Shallot and Gruyere Filling
Achieving Translucent Shallots
In a small skillet, melt 1 tbsp (15g) of butter over medium-low heat. Add the finely diced shallots and sauté for 5-7 minutes. You are looking for a sensory cue: the shallots should be soft and translucent, smelling sweet and aromatic, without any brown crispy edges.
The Art of the Aerated Custard
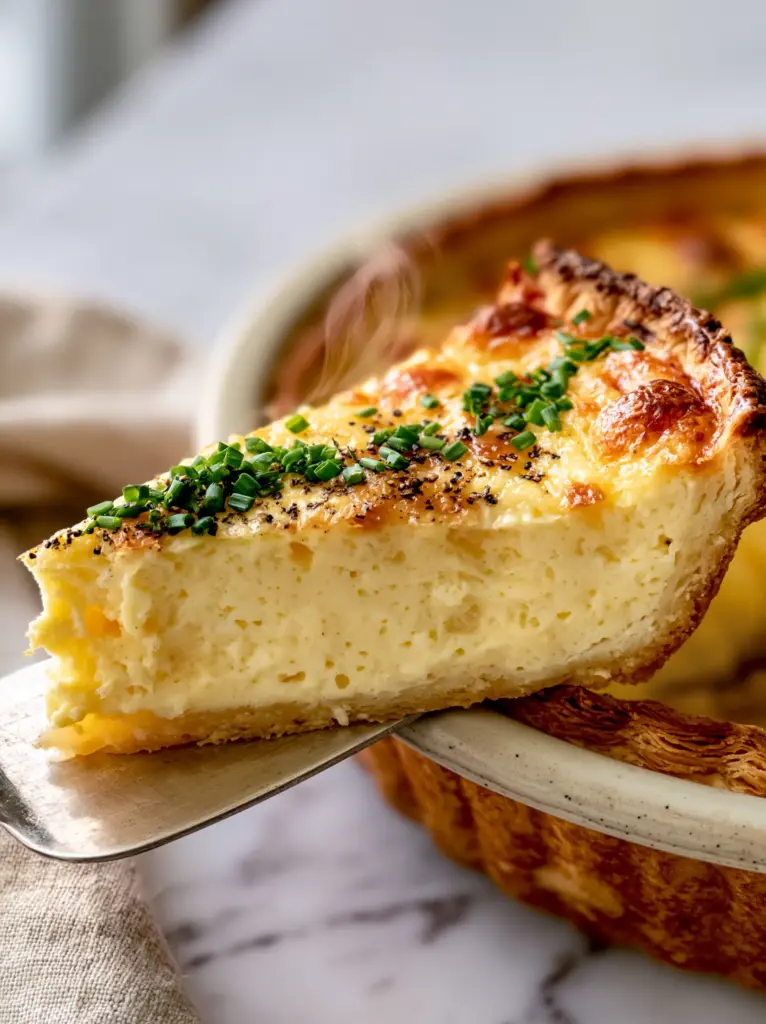
In a large bowl, vigorously whisk the eggs, heavy cream, and milk for at least 2 minutes. You want to see visible tiny air bubbles forming on the surface. Season with half of the cracked black pepper and a touch of salt. This aeration is the secret to the light, pale yellow filling described in our visual blueprint.
Layering for Visual Appeal
Spread the sautéed shallots evenly over the bottom of the par-baked crust. Follow with 1 cup (100g) of the grated Gruyère. Pour the egg mixture slowly over the cheese, allowing it to settle into the gaps. The cheese will naturally float slightly, creating those beautiful melted bubbles during the final bake.
The Secret to Achieving an Impossibly Tall Quiche Center
Place the quiche in the center of the oven at 350°F (175°C). Bake for 40-50 minutes, but start checking at the 35) minute mark. The quiche is done when the edges are set but the center still has a slight, jello-like jiggle. As the quiche cools, a subtle steam wisp should rise from the warm center when sliced.
Immediately after removing from the oven, sprinkle the remaining Gruyère, the fresh minced chives, and the rest of the cracked black pepper over the top. The residual heat will melt the cheese into small, golden pools that contrast beautifully with the vivid green chives.
Expert Tips for Success
- Temperature Control: Ensure your dairy and eggs are at room temperature before whisking. This allows more air to be trapped, leading to a fluffier, more aerated result.
- Avoid the Soggy Bottom: Always blind bake your crust. If the pastry looks wet after removing the weights, give it a few extra minutes in the oven.
- Cheese Selection: While we recommend Gruyère for this basic quiche recipe, you can use Emmental or sharp white cheddar, provided they have low moisture content.
- Resting Time: Let the quiche rest for at least 20 minutes before slicing. This allows the custard to fully set and ensures the silver server can lift a clean, thick slice.
Storage, Reheating & Freezing
This quiche stores beautifully in the refrigerator for up to 3 days. To maintain the flaky crust, reheat slices in a 300°F (150°C) oven for 10-12 minutes rather than using a microwave, which can make the pastry rubbery. For longer storage, you can freeze the baked quiche for up to 2 months. Thaw overnight in the fridge before reheating.
The Best Pairings for a Gourmet Breakfast Spread
A slice of this quiche is a meal in itself, but it truly shines when surrounded by other brunch favorites. If you are looking for more brunch recipe ideas, consider serving this alongside a light citrus salad or even some fluffy pancakes for a sweet and savory balance.
If you’re hosting a larger crowd, this quiche fits right in with a spread of Easter finger foods or a classic southern tomato pie. The key is to balance the rich, buttery custard with acidic or sweet elements to keep the palate refreshed.
Frequently Asked Questions
While you can, a store-bought crust rarely achieves the multi-layered flaky texture and ‘crisp, dry’ look of a homemade crust using the fraisage technique.
Blind baking (pre-baking) the crust is the most important step. Ensuring your crust is deep golden-brown before adding the liquid custard creates a moisture barrier.
Gruyère is the gold standard due to its nutty flavor and excellent melting properties, but you can also use Emmental, Comté, or even a sharp aged Cheddar.
Weeping usually happens if the egg-to-dairy ratio is off or if the quiche is overbaked. Using heavy cream and whole milk as directed, and pulling it from the oven while the center still jiggles, will prevent this.
Vigorous whisking incorporates air into the proteins, which creates the ‘impossibly tall’ and aerated texture with visible tiny air bubbles in the final slice.
The Ultimate Aerated Gruyère & Chive Quiche
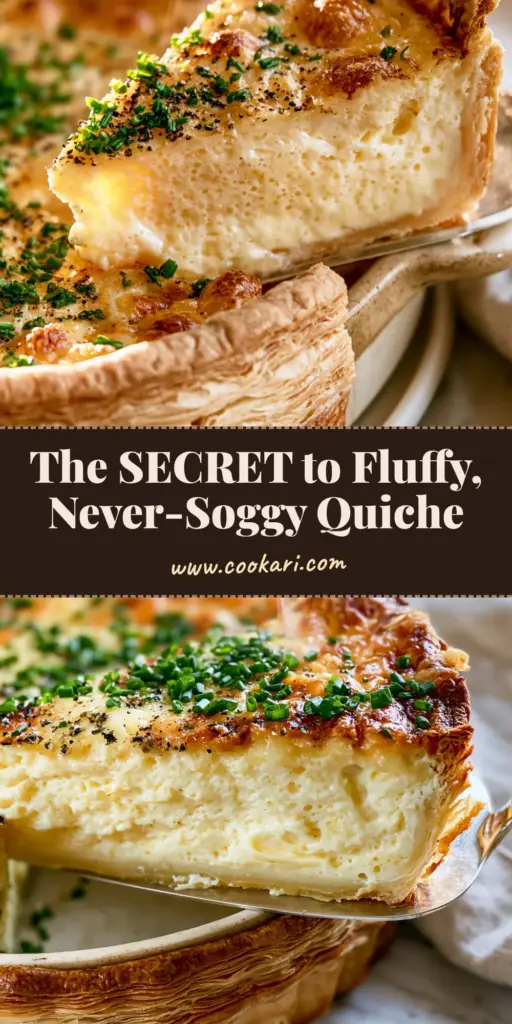
Basic Quiche Recipe: The Ultimate Guide to Flaky Crust and Fluffy Custard
Ingredients
Equipment
Method
- Combine flour and salt. Cut in chilled butter until pea-sized chunks remain. Add ice water 1 tbsp (15ml) at a time until dough forms.
- Wrap and chill dough for 1 hour. Roll out to 12 inches and place in ceramic dish. Blind bake with weights at 375°F (190°C) for 15 minutes, then 10 minutes without weights until deep golden-brown.
- Sauté diced shallots in butter over medium-low heat until soft and translucent.
- Vigorously whisk eggs, cream, and milk for 2 minutes until tiny air bubbles form on top.
- Layer sautéed shallots and 1 cup (100g) Gruyère in the crust. Pour the aerated egg mixture over.
- Bake at 350°F (175°C) for 45 minutes until the center has a slight jiggle. Top with remaining cheese, chives, and cracked pepper.
Notes
Ensure all custard ingredients are room temperature for better aeration.
Conclusion and Join Our Community
Baking this basic quiche recipe is about more than just following steps; it is about paying attention to the sensory cues of the kitchen. From the smell of the sautéing shallots to the sight of the golden-brown crust, every detail contributes to a perfect result. We hope this guide helps you achieve that impossibly tall, aerated custard you’ve been dreaming of.
If you enjoyed this recipe, please leave a comment below and share your results! You can also follow us for more culinary inspiration on Pinterest. Happy baking!