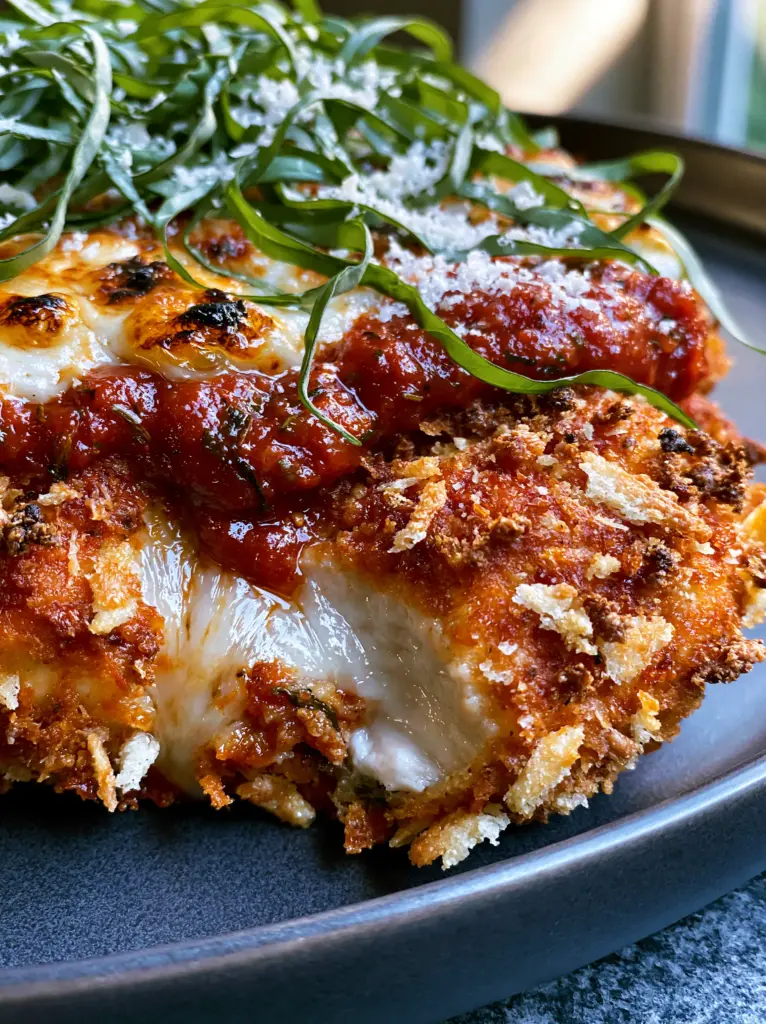
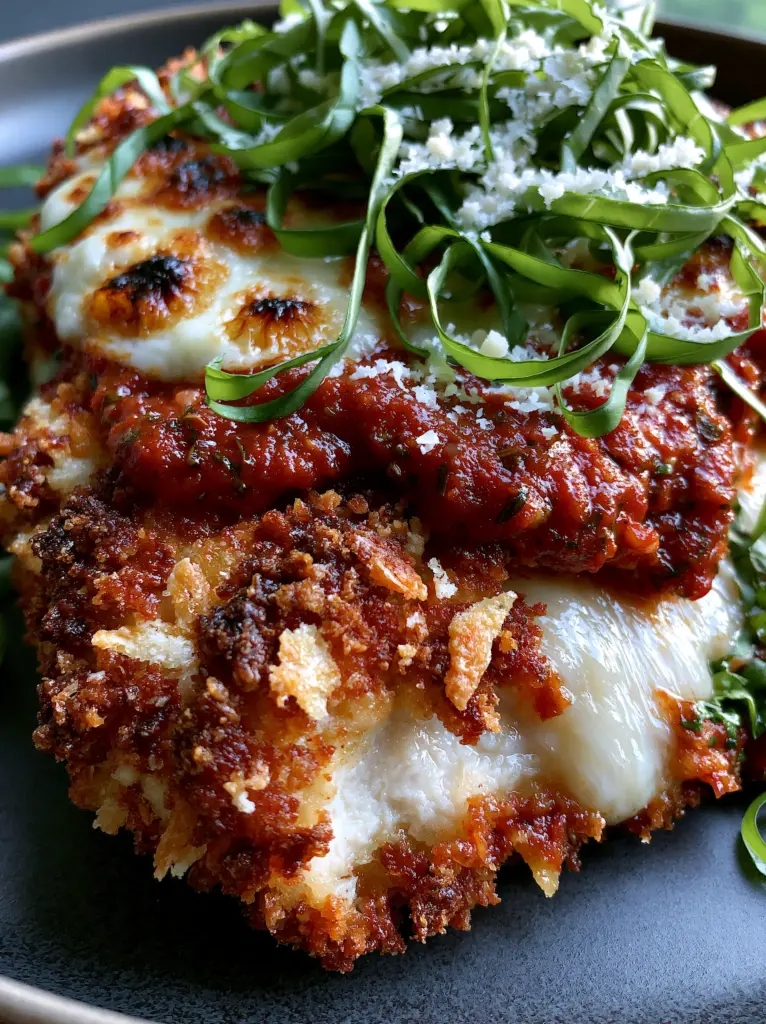
There is a specific, audible crunch that defines the perfect Crispy Parmesan Chicken. It is the sound of golden-brown panko flakes shattering under a knife, revealing a glistening, juicy interior that defies the dry reputation of chicken breast.
This recipe isn’t just a meal; it’s a sensory experience designed to replicate the high-end Italian bistro aesthetic right in your own kitchen. We are focusing on a multifaceted crust that combines the airy lightness of Japanese breadcrumbs with the sharp, salty punch of toasted parmesan shards.
By using a specific two-step cooking method—a shallow pan-sear followed by a high-heat broiler finish—we achieve that coveted bubbly melted mozzarella with signature charred golden-brown spots. The result is a vibrant, restaurant-quality dish that looks just as stunning on a charcoal ceramic plate as it does in a professional food photograph.
Why This Extra-Crunchy Poultry Masterpiece Works
- The Multi-Textured Crust: We utilize a blend of Panko and toasted parmesan shards to create a jagged, thick, and visibly crunchy exterior that holds its integrity under the sauce.
- Moisture Lock Technology: By slicing the chicken to a uniform thickness and using a quick high-heat sear, we ensure the white meat stays glistening and juicy.
- The Broiler Finish: A thick layer of chunky marinara and mozzarella is transformed under the flame, creating those professional charred spots that add deep smoky flavor.
- Fresh Visual Contrast: A heavy sprinkle of bright green basil chiffonade and a dusting of snow-white parmesan provides the final layer of flavor and aesthetic pop.
The Anatomy of the Perfect Crust: Ingredients You Will Need
Boneless Skinless Chicken Breasts: Look for fresh, high-quality poultry; we will slice and pound these to ensure even cooking and maximum juiciness. These are the foundation of our chicken breast dinner ideas.
Panko Breadcrumbs: 2 cups (120g) of these Japanese-style crumbs are essential for that jagged, multifaceted texture that standard breadcrumbs cannot provide. Their large surface area allows for maximum oil contact and crisping.
Parmesan Cheese (Two Styles): You will need 1 cup (90g) of shredded parmesan for the crust shards and 1/4 cup (25g) of finely grated “dust” for the final garnish. The toasted shards provide the crunch, while the dust adds a delicate salty finish.
All-Purpose Flour: 1/2 cup (65g) acts as the primary “primer” for the chicken, absorbing surface moisture so the egg wash can adhere perfectly. Season this generously with salt and pepper.
Large Eggs: 2 beaten eggs serve as the culinary glue, binding the heavy panko-parmesan mixture to the floured surface of the meat. This ensures the crust doesn’t slide off during the sear.
Thick Chunky Marinara: 1.5 cups (360ml) of a high-quality, herb-forward red sauce provides the vibrant moisture and acidic balance to the salty fried crust. We want a sauce that is thick enough to sit on top without making the chicken soggy.
Fresh Mozzarella: 8 oz (225g) of low-moisture mozzarella, sliced or shredded, provides that iconic bubbly, stretchy topping. Low-moisture is key here to prevent excess water from ruining the crispy crust.
Fresh Basil: One large bunch of bright green leaves, sliced into thin ribbons (chiffonade), adds a peppery, aromatic freshness that cuts through the richness. It’s the essential visual and flavor bridge.
Neutral Frying Oil: 1/2 cup (120ml) of avocado or grapeseed oil is necessary for the shallow fry. These oils have high smoke points, allowing us to achieve a deep golden-brown color without burning.
Essential Tools for Visual Culinary Success
To achieve the “handheld smartphone photo” quality of this dish, you need a heavy-bottomed skillet. A cast-iron pan is ideal because it retains heat evenly, ensuring every inch of the breading turns a uniform golden-brown.
You will also need a wire cooling rack set over a baking sheet. Placing the seared chicken on a rack rather than a flat plate prevents steam from building up underneath, which is the number one enemy of a Crispy Parmesan Chicken.
Finally, a Microplane or fine grater is required for that “snow-white” parmesan dusting. A sharp chef’s knife is non-negotiable for achieving the thin ribbons of basil without bruising the delicate leaves.
Step-by-Step: Engineering the Ultimate Crunch
Preparing the Chicken for Even Cooking
Start by slicing your chicken breasts horizontally to create even cutlets. Place them between two sheets of plastic wrap and gently pound them to a uniform 1/2-inch (1.25cm) thickness.
This step is critical for ensuring the meat cooks through at the exact same time the breading reaches peak crispness. Season both sides of the meat with kosher salt and black pepper before dredging.
The Three-Station Dredging System
Set up three shallow bowls: one with seasoned flour, one with beaten eggs, and the third with a mixture of Panko and the shredded parmesan shards. This organized flow prevents a mess and ensures consistent coating.
Press the chicken firmly into the Panko-parmesan mixture. You want to see those jagged flakes and shards adhering in a thick, multifaceted layer that covers every millimeter of the meat.
The Precision Pan-Sear
Heat your oil in the skillet over medium-high heat until it shimmers. Carefully lay the chicken away from you into the pan to avoid splashes, and do not crowd the skillet.
Cook for 3-4 minutes per side until the crust is a deep, vibrant golden-brown. You are looking for a visible crunch and a firm texture when pressed with tongs; the toasted parmesan shards should look like dark gold jewels embedded in the Panko.
The Broiler Transformation
Transfer the seared cutlets to your prepared baking sheet. Spoon a generous amount of the thick chunky marinara onto the center of each breast, leaving the edges of the crust exposed to maintain their crunch.
Top with the mozzarella and place under a preheated broiler for 2-3 minutes. Watch closely: you want the cheese to be bubbly and dotted with small charred golden-brown spots, similar to a wood-fired pizza.
Expert Tips for Success
- Dry the Meat: Always pat the chicken dry with paper towels before the flour dredge to ensure the coating doesn’t peel off.
- Temperature Control: If the oil is too cool, the Panko will soak it up and become greasy; if it’s too hot, the parmesan shards will burn before the chicken is cooked.
- The “Soggy Bottom” Fix: Always use a wire rack when adding the sauce and cheese to allow air to circulate around the entire cutlet.
- Resting Period: Let the chicken rest for 2 minutes after broiling; this allows the juices to redistribute and the cheese to set slightly.
Smart Storage and Reheating Methods
Crispy Parmesan Chicken is best enjoyed immediately, but you can store leftovers in an airtight container for up to 3 days. To maintain the crunch, avoid the microwave, which will turn the breading soft and gummy.
For the best results, reheat in an air fryer at 350°F (175°C) for 4-5 minutes. Alternatively, use a toaster oven or standard oven at 375°F (190°C) until the cheese is bubbling again and the crust has regained its snap.
While you can freeze the breaded (un-fried) cutlets for up to 2 months, we do not recommend freezing the fully assembled dish with sauce and cheese, as the texture will degrade significantly upon thawing.
Dynamic Pairings and Serving Suggestions
To complement the richness of the toasted cheese and fried crust, serve this dish alongside a light, acidic side. A crisp arugula salad with lemon vinaigrette or a side of zucchini noodles works beautifully to balance the plate.
If you are looking for a more indulgent meal, this chicken is the perfect partner for a side of garlic bread, which can be used to scoop up any extra marinara sauce. For a unique twist, try serving the leftovers sliced over a rice bowl for a fusion-style lunch.
For dessert, something fruit-forward and refreshing like peach crisp or a slice of summer pie provides a wonderful contrast to the savory Italian flavors of the main course.
Frequently Asked Questions
While you can bake it at 400°F (200°C), you won’t achieve the same jagged, multifaceted golden-brown crust as the pan-sear method. If baking, spray the Panko generously with oil to help it brown.
The key is to pat the chicken completely dry before dredging it in flour. The flour acts as a primer, the egg wash as glue, and the final Panko layer should be firmly pressed into the meat to ensure it stays attached during frying.
For this specific recipe, low-moisture mozzarella is better. Fresh mozzarella (the kind in water) releases too much liquid when melted, which can ruin the crispy integrity of your Panko breading.
Stack the basil leaves from largest to smallest, roll them tightly like a cigar, and use a very sharp chef’s knife to slice thin ribbons. This prevents bruising and keeps the basil a vibrant bright green.
To get charred spots, you must use the broiler setting on high and place the chicken on the top oven rack. Watch it closely, as it only takes 1-3 minutes to go from melted to perfectly charred.
The Ultimate Extra-Crispy Parmesan Chicken Recipe
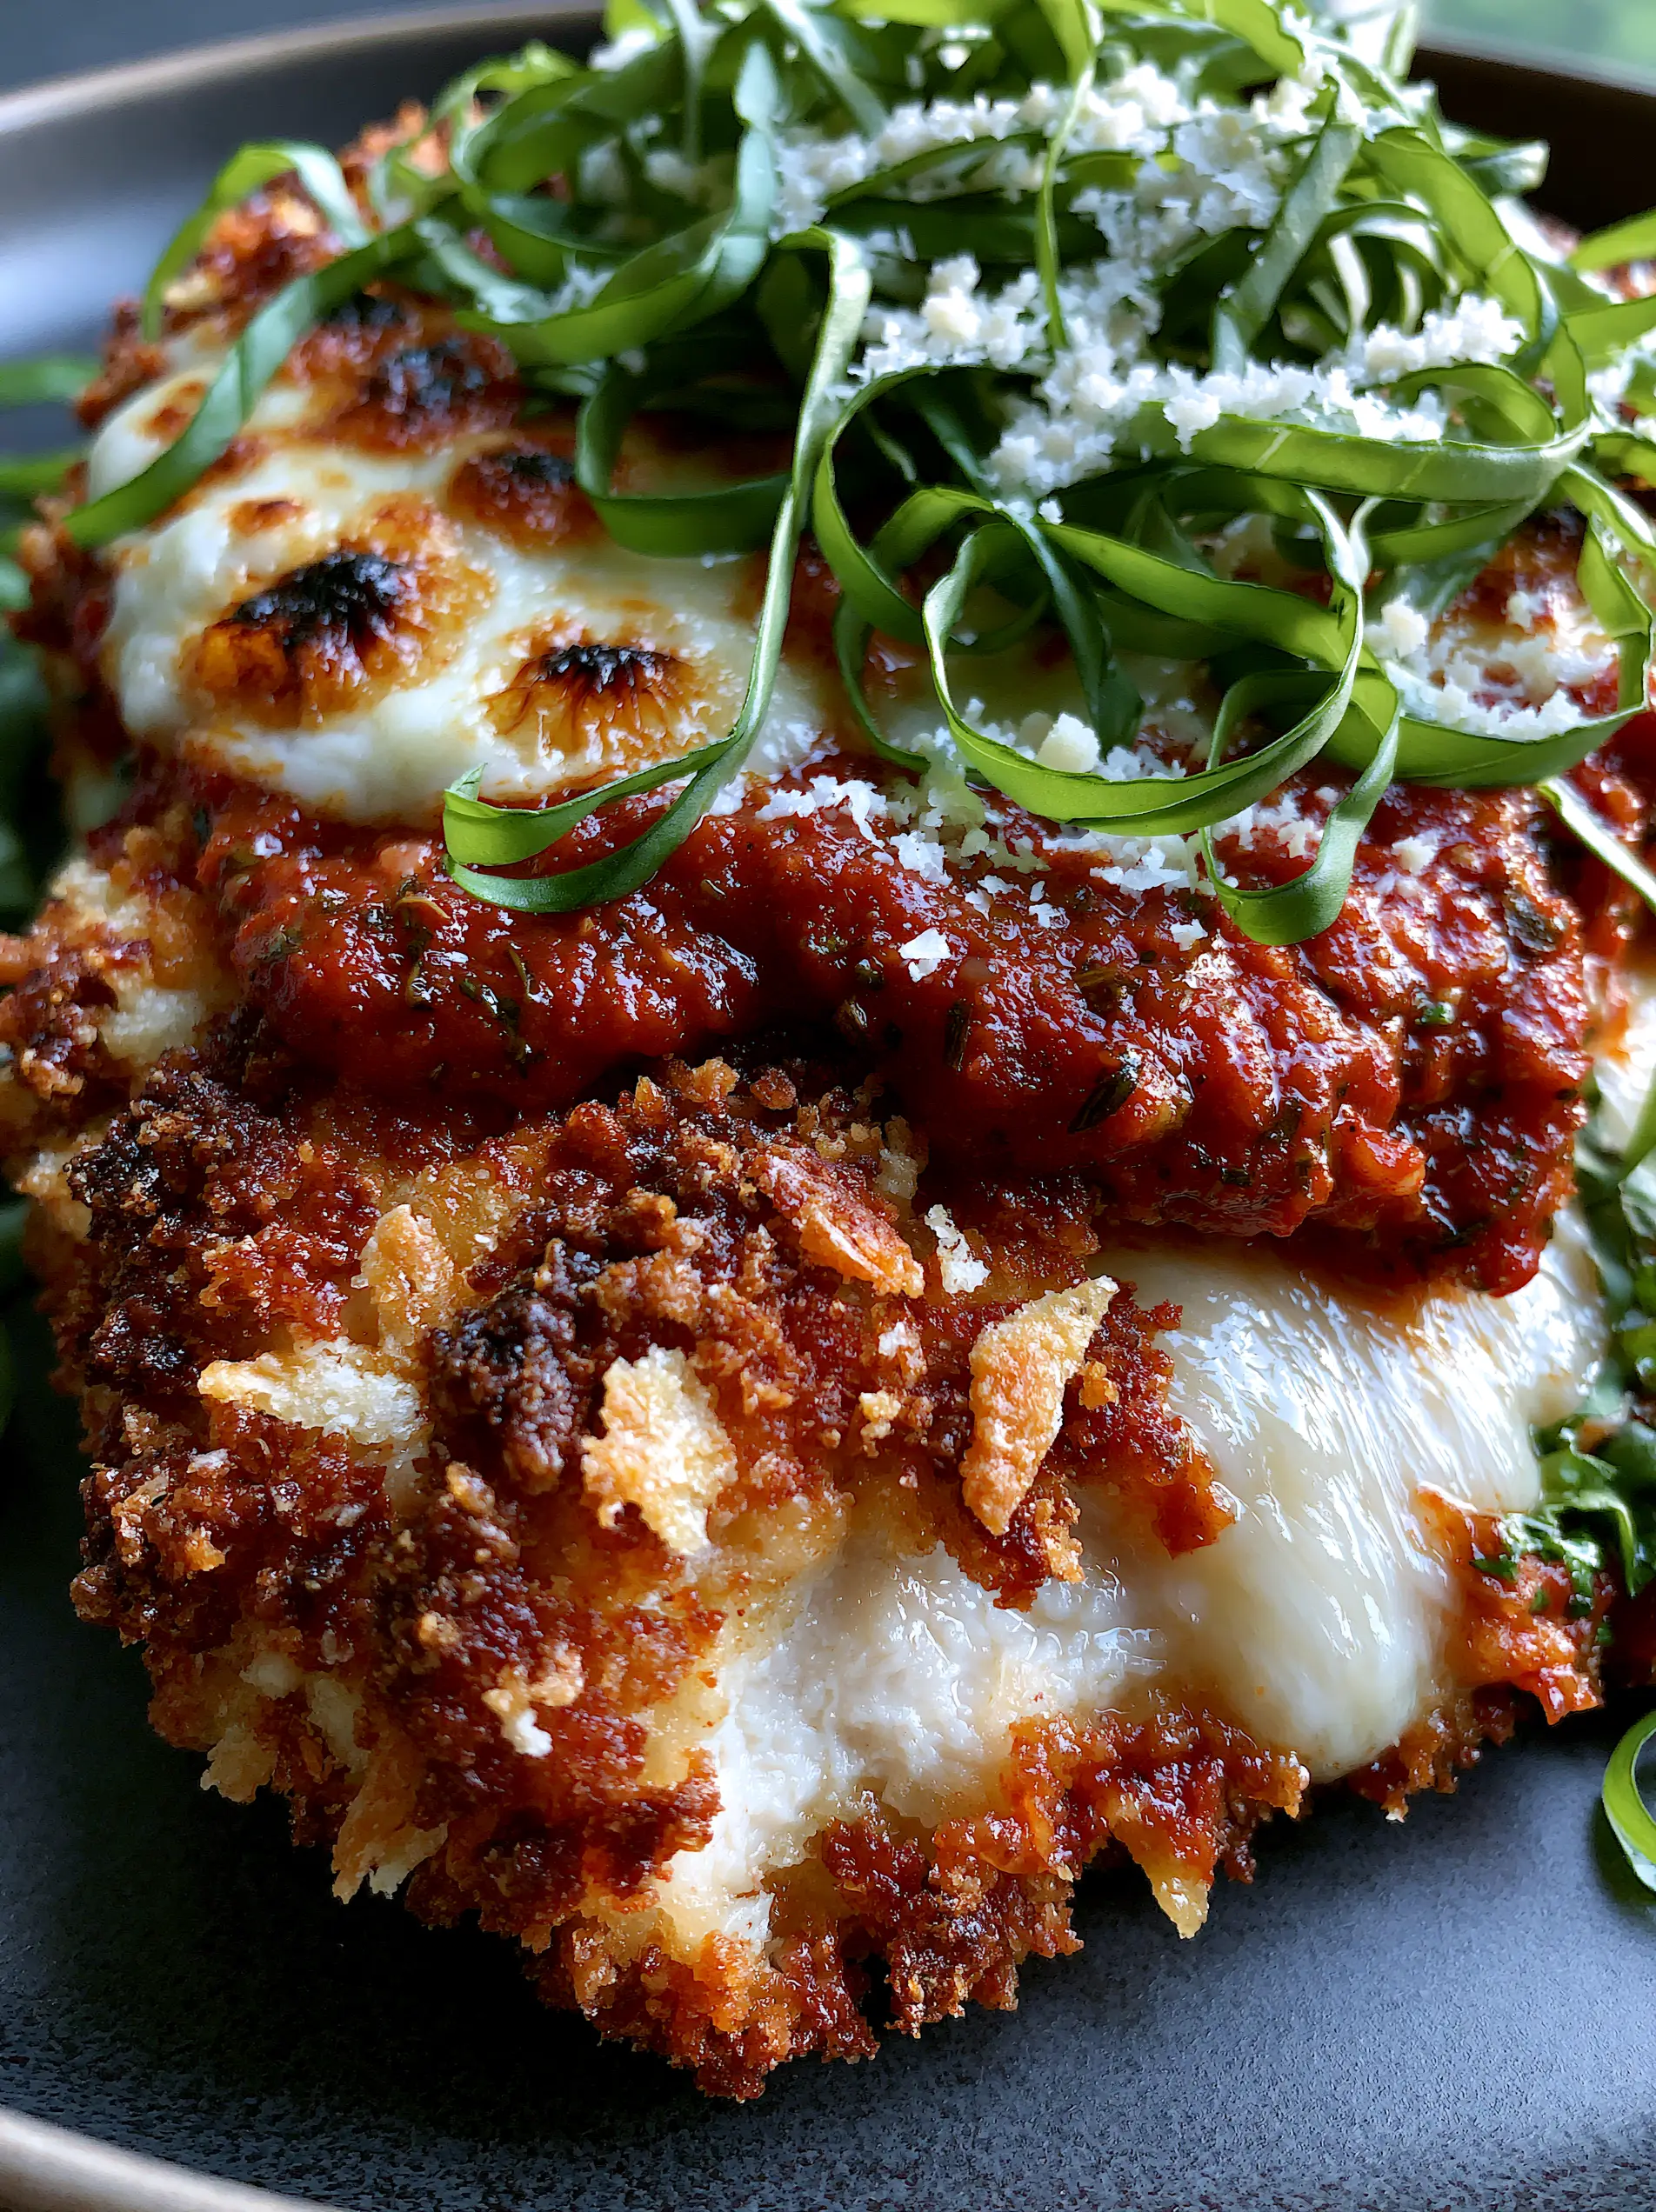
Crispy Parmesan Chicken with Bubbly Mozzarella and Fresh Basil
Ingredients
Equipment
Method
- Slice chicken breasts horizontally. Pound to 1/2-inch thickness for even cooking.
- Coat chicken in flour, dip in beaten eggs, then press firmly into the Panko and parmesan shard mixture.
- Fry in oil over medium-high heat for 3-4 minutes per side until golden-brown and crispy.
- Top with marinara and mozzarella. Broil for 2-3 minutes until cheese is bubbly with charred spots.
- Heavy sprinkle of basil ribbons and a dusting of finely grated parmesan before serving.
Notes
Always reheat in an air fryer or oven to maintain the Panko crunch.
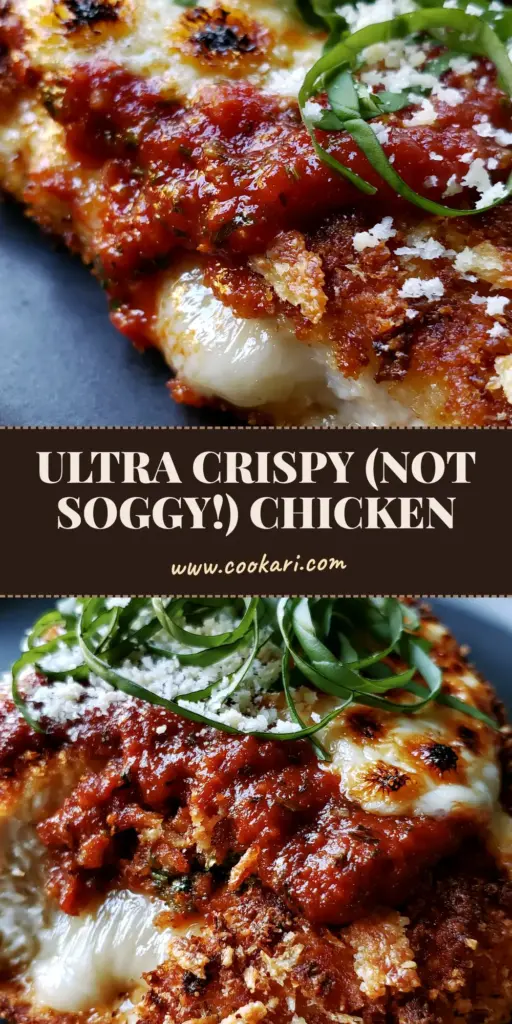
Closing & Culinary Call to Action
Creating the perfect Crispy Parmesan Chicken is about mastering the balance between the intense crunch of the Panko-Parmesan crust and the tender, juicy interior of the meat. This dish is a guaranteed crowd-pleaser that brings a touch of gourmet flair to your weeknight routine.
If you enjoyed this deep dive into crispy textures and bubbly cheese, please leave a comment below and let us know how your broiler char turned out! Don’t forget to share your culinary creations on Pinterest and follow us for more restaurant-quality inspirations.