There is nothing quite like the first sip of a perfectly executed strawberry daiquiri on a sweltering summer afternoon. When done correctly, this isn’t just a slushy drink; it is a sophisticated, vibrant crimson masterpiece that balances tart citrus with the deep sweetness of sun-ripened fruit.
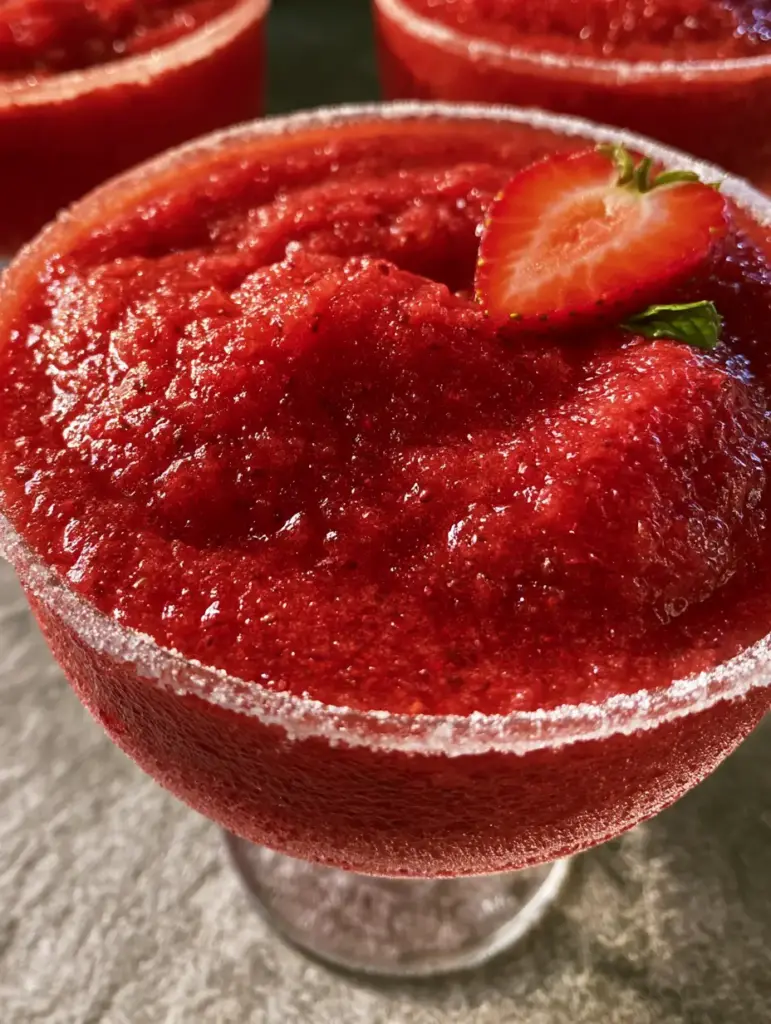
Most home versions suffer from being too watery or filled with crunchy ice crystals that dilute the flavor. This recipe focuses on achieving a dense, seed-flecked strawberry puree slushy texture that holds soft peaks in a chilled crystal coupe glass.
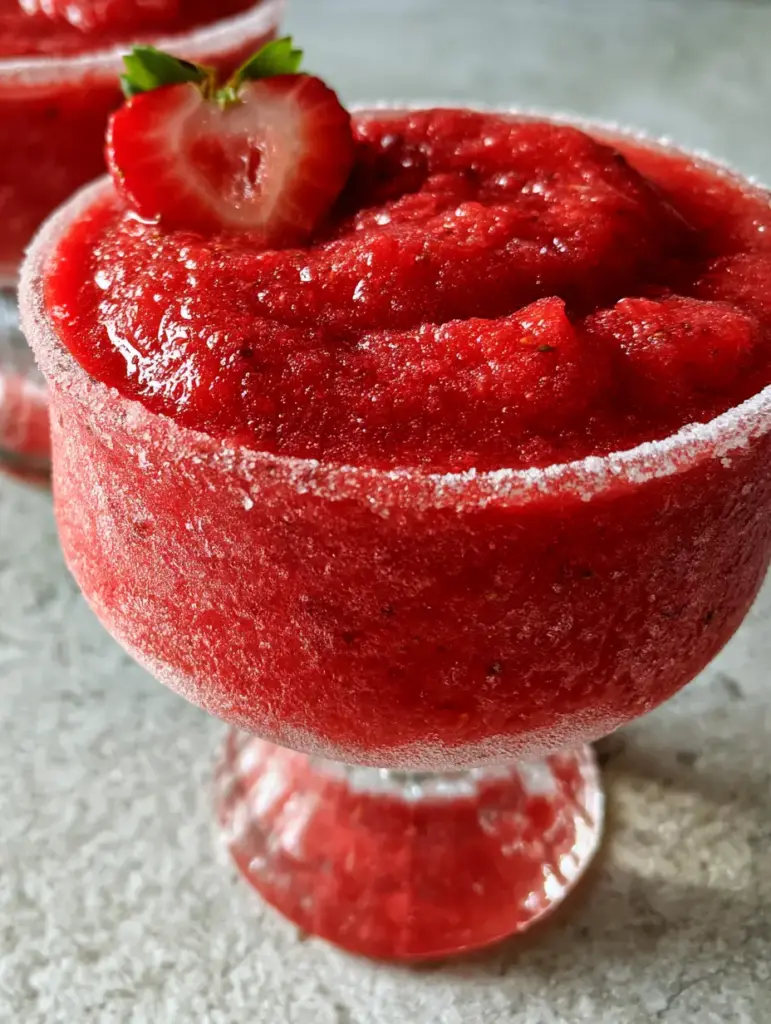
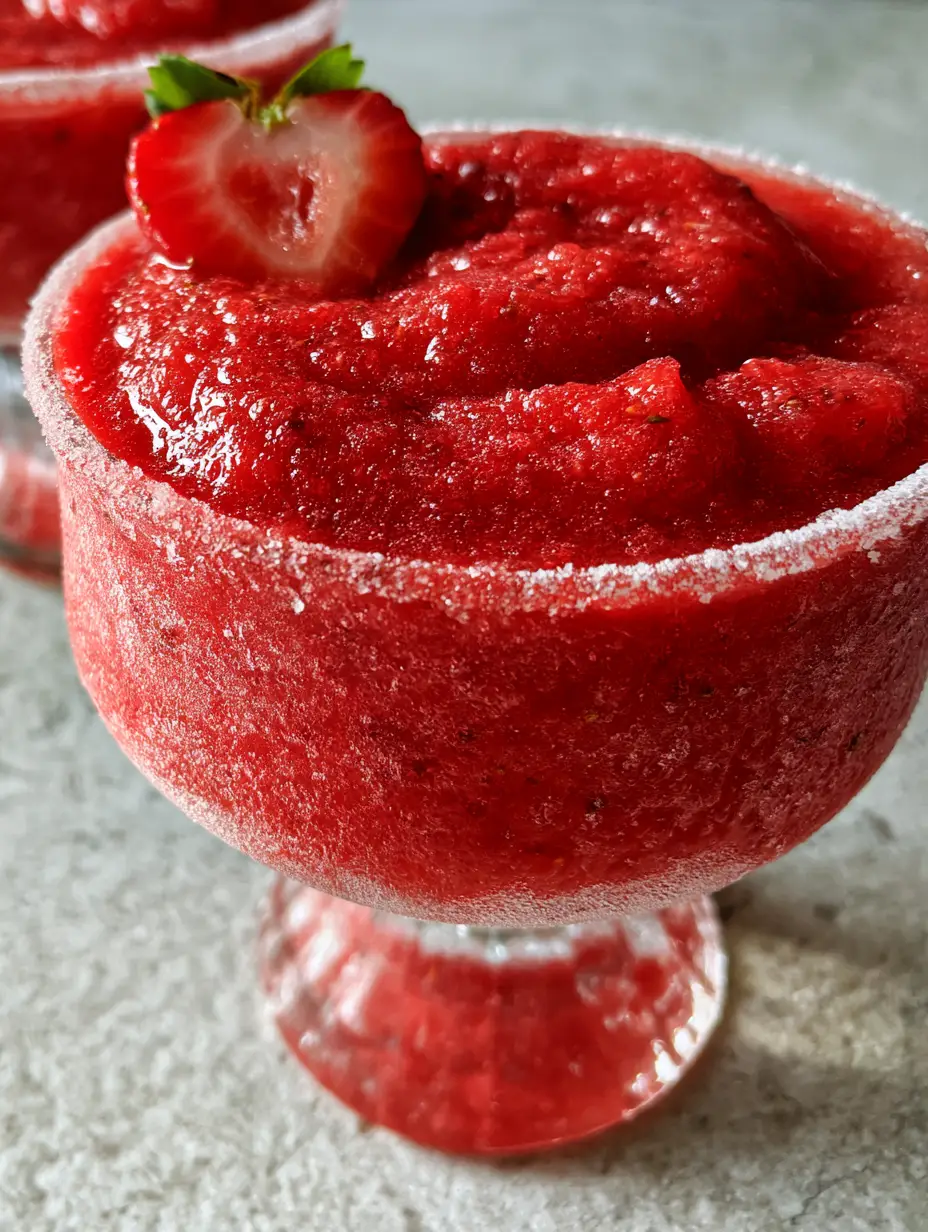
By following these professional techniques, you will create a cocktail that looks exactly like a high-end editorial photograph. Imagine a saturated red hue glistening under golden hour light, finished with a delicate frost and a fine white sugar rim.
Why This Frozen Strawberry Masterpiece Works
- Unmatched Texture: We eliminate water separation by using frozen whole strawberries as the primary cooling agent instead of heavy ice cubes.
- Visual Brilliance: The intense crimson color is achieved through premium fruit selection and a specific blending sequence that prevents aeration.
- Balanced Profile: Using fresh-squeezed lime juice and homemade simple syrup ensures the premium white rum shines without being cloying.
- Professional Presentation: The contrast between the vibrant green mint tip and the heart-shaped strawberry slice creates a stunning visual “pop.”
The Secret to That Saturated Crimson Strawberry Base
To achieve the “velvety” texture described in our visual blueprint, every ingredient must serve a structural purpose. High-quality fruit is the foundation of any elite strawberry daiquiri.
1 lb (450g) Frozen Whole Strawberries: These act as the “ice” of the drink. Using frozen fruit instead of water-based ice ensures the flavor remains concentrated and the texture stays dense and seed-flecked.
4 oz (120ml) Premium White Rum: Choose a clean, clear rum that doesn’t mask the fruit. The alcohol prevents the mixture from freezing into a solid block, keeping it scoopable and soft.
2 oz (60ml) Freshly Squeezed Lime Juice: Never use bottled juice. The bright acidity of fresh lime is required to “wake up” the sugars in the berries and balance the rum.
2 oz (60ml) Simple Syrup: This liquid sweetener incorporates seamlessly. It provides the “gloss” you see on the surface of the puree and rounds out the tartness of the lime.
Granulated White Sugar (for the rim): This provides a textural contrast and a professional “frosty” look to the crystal coupe glass. It catches the light and adds a subtle sweetness to every sip.
Fresh Mint Sprigs and Sliced Strawberries: These are the essential garnishes. A tiny, vibrant green mint tip and a heart-shaped strawberry slice provide the final “lifestyle” aesthetic.
Essential Tools for a Professional Slushy Texture
To get that macro-photo-ready finish, a standard blender often isn’t enough. You need a high-speed blender that can pulverize strawberry seeds into tiny flecks without heating up the mixture.
A chilled crystal coupe glass is the vessel of choice for this recipe. Placing your glassware in the freezer for at least 20 minutes before serving creates that signature delicate frost on the outside.
You will also need a shallow saucer for the sugar rimming process and a sharp paring knife to create the perfect heart-shaped strawberry garnish. Precision here is what separates an amateur drink from a craft cocktail.
Step-by-Step Evolution of the Perfect Pour
Preparing the Crystal Coupe and Sugar Rim
Start by taking your chilled coupe glass from the freezer. Run a small wedge of lime around the outer edge of the rim to create a sticky surface.
Dip the glass into a saucer filled with granulated white sugar. Spin it slowly to ensure a fine, even coat that looks like a dusting of snow against the chilled glass.
Achieving the Dense Strawberry Puree
In your high-speed blender, combine the frozen whole strawberries, premium white rum, fresh lime juice, and simple syrup. Start the blender on the lowest speed to break up the large fruit pieces.
Gradually increase to high speed for only 20-30 seconds. You are looking for a thick, velvety consistency that shows soft peaks when the blade stops, indicating zero water separation.
Garnishing for Visual Impact
Pour the saturated crimson mixture into your prepared glass. Use a spoon to smooth the top, ensuring the puree reaches just below the sugar rim.
Take a fresh strawberry, slice it vertically, and cut a small “V” into the top to create a heart shape. Place this on the rim alongside a tiny, vibrant green mint tip for a professional finish.
Expert Tips for Success
- Watch the Temperature: If your blender jar is warm, it will melt the strawberries. Rinse the jar with cold water or pulse a few ice cubes in it (and discard) before starting your strawberry daiquiri.
- The Simple Syrup Ratio: Use a 1:1 ratio of sugar to water. This provides enough viscosity to create that “glistening sheen” on the fruit puree seen in professional photos.
- Seed Control: If you prefer a smoother look, blend for an extra 10 seconds. However, the “seed-flecked” look is a hallmark of using real, whole fruit rather than syrups.
- Rum Selection: Avoid spiced or dark rums for this specific recipe. They will muddy the bright crimson color and overpower the delicate berry notes.
What to Serve with a Frozen Cocktail
A strawberry daiquiri is a bold, sweet, and tart drink that pairs beautifully with salty or creamy appetizers. For a casual backyard gathering, try serving it alongside a classic Amish macaroni salad to balance the acidity.
If you are looking for a lighter, more refreshing pairing, a crisp cucumber tomato avocado salad offers a wonderful textural contrast to the thick slushy.
For those hosting a full dinner, consider an Italian-inspired spread featuring baked eggplant or a savory chicken Caesar pasta salad. The richness of the pasta balances the icy sweetness of the cocktail perfectly.
Storage and Make-Ahead Advice
Because this recipe relies on the structural integrity of frozen fruit, it is best enjoyed immediately. If you must make it ahead, you can store the blended mixture in the freezer for up to 2 hours.
If the mixture becomes too hard, simply pop it back into the blender with a tiny splash of rum and pulse until the velvety texture returns. Never add water to thin it out, as this will cause ice crystals to form.
You can prep your garnishes and sugar-rimmed glasses in advance. Keep the rimmed glasses in the freezer so they are ready to go the moment the blender stops.
Frequently Asked Questions
You can, but you will need to add a significant amount of ice to achieve the frozen texture. This will result in a more watery consistency and a less vibrant color compared to using frozen whole strawberries.
Simply replace the rum with an equal amount of coconut water or a splash of white grape juice. The texture will remain the same, though it may freeze faster without the alcohol content.
A premium white rum is best. It provides a clean, alcoholic backbone without altering the bright crimson color or the fresh flavor of the fruit.
Separation usually occurs if there is too much liquid or if the fruit wasn’t cold enough. Ensure you are using fully frozen berries and high-quality simple syrup to provide the necessary viscosity.
The Ultimate Frozen Strawberry Daiquiri Recipe
Strawberry Daiquiri: The Ultimate Thick and Velvety Frozen Recipe
Ingredients
Equipment
Method
- Rub a lime wedge around the rim of chilled coupe glasses. Dip the rims into a saucer of granulated white sugar until evenly coated.
- Combine frozen strawberries, rum, lime juice, and simple syrup in a blender. Start on low and increase to high, blending for 20-30 seconds until a dense, velvety slushy forms.
- Pour the mixture into the prepared glasses. Garnish with a heart-shaped strawberry slice and a tiny mint tip. Serve immediately while glistening.
Notes
Use only frozen fruit—adding ice cubes will dilute the intense crimson color and flavor.
Closing and Call to Action
The strawberry daiquiri is more than just a drink; it is a celebration of summer in a glass. By focusing on high-quality frozen fruit and proper blending techniques, you can achieve a professional, photo-ready result at home.
If you enjoyed this recipe, please leave a comment below and let us know how your texture turned out! Don’t forget to follow us and share your creations to Pinterest.