When you think of the most versatile zucchini recipes, a perfectly fried, lacy-edged fritter is the gold standard. There is something undeniably satisfying about the contrast between a hot, shattered-glass crispy exterior and a tender, vibrant green center.
This recipe transforms humble summer squash into a gourmet experience that looks like it stepped right out of a professional food shoot. By focusing on moisture control and high-heat frying, we achieve a texture that is light, airy, and incredibly crunchy.
Whether you are hosting a garden brunch or looking for a sophisticated appetizer, these fritters are designed to impress. The addition of a thick Greek yogurt dollop and bright Aleppo chili flakes provides the perfect balance of cooling creaminess and gentle heat.
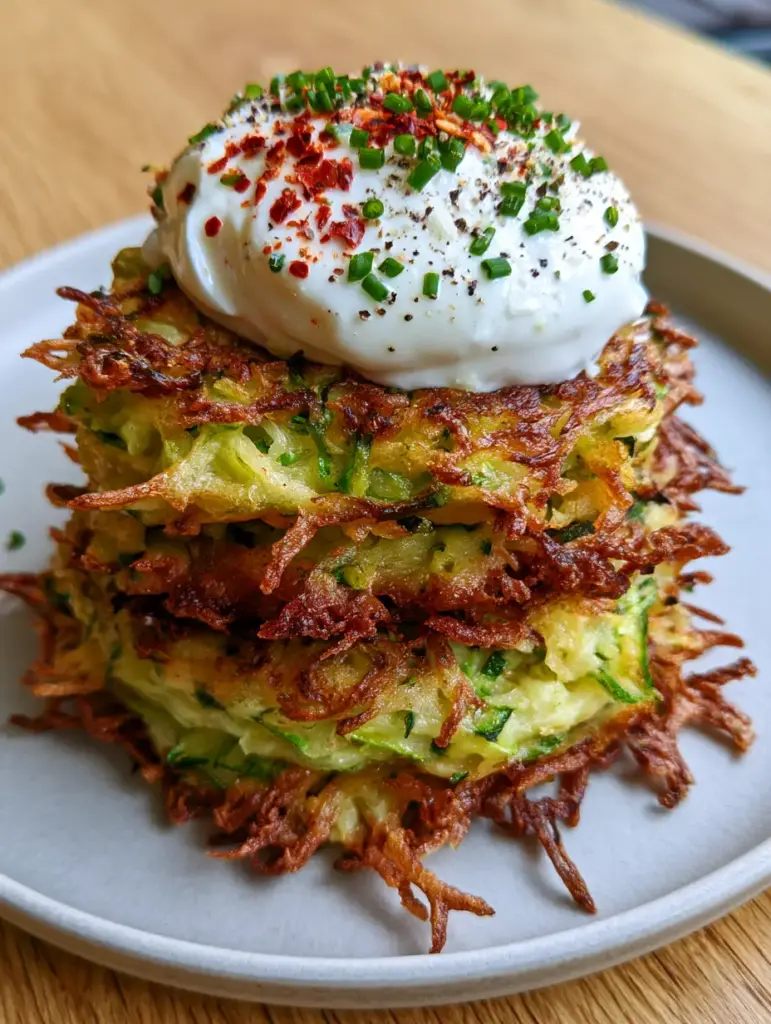
Why This Is the Crown Jewel of Zucchini Recipes
- Shattered-Glass Texture: We use a specific ratio of flour and cornstarch to ensure those lacy edges stay crispy for longer than five minutes.
- Vibrant Visual Appeal: The contrast of the golden-brown batter against the bright green shredded zucchini creates a stunning “macro-photo” look.
- Balanced Flavor Profile: From the coarse sea salt to the aromatic chives, every bite is seasoned to perfection.
- Simple Sophistication: This recipe uses accessible ingredients but utilizes professional techniques to elevate the final dish.
The Anatomy of a Perfect Fritter: Ingredients You Will Need
Fresh Green Zucchini: You will need 2 lbs (900g) of firm, medium-sized zucchini. Medium squashes have fewer seeds and less water than “baseball bat” garden giants, leading to a better crunch.
All-Purpose Flour and Cornstarch: 1/2 cup (65g) flour and 2 tbsp (16g) cornstarch provide the structural skeleton. The cornstarch is the “secret weapon” that creates those jagged, crispy fried edges seen in the photos.
Large Eggs: 2 large eggs act as the binder that holds the shredded strands together. They provide enough protein to set the batter quickly upon hitting the hot oil.
Foundational Seasonings: 1 tsp (6g) fine sea salt for moisture extraction and 1/2 tsp (2g) baking powder for a slight lift. The baking powder creates tiny air bubbles that make the batter feel lighter and crispier.
The Finishing Garnish: 1/2 cup (120ml) thick Greek yogurt, 2 tbsp (5g) minced fresh chives, and 1 tsp (2g) Aleppo chili flakes. These elements provide the “chef’s kiss” visual and flavor contrast described in our blueprint.
High-Heat Frying Oil: 1/2 cup (120ml) of grapeseed or avocado oil. You need an oil with a high smoke point to achieve that deep golden-brown color without burning.
Essential Tools for Shattered-Glass Crispy Edges
To achieve the results seen in our visual guide, a box grater is essential for those long, vibrant green shredded strands. Avoid a food processor, as it can “weep” too much liquid from the vegetable cells.
A heavy-bottomed cast iron or stainless steel skillet is your best friend here. These pans retain heat exceptionally well, ensuring the oil temperature doesn’t drop when you add the cold batter.
Finally, a clean kitchen towel or cheesecloth is mandatory. You cannot skip the “great squeeze” if you want a fritter that is crispy rather than soggy.
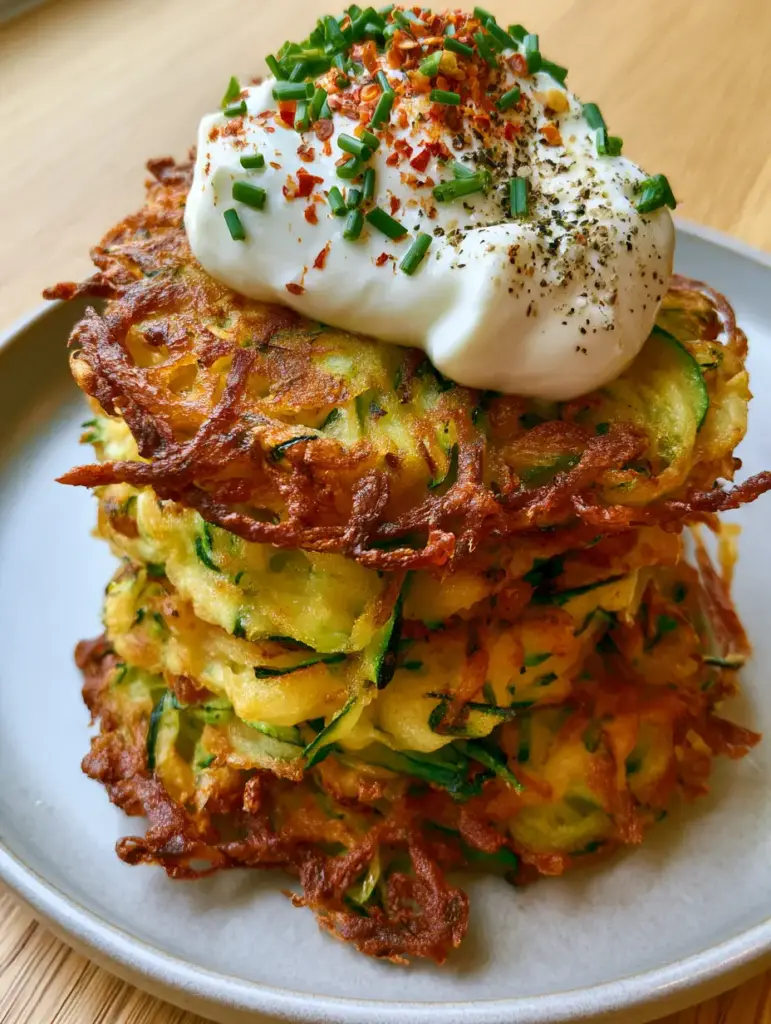
The Master Method: How to Make Professional Zucchini Fritters
Step 1: The Moisture Extraction Process
Coarsely grate your zucchini into a large bowl and toss with 1 tsp (6g) of sea salt. Let it sit for 15 minutes; you will see the water pooling at the bottom of the bowl.
Transfer the zucchini to a clean kitchen towel and twist it with all your might. You should extract at least 1/2 cup to 3/4 cup of liquid—this is the key to preventing “steamed” fritters.
Step 2: Mixing the Signature Batter
In a separate bowl, whisk together the eggs, flour, cornstarch, and baking powder until a thick paste forms. Gently fold in the squeezed zucchini strands, ensuring they are evenly coated but not pulverized.
Add a generous amount of cracked black pepper at this stage. The pepper should be visible within the batter to match the rustic, high-end look of our visual blueprint.
Step 3: Achieving the Golden-Brown Fry
Heat your oil over medium-high heat until it shimmers (approximately 350°F / 175°C). Drop a small piece of batter in; if it sizzles immediately and floats, the oil is ready.
Carefully place mounds of the mixture into the pan, flattening them slightly with a spatula. Fry for 3-4 minutes per side until you see those jagged, lacy edges turn a deep golden brown.
Step 4: The Art of the Garnish
Transfer the hot fritters to a wire rack rather than paper towels to maintain airflow and crunch. Stack three fritters high on a neutral light grey ceramic plate to mimic our macro smartphone photo.
Top the stack with a thick, indulgent dollop of Greek yogurt. Sprinkle with finely minced fresh chives, bright red Aleppo chili flakes, and a final dusting of coarse sea salt and cracked black pepper.
Expert Tips for Fritter Success
- Temperature Control: If the oil is too cool, the fritters will absorb fat and become greasy; if too hot, the outside burns before the zucchini cooks.
- Don’t Overcrowd: Fry in batches to ensure the oil temperature remains stable and the edges have room to “lace” out.
- The Squeeze is King: If your batter feels “soupy,” you didn’t squeeze enough water out. You can add an extra tablespoon of flour to compensate.
- Serve Immediately: Like all fried zucchini recipes, these are best enjoyed within minutes of leaving the pan for maximum crunch.
Maintaining That Crunch: Storage and Reheating
While these are best fresh, you can store leftovers in an airtight container in the fridge for up to 2 days. To reheat, avoid the microwave at all costs, as it will make them rubbery.
Instead, place them in a 375°F (190°C) oven or air fryer for 4-5 minutes. This will crisp up the exterior oils and restore some of that original “shattered-glass” texture.
Perfect Pairings for Your Zucchini Spread
If you are looking to build a full menu, these fritters pair beautifully with a variety of fresh zucchini recipes that highlight the vegetable in different textures. For a more Mediterranean-themed appetizer platter, try serving them alongside salty zucchini feta balls and a cool, refreshing creamy zucchini dip.
For those who love a bit of crunch, these fritters also complement classic breaded zucchini or even light air fryer zucchini crisps. The goal is to play with different cooking methods to show off the versatility of the squash.
Answers to Your Most Pressing Zucchini Questions
Yes, you can substitute the all-purpose flour with a high-quality 1:1 gluten-free flour blend. Keep the cornstarch, as it is essential for the crispy texture.
The combination of cornstarch and baking powder, along with properly heated oil, creates those crispy, lacy edges. Don’t over-mix the batter; keep the zucchini strands distinct.
If you can’t find Aleppo flakes, a mix of three parts sweet paprika and one part cayenne pepper provides a similar mild heat and vibrant red color.
Use an oil with a high smoke point, such as grapeseed, avocado, or canola oil. Avoid extra virgin olive oil for frying, as it can burn and become bitter at high temperatures.
Sogginess is caused by excess water. You must salt the shredded zucchini and squeeze it aggressively in a kitchen towel to remove all moisture before mixing the batter.
The Official Crispy Zucchini Fritter Recipe Card
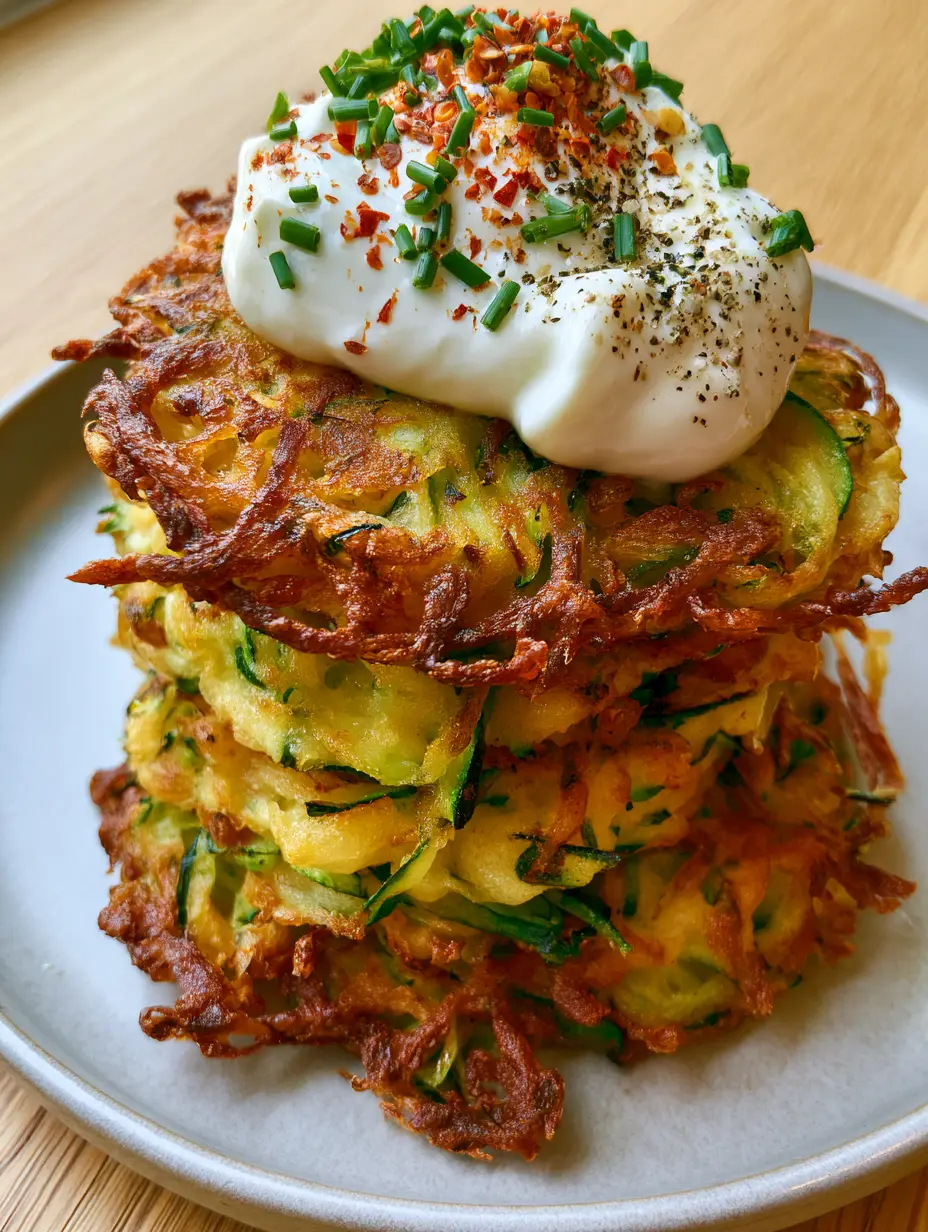
Zucchini Recipes: The Ultimate Golden Crispy Zucchini Fritters
Ingredients
Equipment
Method
- Shred zucchini and toss with 1 tsp salt. Let sit for 15 minutes.
- Place zucchini in a towel and squeeze until very dry, removing at least 1/2 cup of liquid.
- Whisk eggs, flour, cornstarch, and baking powder. Fold in zucchini and cracked pepper.
- Heat oil in skillet. Fry mounds of batter for 3-4 minutes per side until deep golden-brown with lacy edges.
- Stack 3 fritters. Top with yogurt, chives, Aleppo flakes, and coarse sea salt.
Notes
For extra lacy edges, don't press down too hard on the fritter in the pan.
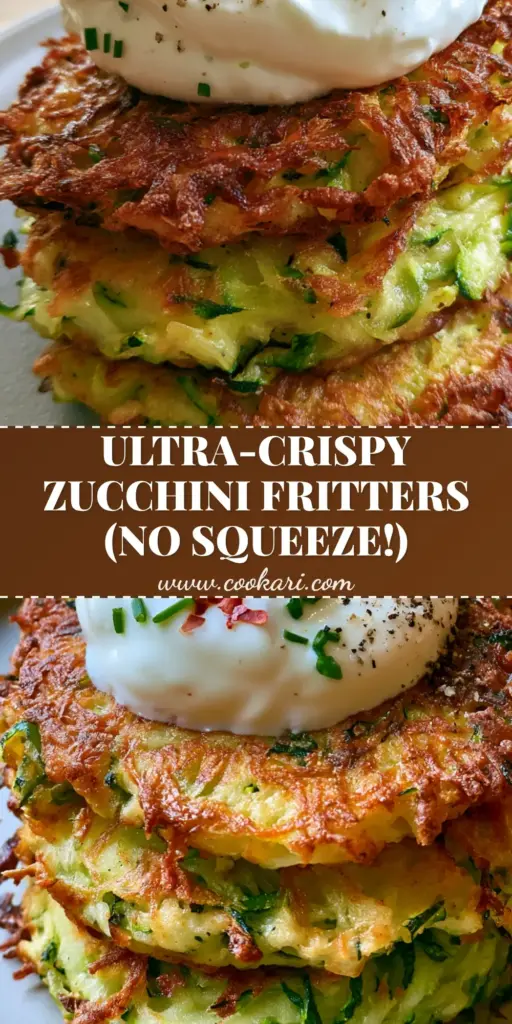
Closing & Call to Action
There is no better way to celebrate harvest season than with these golden-brown, crispy delights. They offer a masterclass in texture and a visual feast that will make your dinner table look like a professional kitchen.
If you enjoyed this deep dive into one of our favorite zucchini recipes, please leave a comment below and let us know how your lacy edges turned out! Don’t forget to share your photos and follow us on Pinterest for more culinary inspiration.