The authentic Nanaimo bars recipe is more than just a dessert; it is a Canadian cultural icon that represents the pinnacle of no-bake confectionery engineering. To achieve the specific visual of three distinct, surgically sharp layers—a gritty cocoa-coconut base, a velvety yellow custard center, and a reflective chocolate ganache—one must look beyond simple mixing and into the science of texture and temperature control.
This legendary treat originated in Nanaimo, British Columbia, and has since captivated global palates with its unique combination of textures. From the crunch of toasted walnuts to the silkiness of the Birds custard powder filling, every bite is a masterclass in culinary balance. Whether you are prepping for a holiday platter or looking for impressive dessert ideas, this recipe delivers a professional-grade result that looks exactly like a high-end bakery display.
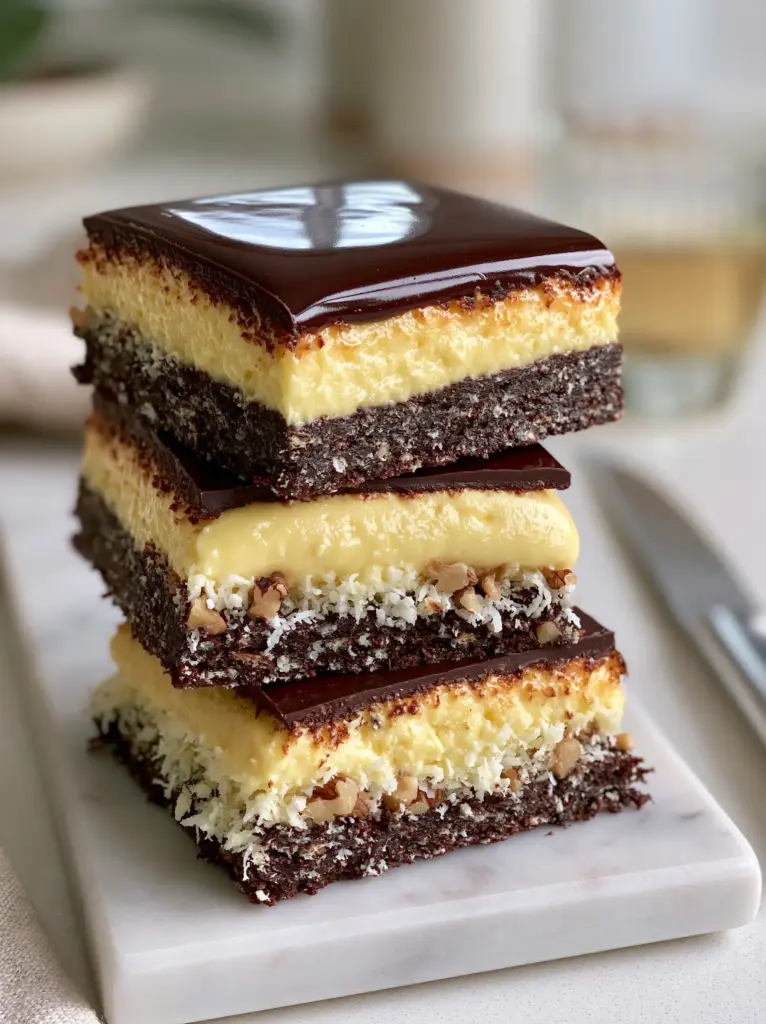
The Anatomy of a Perfect Canadian Nanaimo Bar
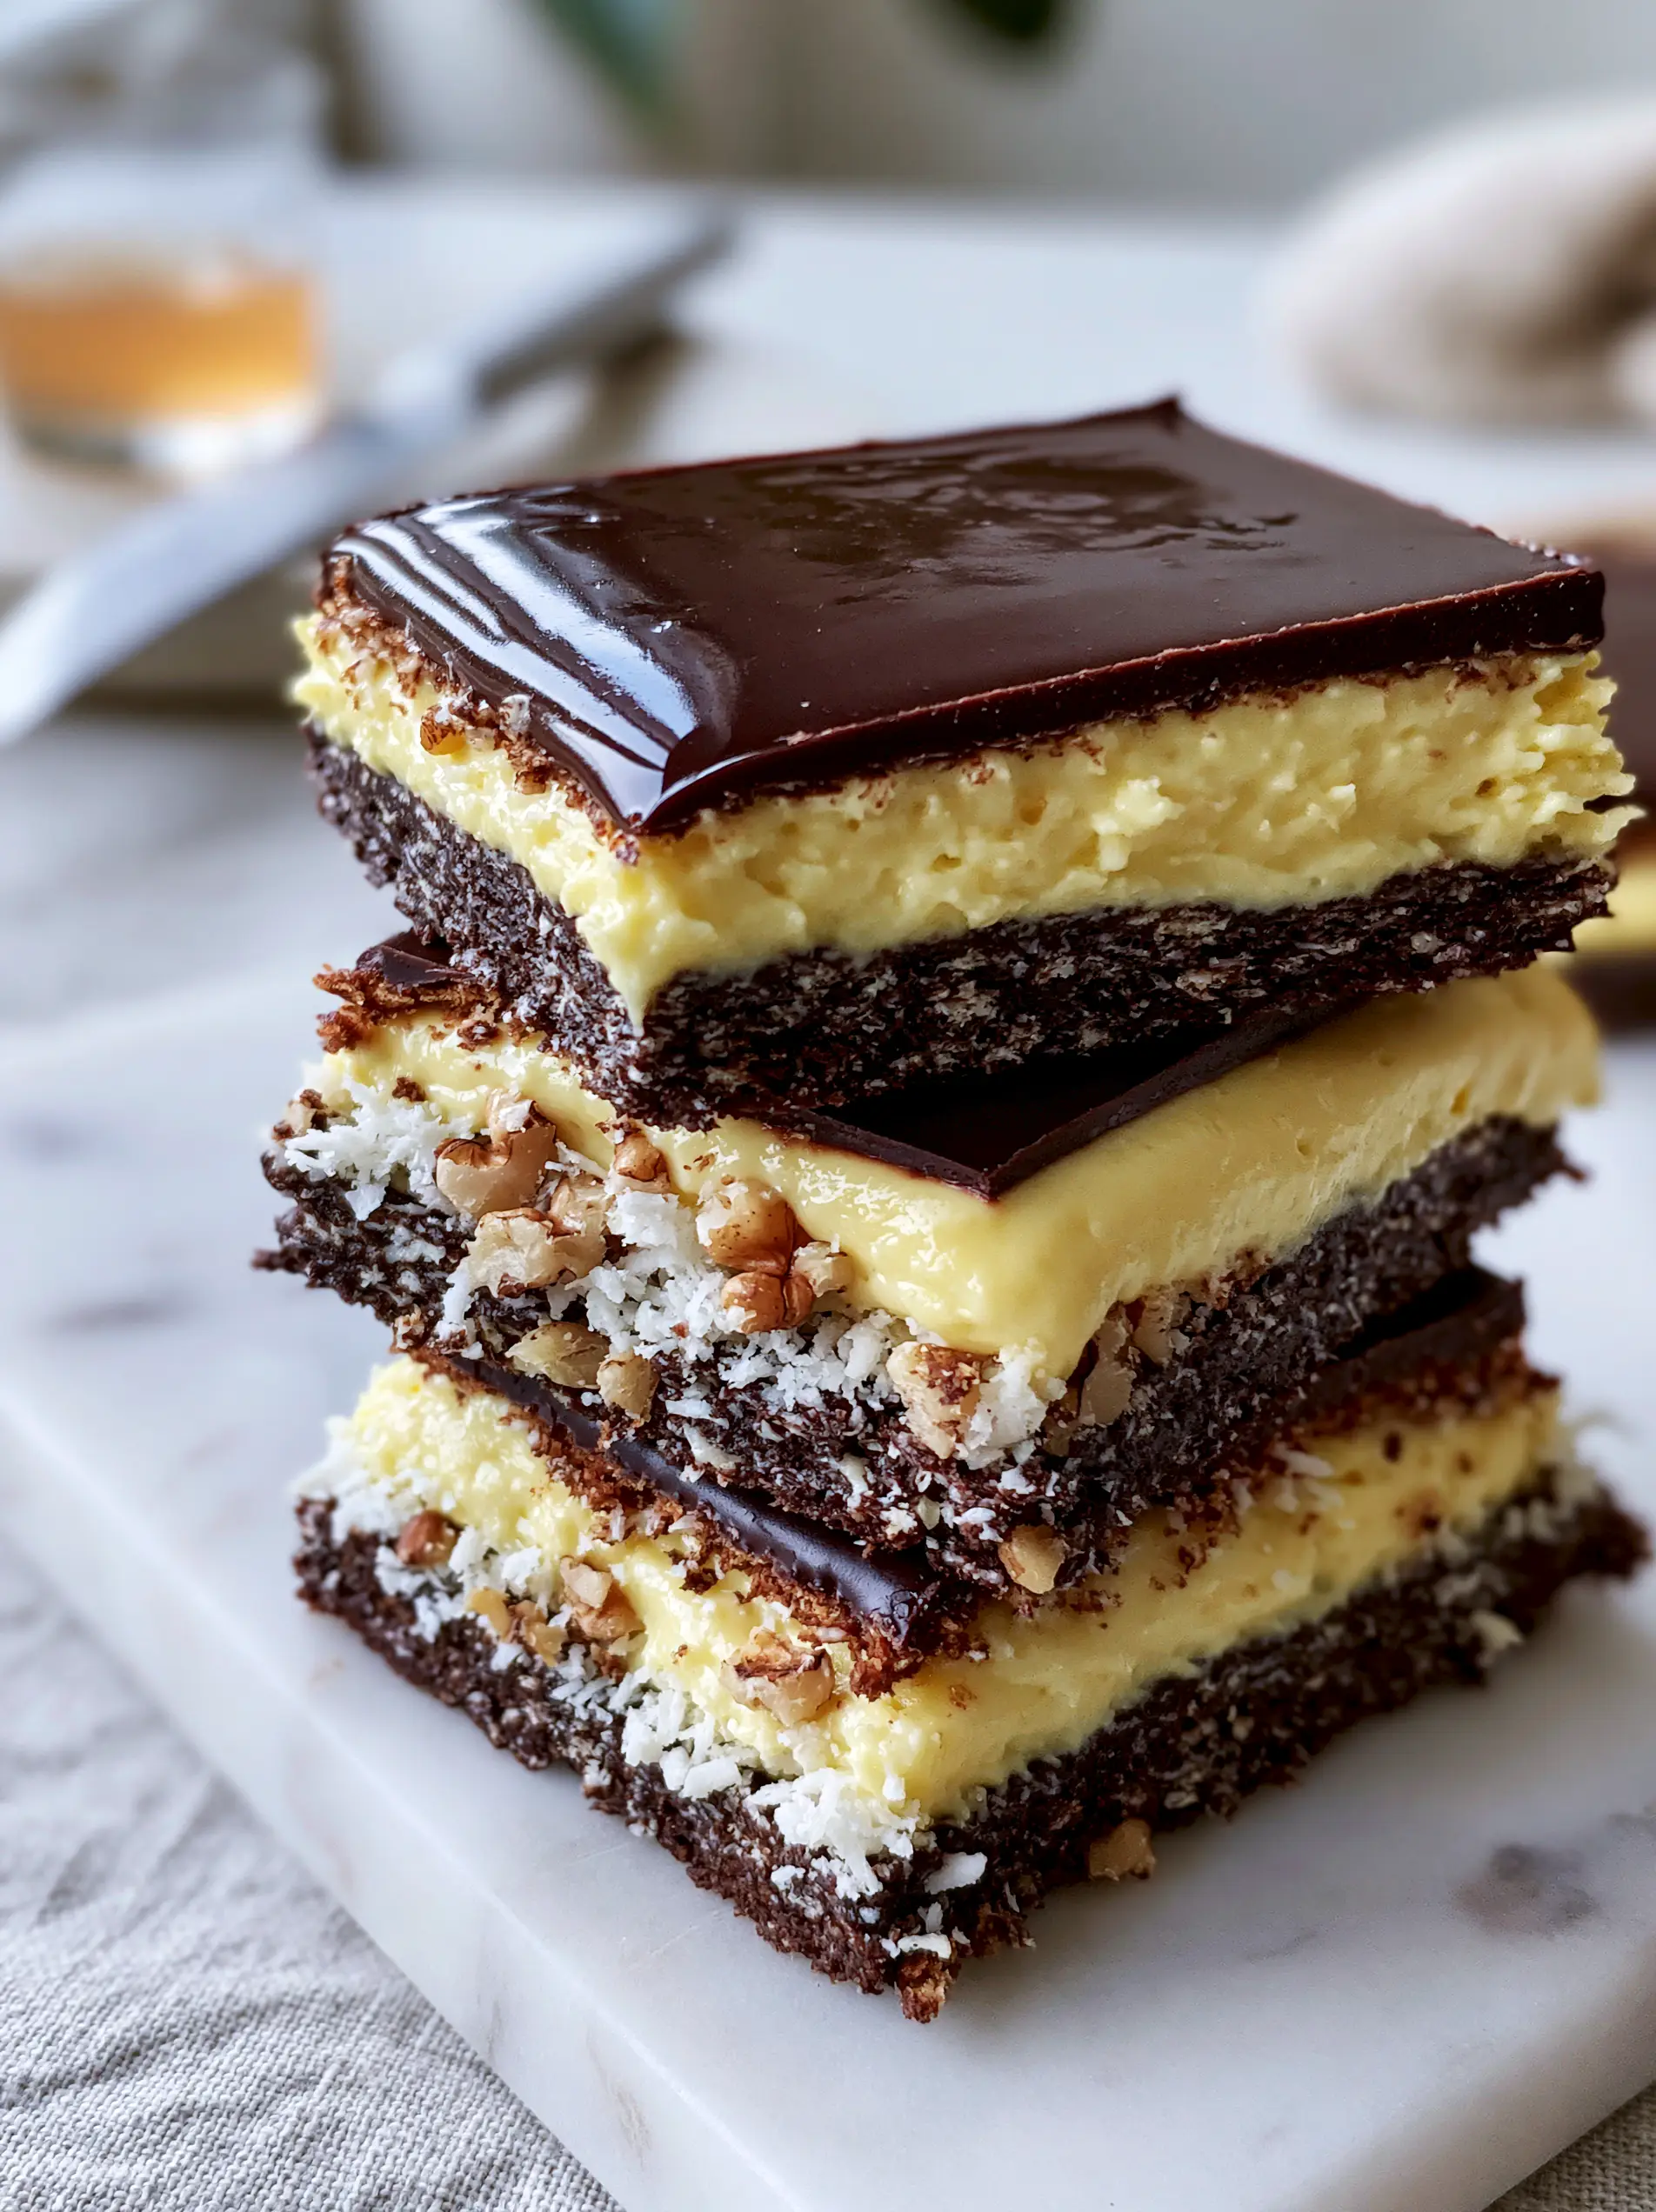
- Surgically Sharp Edges: Achieved through strategic chilling and the professional “hot knife” technique visible in our forensic kitchen setup.
- Dense Cocoa Foundation: A robust, pressed layer of dark cocoa, graham crumbs, and shredded coconut that provides a sturdy structural base.
- The Signature Yellow Hue: Authenticity requires Birds Custard Powder, which creates that unmistakable pale-yellow, velvety buttercream middle.
- High-Gloss Finish: An ultra-smooth semi-sweet ganache that catches the light with a mirror-like reflective sheen.
- Texture Contrast: A harmonious blend of gritty, snowy coconut, finely chopped walnuts, and silky-smooth custard.
Sourcing the Foundation: Essential Ingredients for Success
Creating the perfect Nanaimo bars recipe requires specific ingredients that provide both the visual contrast and the structural integrity needed for those clean-cut edges. While it may be tempting to swap items, following this blueprint ensures your bars don’t crumble or sag when served.
Unsalted Butter (225g / 1 cup): Used in all three layers to provide a rich mouthfeel and to act as the primary binding agent that solidifies upon chilling. Ensure it is high-quality, as the flavor carries the custard layer.
Dark Cocoa Powder (30g / 5 tbsp): Provides the deep, mahogany color for the base. This contrast is essential against the white coconut and yellow custard for that striking visual stack.
Graham Cracker Crumbs (200g / 1 ¾ cups): These provide the grit and “pressed” texture. If you prefer fruit-based bars, you might enjoy our peach crumb bars, but for Nanaimo bars, graham crumbs are the only way to go.
Shredded Sweetened Coconut (85g / 1 cup): Adds the “snowy white” flecks visible in the base layer. It provides a chewy resistance that balances the crunch of the nuts.
Chopped Walnuts (60g / ½ cup): Finely chopped to ensure they don’t interfere with the “clean cut” of the knife. They add an earthy depth that cuts through the sweetness of the buttercream.
Birds Custard Powder (20g / 2 tbsp): This is the non-negotiable “secret” ingredient. It provides the specific pale-yellow color and the unique aromatic profile that distinguishes Nanaimo bars from standard vanilla fudge.
Semi-Sweet Chocolate (115g / 4 oz): Chosen for its balance of sweetness and stability. When melted with a touch of butter, it creates the glossy ganache topping that remains pliable enough to slice without cracking.
Professional Equipment for Precision Results
To replicate the sharp, minimalist kitchen aesthetic of our visual prompt, you will need a few specific tools. Precision is the difference between a homemade snack and a professional-grade dessert.
An 8×8 inch (20×20 cm) square baking pan is the standard for achieving the correct layer thickness. Use parchment paper with an “overhang” or “slingshow” style to easily lift the entire block out for slicing.
The most important tool for the final look is a sharp chef’s knife and a tall glass of hot water. This technique, seen in the blurred background of our smartphone photo, is the secret to melting through the chocolate layer without shattering it.
Constructing the Cocoa-Coconut Foundation
Step 1: Tempering the Base
In a double boiler or a heat-proof bowl over simmering water, melt ½ cup (115g) of butter, ¼ cup (50g) of sugar, and 5 tbsp (30g) of cocoa powder. Whisk until smooth and glossy. Slowly whisk in one beaten egg, stirring constantly until the mixture thickens to a pudding-like consistency. This “cooks” the egg safely and creates a fudge-like binder for the dry ingredients.
Step 2: Folding and Pressing
Remove from heat and fold in the 1 ¾ cups (200g) of graham crumbs, 1 cup (85g) of shredded coconut, and ½ cup (60g) of finely chopped walnuts. Stir until the dry ingredients are completely coated in the dark cocoa mixture. Transfer to your lined pan and press down firmly using the bottom of a flat measuring cup. A hard, even press is vital for the “dark cocoa-brown foundation” look.
The Art of the Velvety Custard Filling
Step 3: Whipping the Buttercream
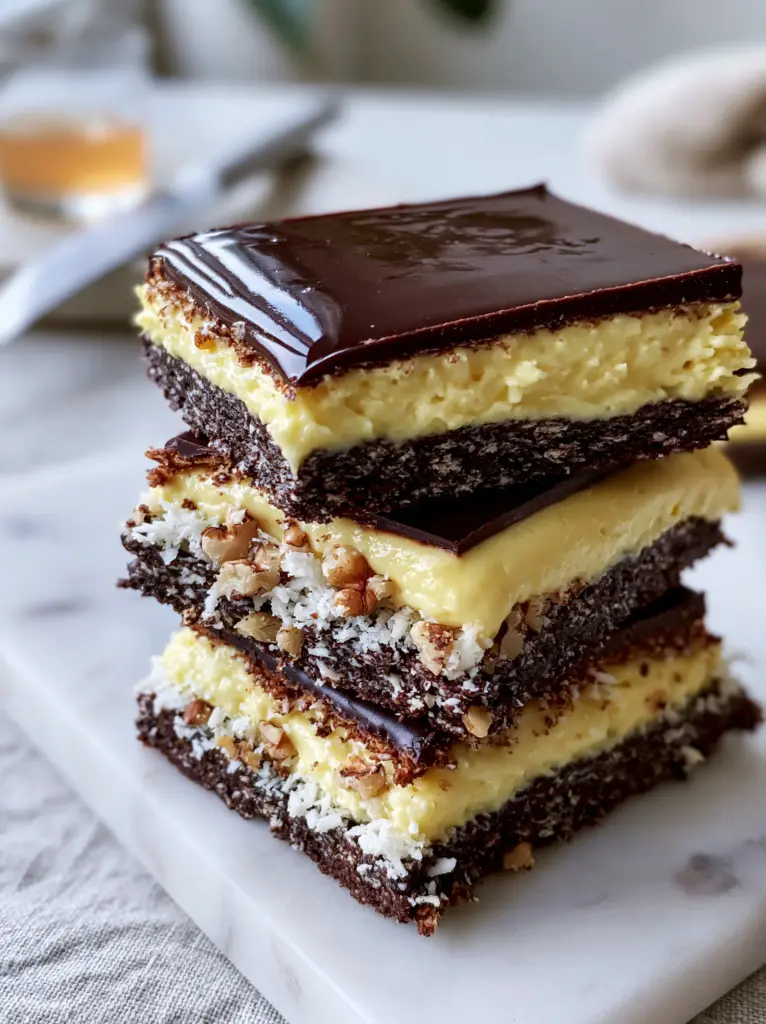
Cream ½ cup (115g) of softened butter with 3 tbsp (45ml) of heavy cream and 2 tbsp (20g) of Birds custard powder. Gradually add 2 cups (240g) of powdered sugar. Beat on high speed for at least 3 minutes until the mixture is dense, velvety, and a beautiful pale-yellow. It should look like thick silk, ready to be spread over the chilled base.
Step 4: Leveling for Sharp Edges
Spread the custard filling over the cooled base. Use an offset spatula to get the surface as flat as possible. This ensures that when you add the chocolate, the line between the yellow and dark layers is “surgically sharp.” Chill in the refrigerator for at least 30 minutes to set this layer firmly.
Finishing with the Ultra-Glossy Ganache
Step 5: The Mirror Finish
Melt 4 oz (115g) of semi-sweet chocolate with 2 tbsp (28g) of butter in short 20-second bursts in the microwave. Stir until perfectly smooth and reflective. The addition of butter is what gives it that “ultra-glossy” sheen and prevents the chocolate from becoming too brittle. Pour it over the chilled custard and tilt the pan to let it flow naturally to the edges.
Step 6: The Forensic Slice
Once the chocolate has set but isn’t rock hard (about 20-30 minutes in the fridge), take your silver knife from the warm water, wipe it dry, and make your first cut. The heat from the blade will glide through the chocolate like butter. Repeat the cleaning and dipping process for every single cut to maintain those sharp, clean-cut edges seen on our marble slab.
Expert Tips for Nanaimo Bar Mastery
- The Cracking Fix: If your chocolate layer is cracking, it’s likely too cold. Let the bars sit at room temperature for 10 minutes before slicing with a hot knife.
- Nut Alternatives: While walnuts are traditional, pecans offer a buttery alternative. For a nut-free version, toasted sunflower seeds provide a similar “grit.”
- Custard Intensity: For a deeper yellow color, you can add a tiny drop of natural yellow food coloring, though Birds custard powder usually provides the perfect hue on its own.
- Storage Temperature: These bars are best served slightly chilled. If they get too warm, the custard layer will lose its “dense” structural integrity.
The Ideal Pairings for This Rich Dessert
Nanaimo bars are incredibly rich, so they pair best with beverages that offer a bit of acidity or bitterness to cleanse the palate. A strong black coffee or a dark roasted espresso is the traditional choice.
If you are serving these as part of a larger brunch spread, they go surprisingly well after savory dishes like a basic quiche or a hearty breakfast skillet. For a lighter pairing, consider serving them alongside fruit-forward treats like blueberry pancakes to balance the deep cocoa and coconut flavors.
Frequently Asked Questions
Absolutely. These bars actually improve after chilling. They can be stored in the refrigerator for up to a week or frozen for up to three months.
Yes, the egg acts as a binder when cooked with the butter and cocoa. It creates a fudge-like texture that prevents the graham cracker and coconut base from crumbling.
The secret is using a sharp knife dipped in hot water and wiped dry. The heat melts the chocolate as you slice, preventing it from shattering or pulling the custard layer.
The signature pale-yellow hue comes from Birds Custard Powder. It is a cornstarch-based powder that provides a unique flavor and color that vanilla pudding mix cannot replicate.
A soft custard layer is usually caused by using too much cream or not whipping the butter and powdered sugar long enough to create a stable, dense structure.
The Ultimate Three-Layer Nanaimo Bars
Nanaimo Bars Recipe: The Ultimate Guide to Perfect Triple-Layer Squares
Ingredients
Equipment
Method
- Melt butter, sugar, and cocoa in a double boiler. Whisk in the egg until thickened to a pudding consistency.
- Fold in graham crumbs, coconut, and walnuts. Press firmly into a lined 8x8 pan. Chill.
- Cream butter, cream, and custard powder. Gradually add powdered sugar and beat until velvety and pale-yellow.
- Spread evenly over the base and chill for 30 minutes until set.
- Melt chocolate and butter together until ultra-glossy. Pour over the custard layer.
- Once set, use a hot, dry knife to make sharp, clean cuts into squares.
Notes
Always dip your knife in warm water and wipe dry between every single cut for those professional sharp edges.
Mastering the Canadian Classic
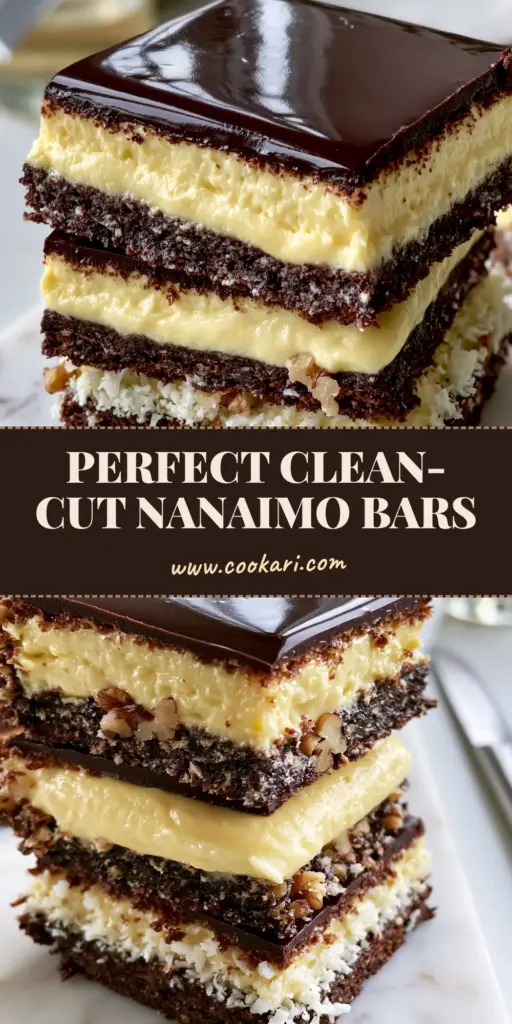
Bringing this Nanaimo bars recipe into your kitchen is a guaranteed way to impress even the most discerning dessert critics. The combination of the gritty base, the silky custard, and the glossy ganache creates a sensory experience that is as visually stunning as it is delicious. Once you’ve mastered the clean-cut technique, you’ll find yourself reaching for this recipe for every celebration.
Don’t forget to share your results with us! If you loved the sharp edges and velvety texture of these bars, please leave a comment below and share your photos to Pinterest. For more dessert inspiration, check out our chewy chocolate chip cookies or our seasonal patriotic pie ideas.