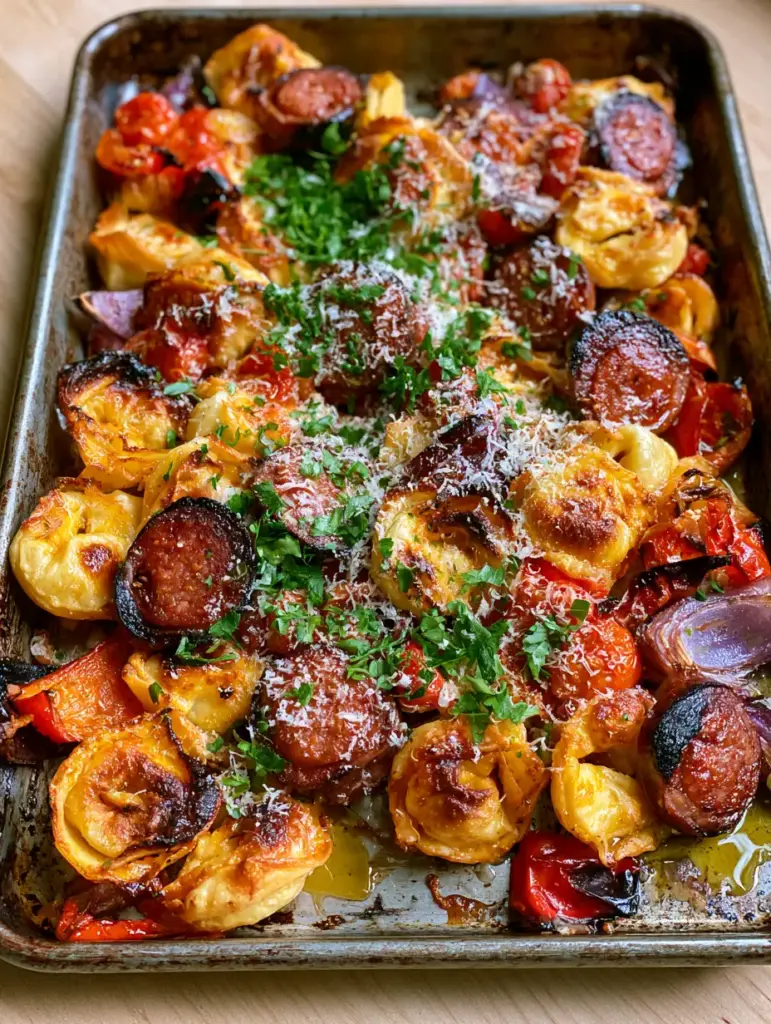
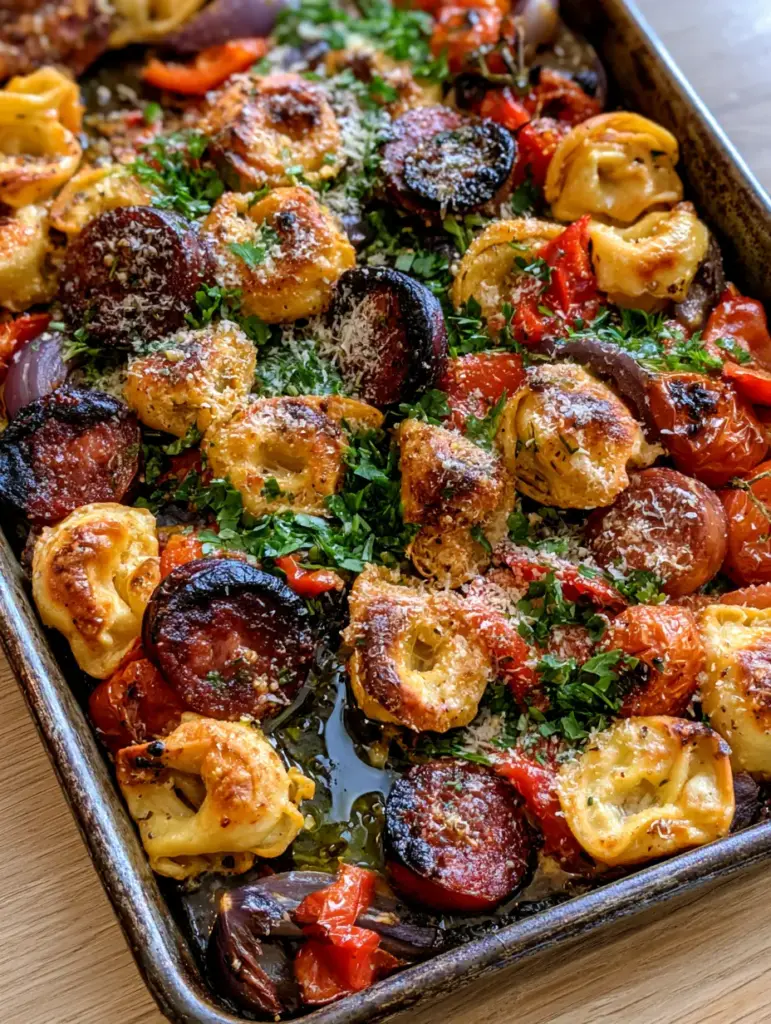
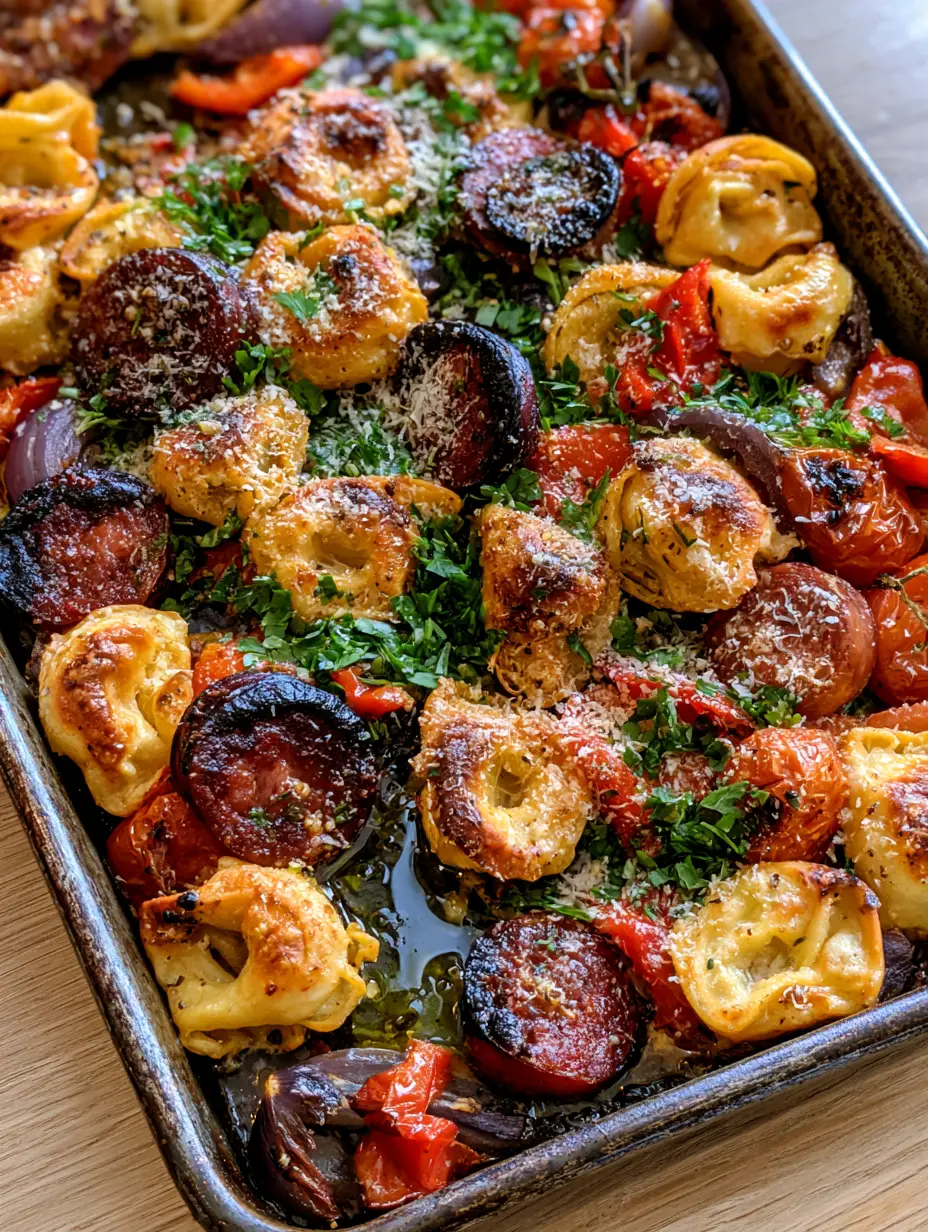
This sheet pan kielbasa and tortellini dinner is the ultimate weeknight solution for anyone who craves gourmet textures without the mountain of dishes. Imagine cheese tortellini with golden, crispy edges and savory kielbasa rounds seared to perfection, all roasting together on one single pan. It is a vibrant, colorful meal that validates every Pinterest craving with its charred peppers and blistered tomatoes.
If you love the ease of one-pan meals like my beef and pepper rice bowl, you are going to fall in love with how the oven transforms refrigerated pasta into something spectacular. This isn’t just a meal; it’s a texture-rich experience that brings restaurant-quality results to your kitchen table in under 30 minutes.
Why This Sheet Pan Tortellini Will Change Your Weeknight Routine
- Unbelievable Texture: Unlike boiled pasta, these tortellini get crunchy, golden edges that contrast perfectly with their soft, cheesy centers.
- Maximum Char: The kielbasa slices develop deeply seared, caramelized borders that pack a smoky punch in every bite.
- Blistered Veggie Goodness: Cherry tomatoes pop and create a natural sauce, while red onion petals caramelize into sweet, tender morsels.
- Minimal Cleanup: One weathered dark metal sheet pan is all you need to feed the whole family.
If you’re looking for more comfort food that hits the spot, be sure to check out my spinach artichoke pasta for another easy pasta win.
The Essential Ingredients for a Perfect Sheet Pan Bake
Refrigerated Cheese Tortellini: 20 oz (565g). Do not use dried pasta here; the refrigerated version has the moisture needed to cook through while the exterior gets toasted and crispy.
Kielbasa Sausage: 12 oz (340g). Sliced into rounds to maximize the surface area for charring and caramelization.
Cherry Tomatoes: 2 cups (300g). These will blister and burst, releasing juices that coat the pasta like a light, fresh sauce.
Red Bell Pepper: 1 large (150g). Chopped into chunks to provide a smoky, roasted sweetness and bright color.
Red Onion: 1 medium (110g). Sliced into petals that soften and caramelize under high heat.
Extra Virgin Olive Oil: 3 tbsp (45ml). This is crucial for achieving that glistening coating and ensuring the tortellini doesn’t stick.
Finely Grated Parmesan: 1/4 cup (25g). Added at the very end to create a salty, savory crust over the hot ingredients.
Fresh Parsley: 2 tbsp (8g). A bright shower of green flakes to balance the rich, roasted flavors.
Foundational Seasonings: 1 tsp (6g) Kosher salt and 1/2 tsp (3g) cracked black pepper to elevate the natural flavors of the roasted vegetables.
How to Master the Sheet Pan Kielbasa and Tortellini Dinner
Prep and Toss for Maximum Flavor
Start by preheating your oven to 400°F (200°C). Grab a large, weathered dark metal sheet pan—the dark surface helps absorb heat for better browning.
Place your tortellini, kielbasa rounds, bell pepper chunks, cherry tomatoes, and red onion petals directly on the pan. Drizzle with 3 tbsp (45ml) of extra virgin olive oil and season generously with salt and pepper.
Visual Cue: Use your hands or tongs to toss everything until each piece of pasta and vegetable has a glistening olive oil coating. Spread them into a single layer so nothing steams; we want roasting, not boiling!
The Roasting Process: Searing and Blistering
Slide the pan into the oven and roast for 18–22 minutes. About halfway through, give the pan a good shake or use a spatula to flip the ingredients.
Sensory Cue: You’ll know it’s ready when you hear the tomatoes blistering and popping. The tortellini should show golden-brown toasted edges, and the kielbasa should have deeply seared, charred borders.
The Finishing Touches
Remove the pan from the oven. While it’s still piping hot, hit it with a heavy dusting of finely grated parmesan cheese. The residual heat will melt the cheese slightly into the nooks and crannies of the pasta.
Finish with a shower of freshly chopped bright green parsley and one final light drizzle of olive oil to make the colors pop for your Pinterest-worthy presentation.
Expert Tips for Sheet Pan Success
- Don’t Crowd the Pan: If your sheet pan is too small, use two. If the ingredients are piled on top of each other, they will steam instead of getting those crispy, toasted edges.
- Room Temp Pasta: If you have time, let the tortellini sit on the counter for 10 minutes before roasting to ensure the centers get hot without burning the outsides.
- High Heat is Key: 400°F (200°C) is the sweet spot. It’s hot enough to blister cherry tomatoes quickly while the kielbasa fats render and sear the pasta.
- Vegetable Variations: If you want to lean into a lower-carb profile for other meals, you might enjoy my zucchini noodle chicken alfredo, but for this sheet pan, stick to hearty veggies that can stand the heat.
Storage, Reheating, and Freezing
To Store: Keep leftovers in an airtight container in the refrigerator for up to 3 days. The tortellini will lose some crispness but the flavors will deepen.
To Reheat: For the best results, toss the leftovers back onto a sheet pan and bake at 350°F (175°C) for 10 minutes, or air fry for 3-5 minutes to bring back that toasted texture.
Freezing: I do not recommend freezing this dish once cooked, as the roasted vegetables (especially the blistered tomatoes) will become mushy upon thawing.
What to Serve With This Dish
This is a complete meal on its own, but a crisp side salad with a lemon vinaigrette cuts through the richness of the kielbasa perfectly. You could also serve it alongside some crusty garlic bread to soak up the juices from the blistered cherry tomatoes.
If you’re looking for a sweet finish to this savory meal, try my air fried banana chips for a light, crunchy dessert option.
Frequently Asked Questions
Yes, but you should thaw them first or add about 5 minutes to the roasting time. Refrigerated tortellini is preferred for the best ‘golden edge’ texture.
No! That is the secret to this dish. Using refrigerated tortellini allows the pasta to cook through from the moisture inside while the outside gets perfectly toasted and crispy in the oven’s heat.
Sliced the kielbasa into rounds about 1/2 inch thick and ensure they are in direct contact with the dark metal sheet pan. The contact with the hot pan creates those savory charred borders.
Ensure you cut your red bell peppers into large chunks and leave the cherry tomatoes whole. This allows them to withstand the high heat for 20 minutes without disintegrating before the pasta is toasted.
The Ultimate Sheet Pan Kielbasa and Tortellini Recipe Card
Sheet Pan Kielbasa and Tortellini Dinner: Crispy, Seared, and Simple
Ingredients
Equipment
Method
- Preheat your oven to 400°F (200°C). Arrange the tortellini, sliced kielbasa, bell pepper chunks, cherry tomatoes, and red onion petals on a large dark metal sheet pan.
- Drizzle the ingredients with olive oil and sprinkle with salt and pepper. Toss thoroughly until everything has a glistening coating and spread into a single layer.
- Roast for 18–22 minutes, tossing halfway through. Look for toasted golden edges on the tortellini and charred borders on the kielbasa.
- Remove from oven and immediately dust with parmesan cheese and fresh parsley flakes while hot.
Notes
Ensure the oven is fully preheated to 400°F to get the 'blistered' tomato effect.
Share Your Sheet Pan Creations!
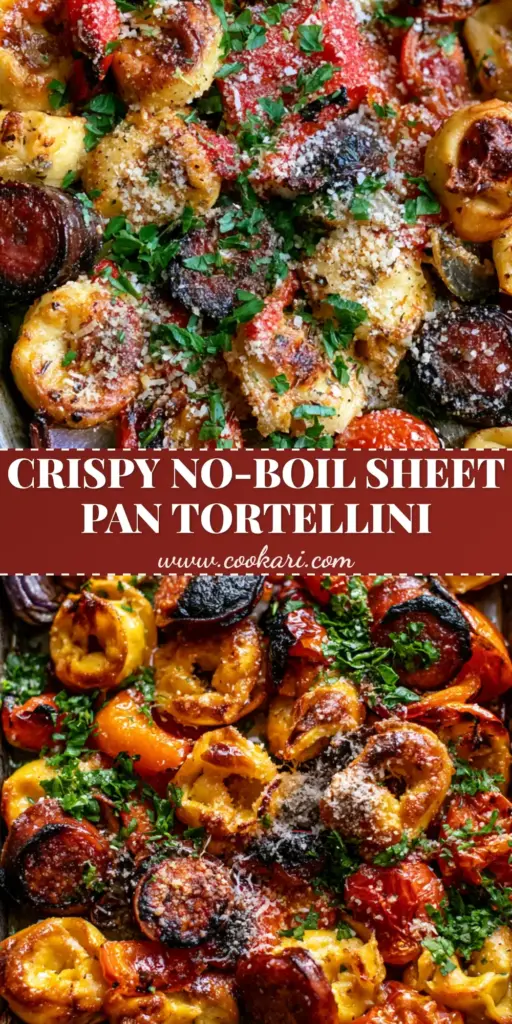
Did you get those perfectly charred kielbasa borders? We want to see! Save this recipe to your Dinner Inspiration board on Pinterest so you never lose it.
Follow cookari_recipes for more high-flavor, low-effort meals. If you made this, please leave a 5-star rating in the recipe card above and upload a photo of your sheet pan in the comments below. Happy roasting!